


A Comprehensive Guide to Setting Up OctoPrint on Raspberry Pi
OctoPrint revolutionizes 3D printing by offering wireless control and an array of features. From uploading G-code files wirelessly to manually controlling your 3D printer, monitoring print temperature, and even setting up a webcam for remote viewing, OctoPrint takes your 3D printing experience to the next level. With additional plugins providing functionalities like custom time-lapse creation and smartphone integration, OctoPrint is a must-have tool for enthusiasts.
What Do You Need?
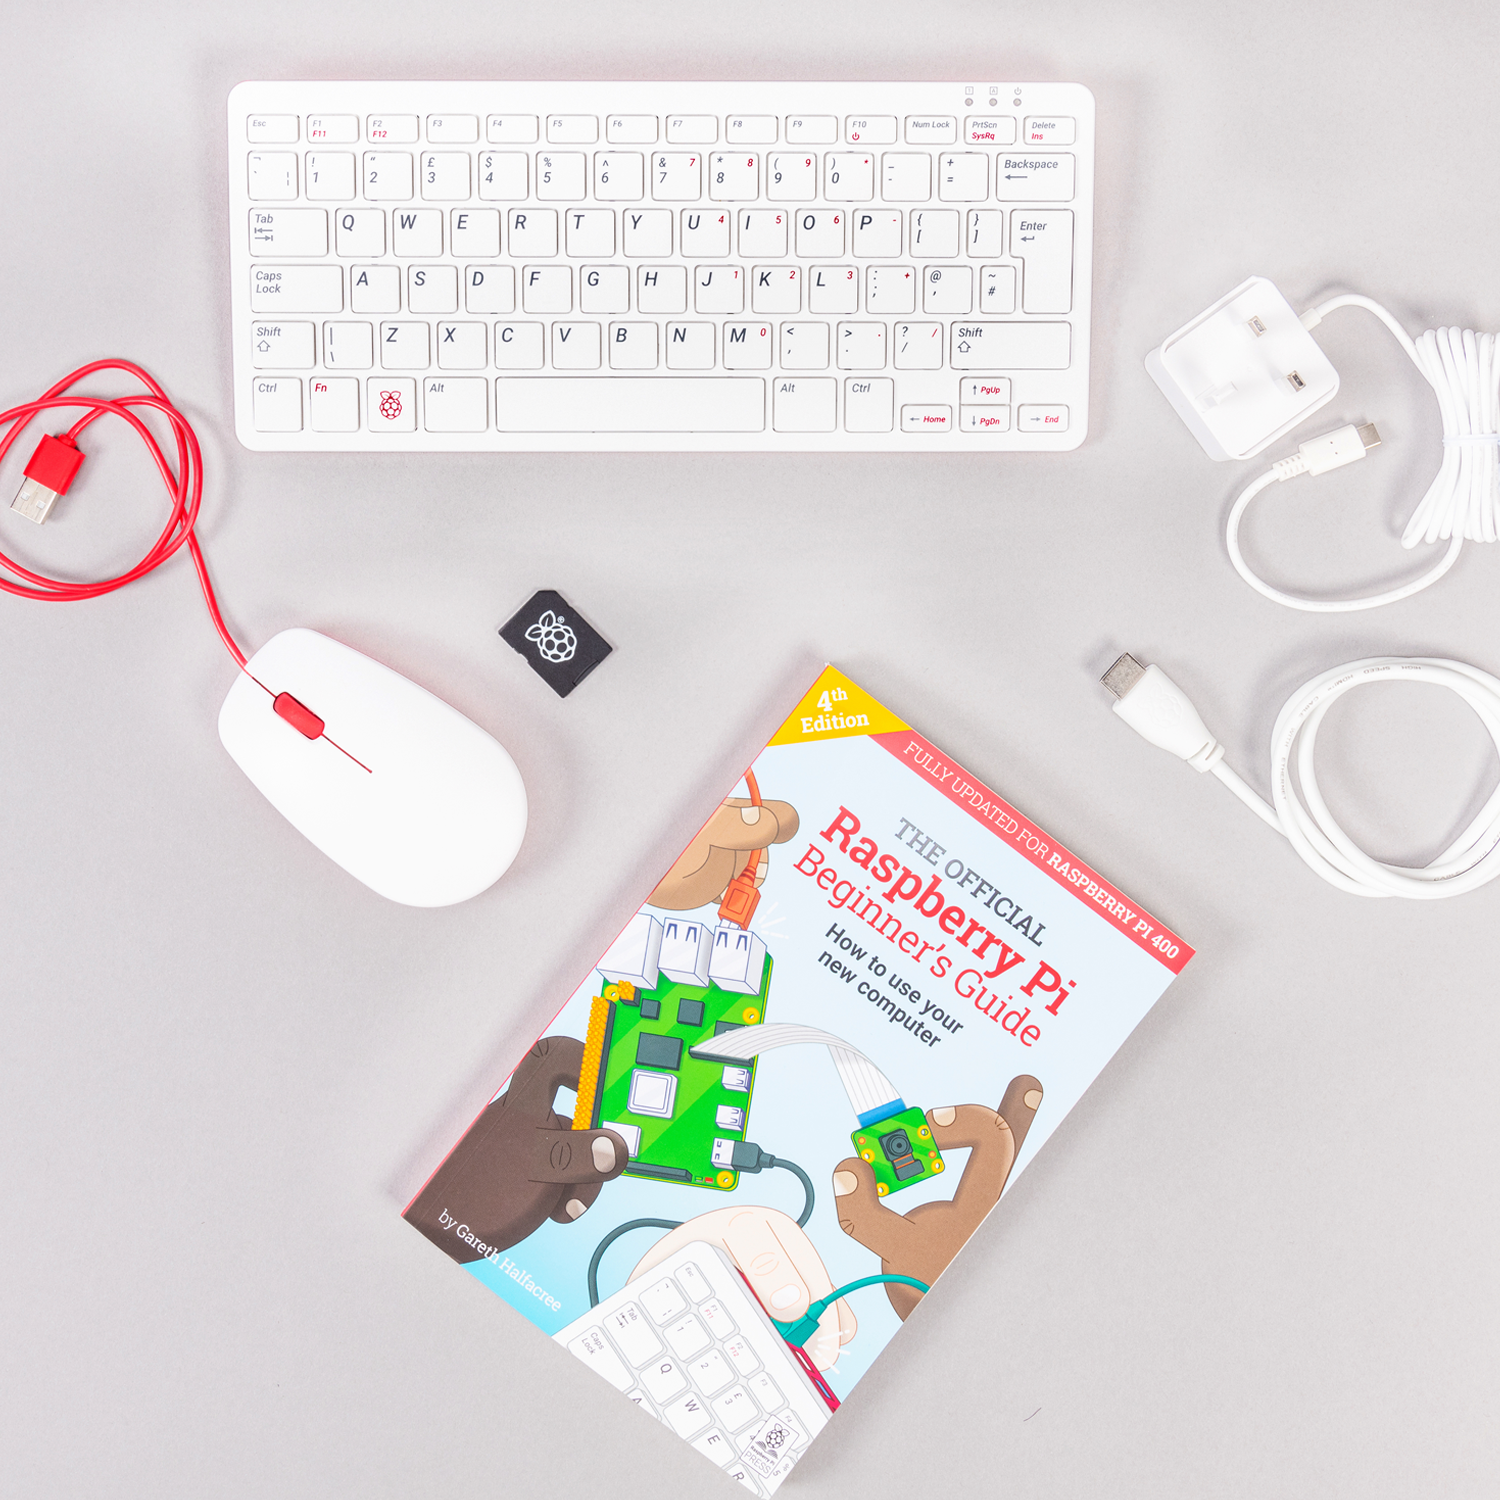
To embark on your OctoPrint journey, gather the following essentials:
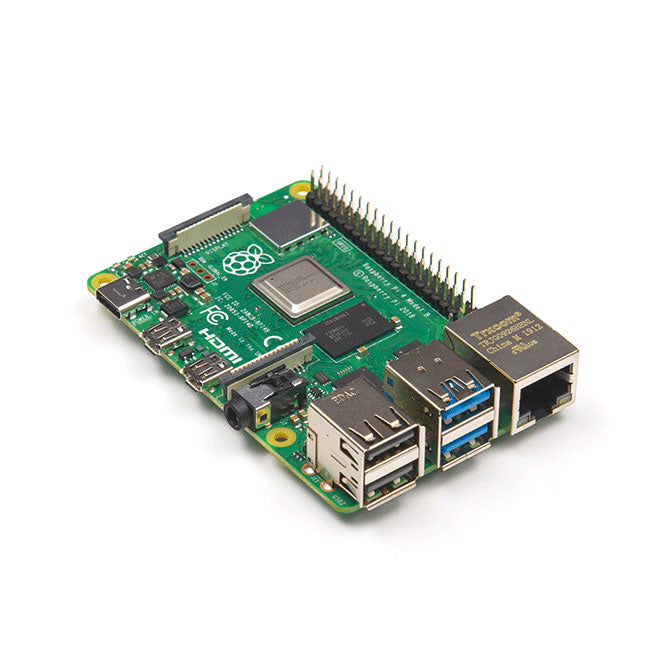
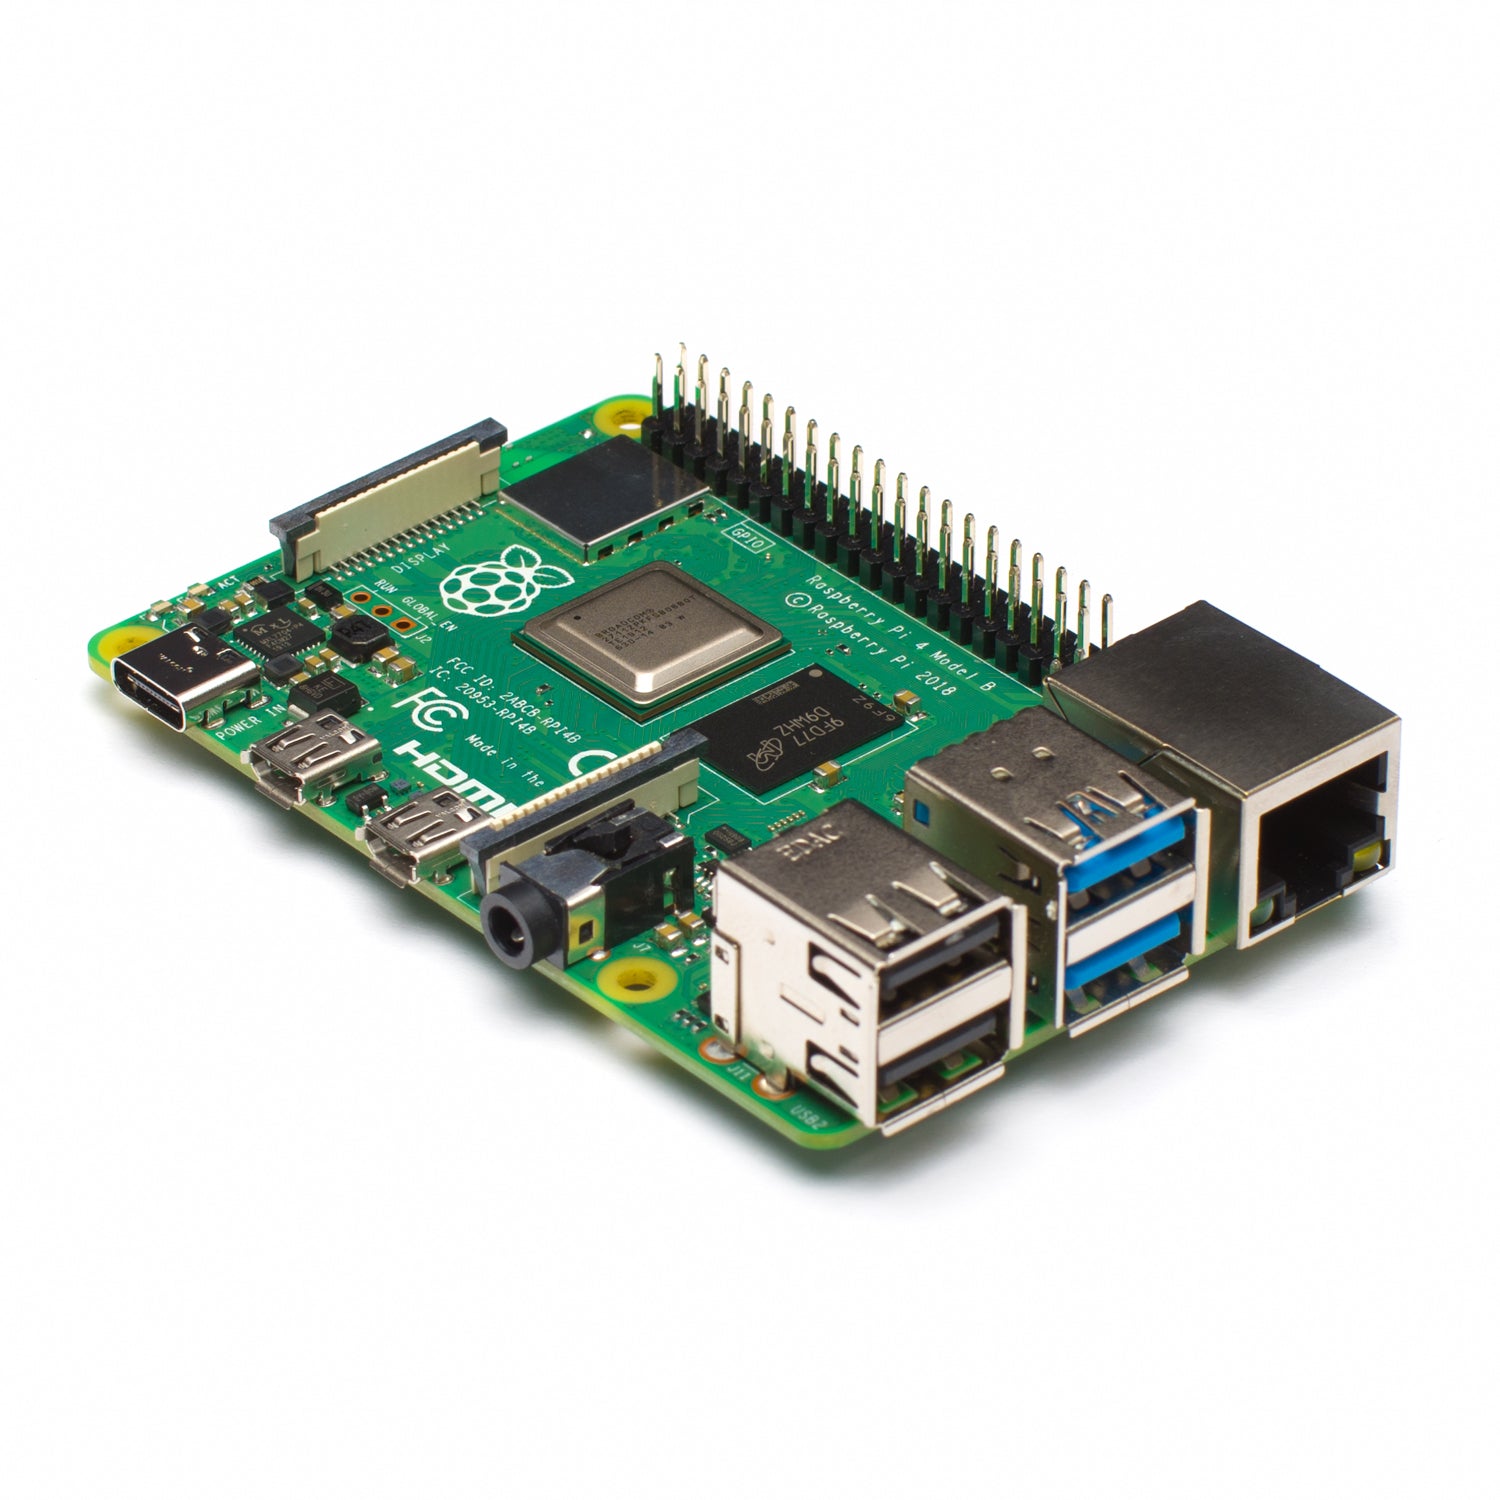
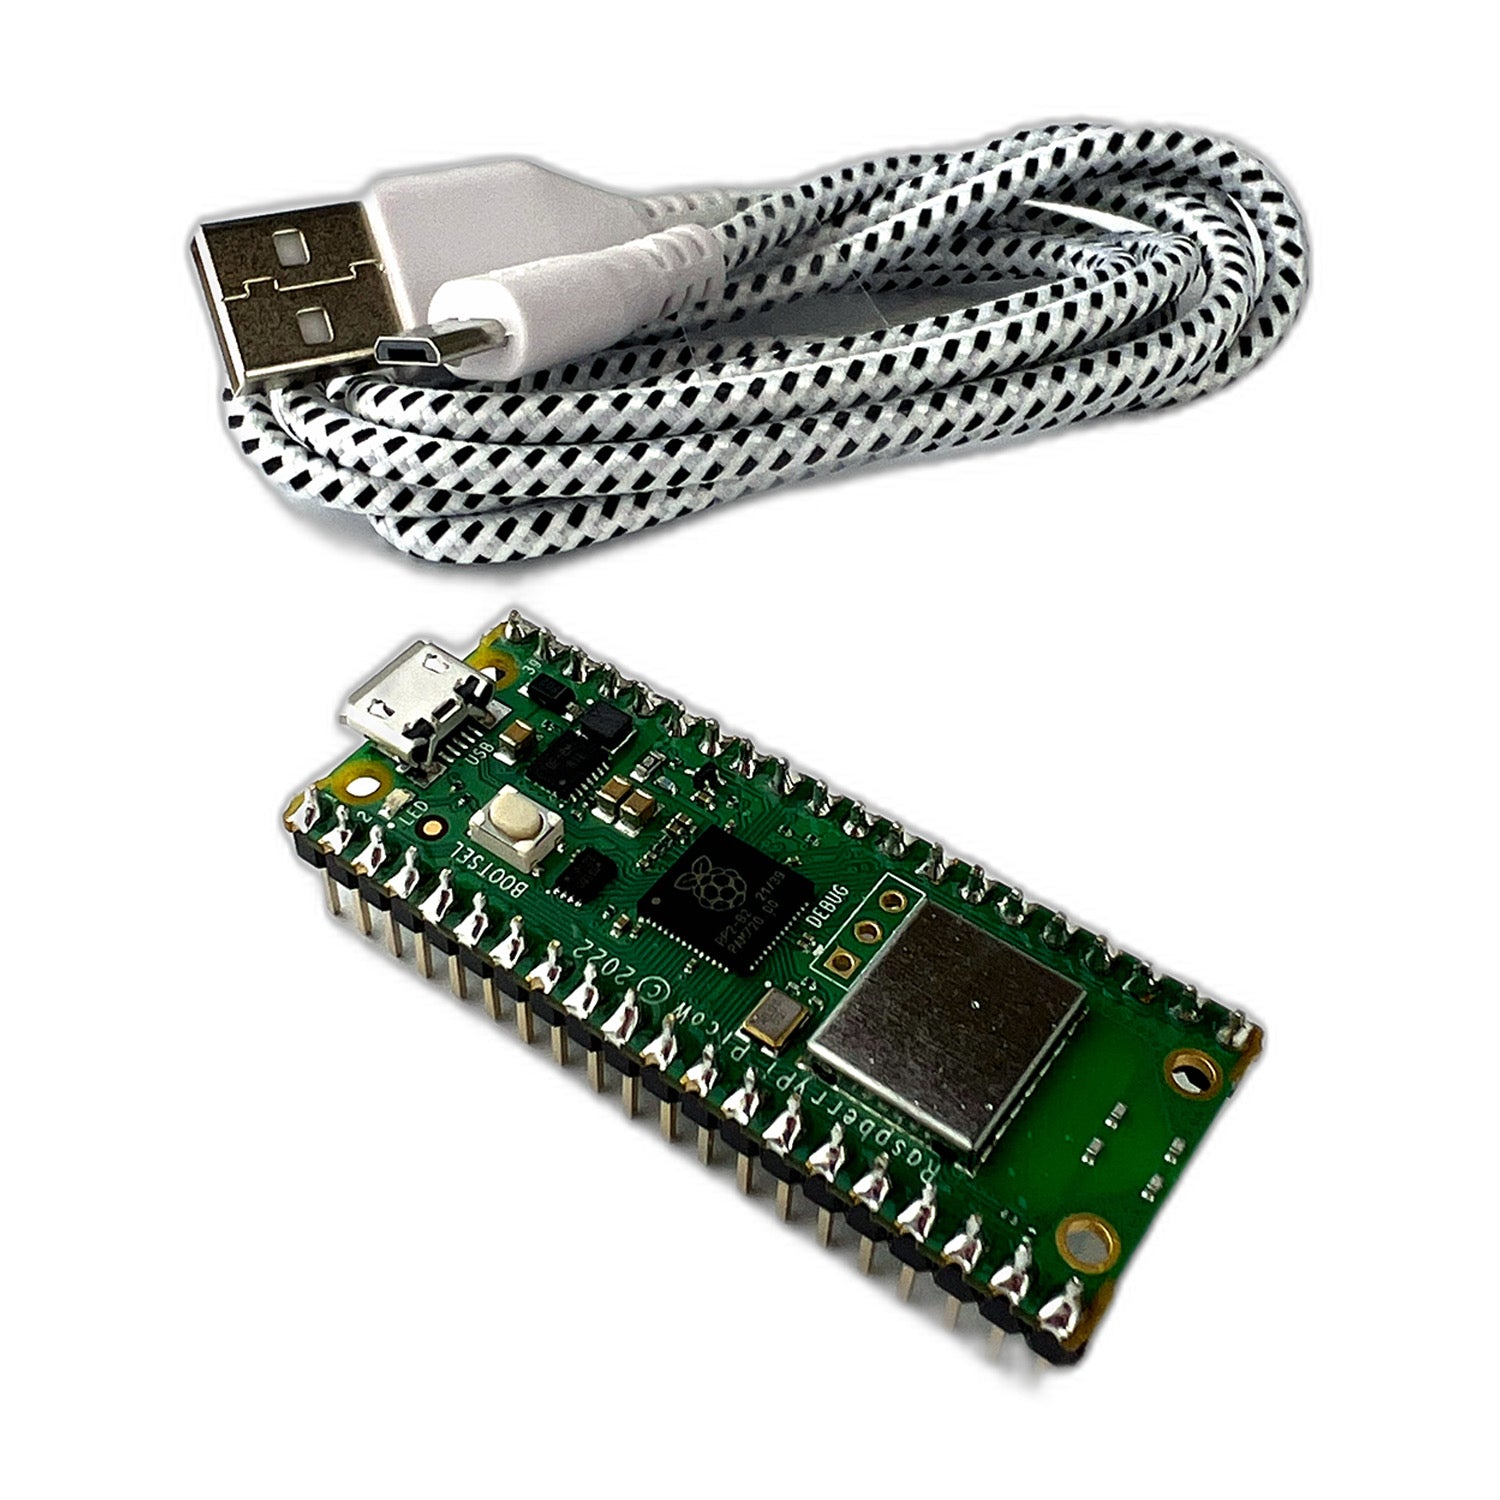
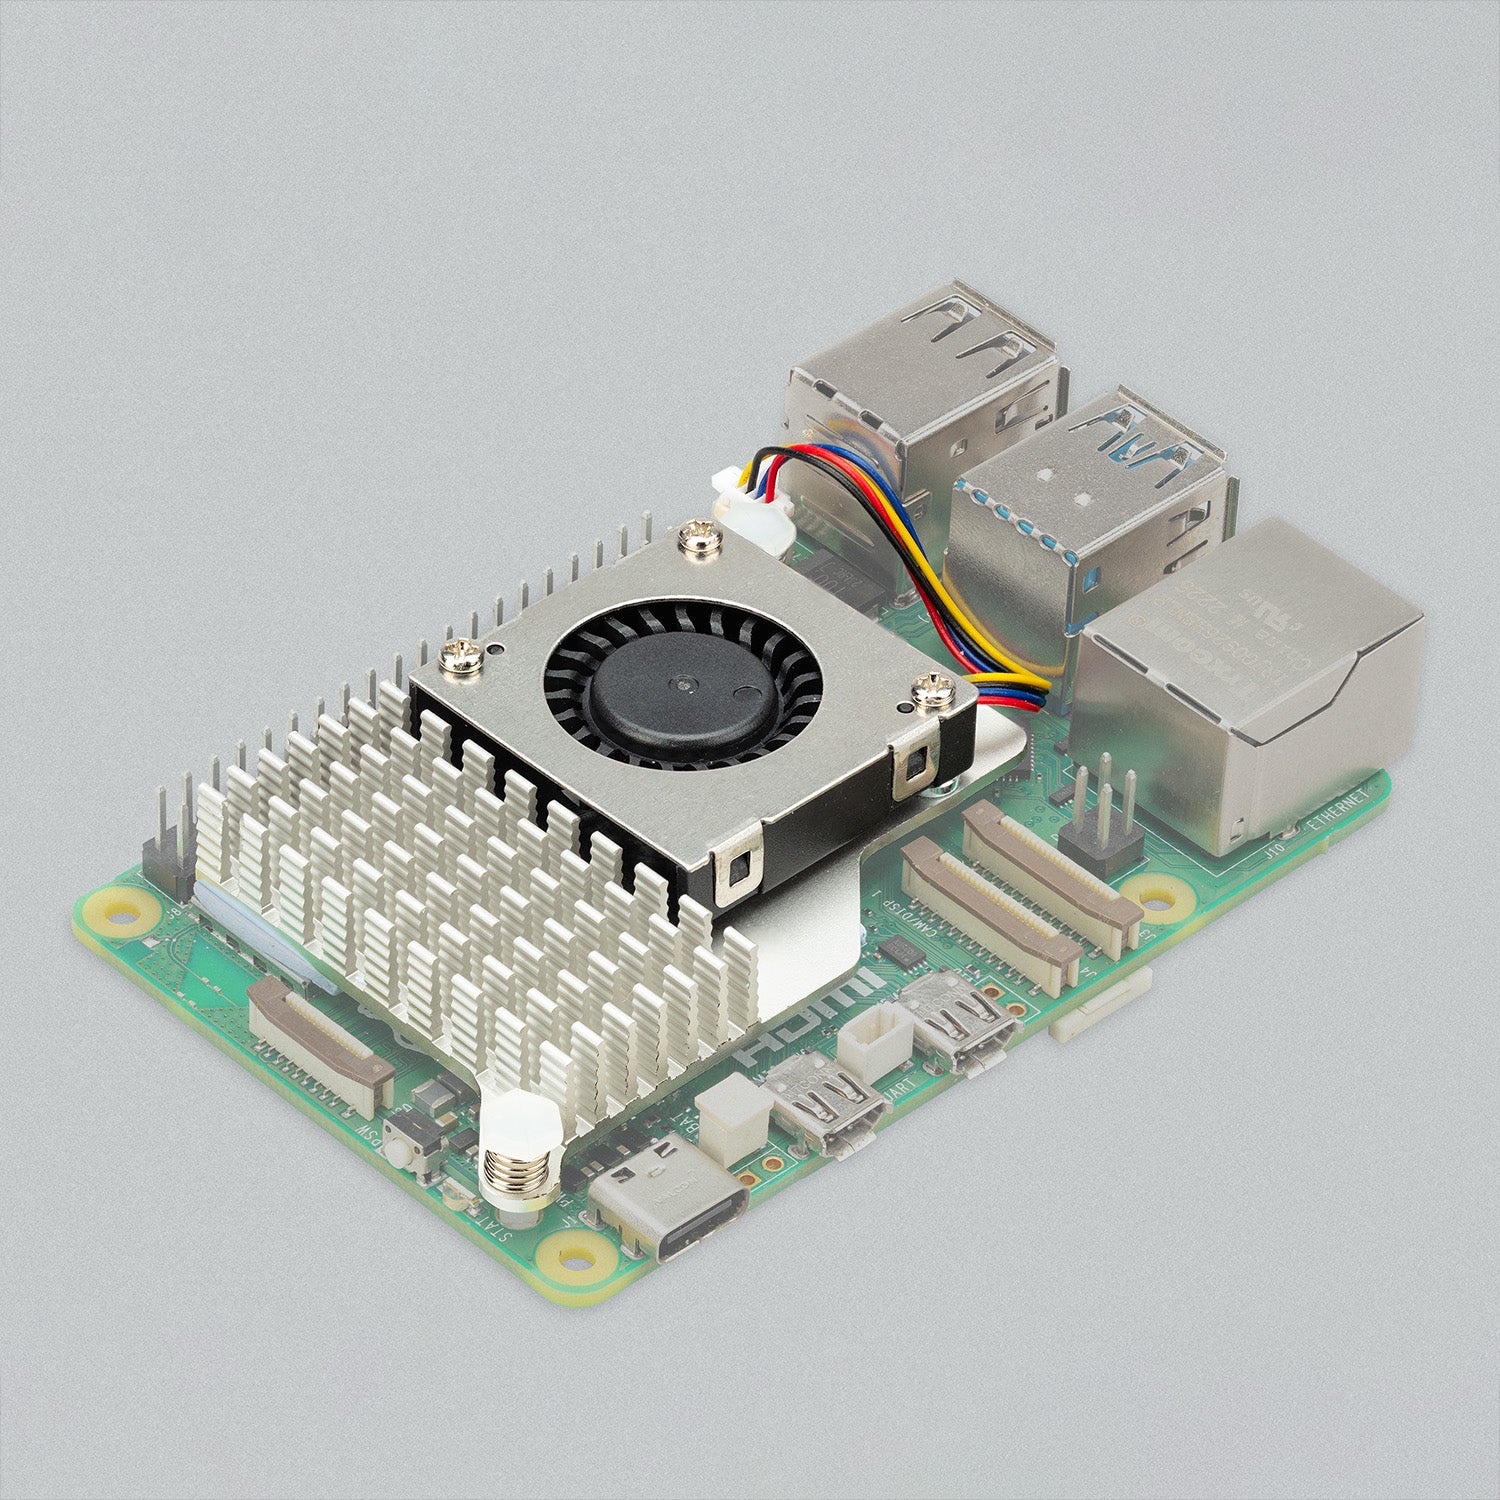
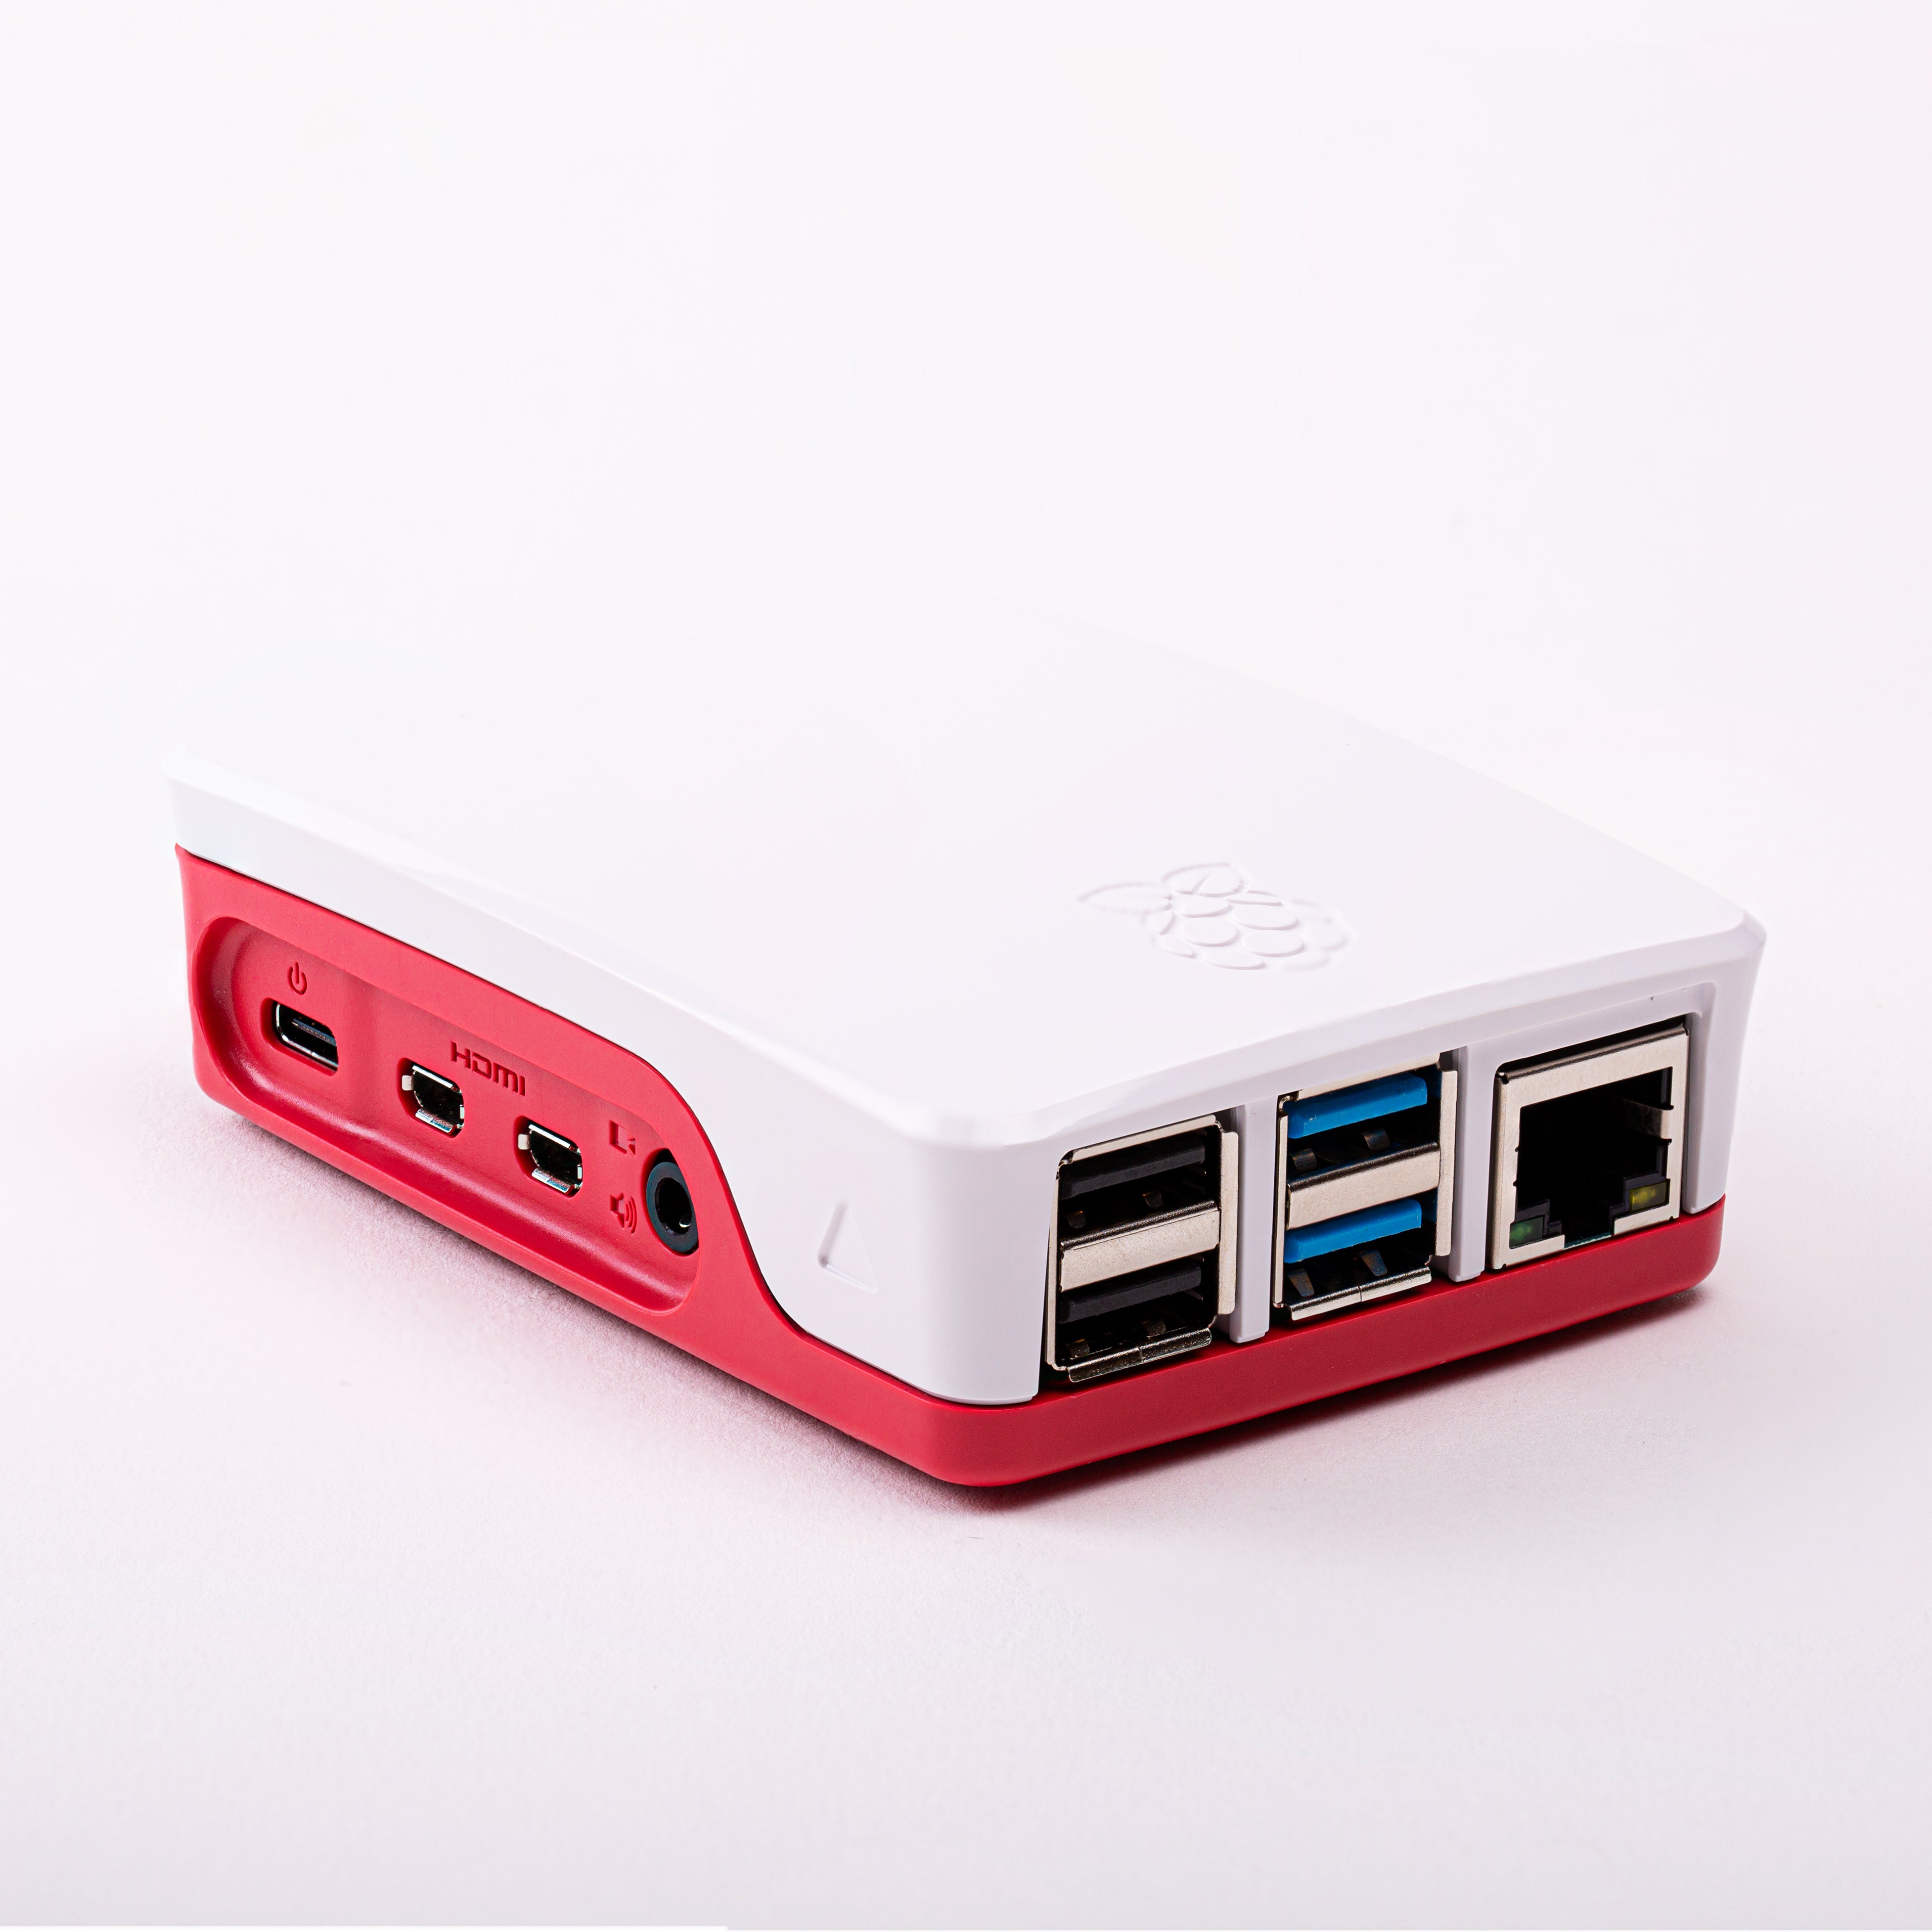
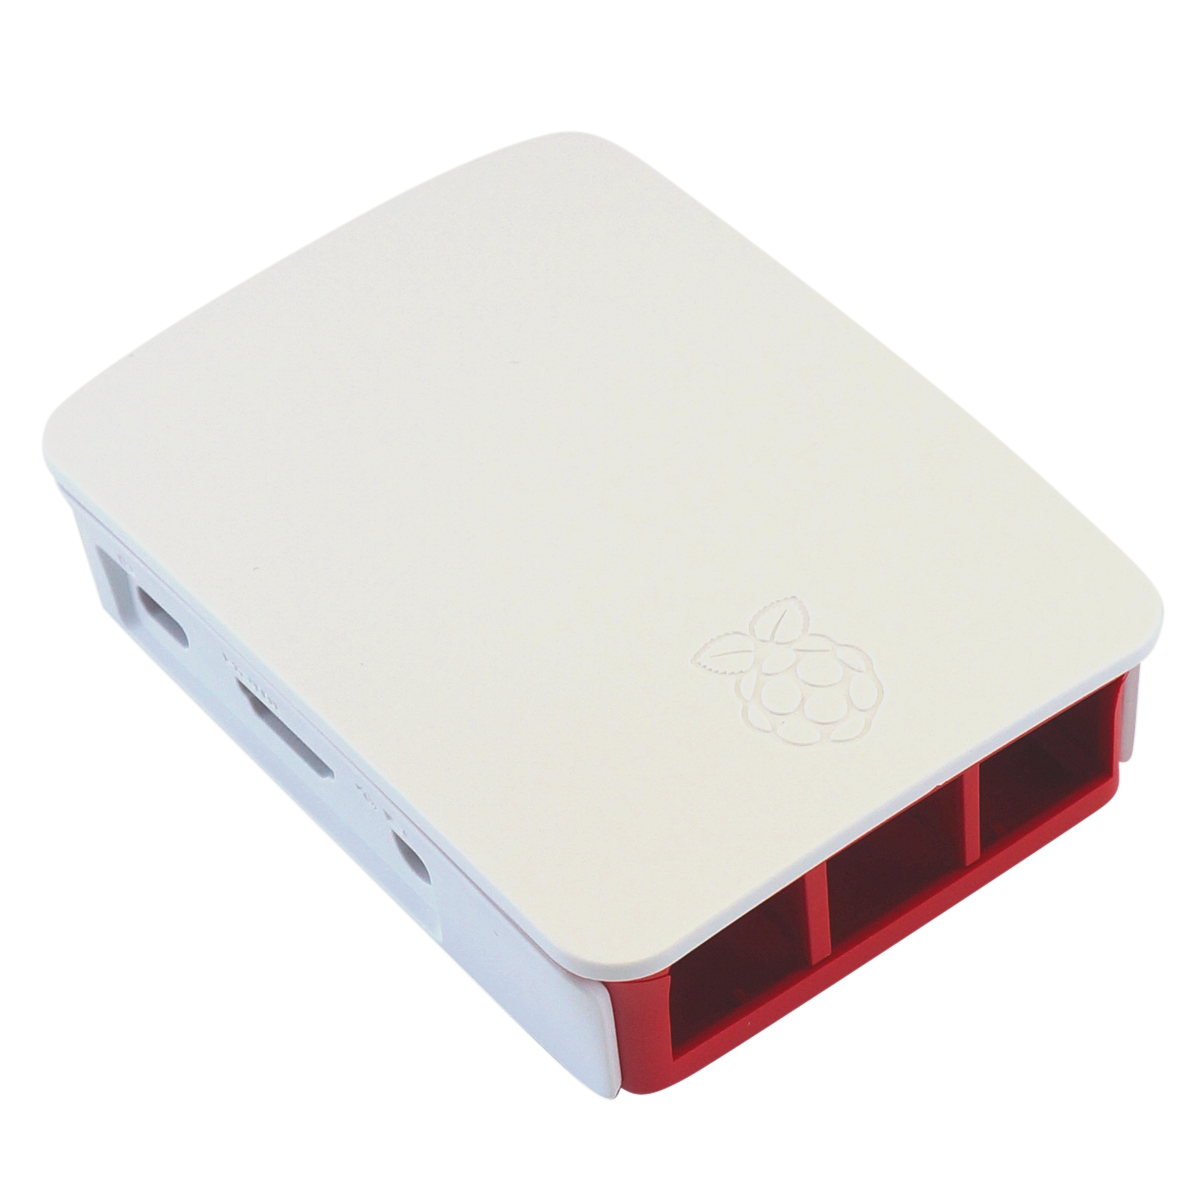
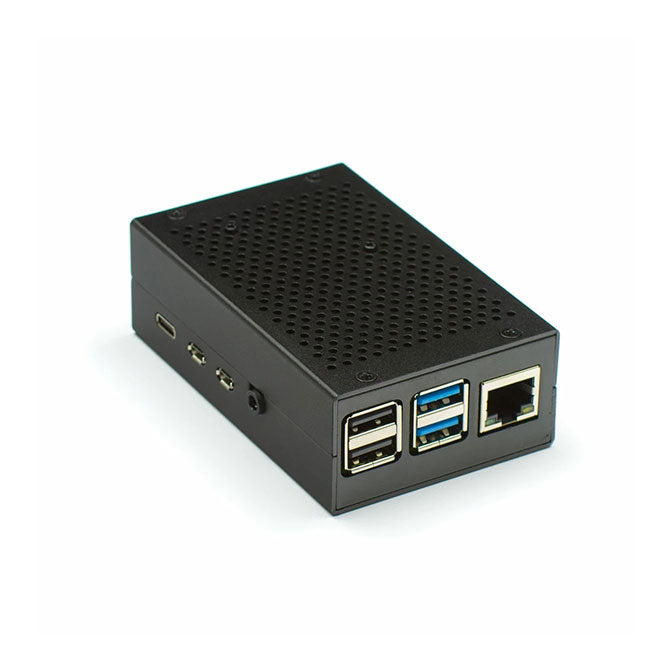
- Raspberry Pi (3B, 3B+, 4B, or Zero 2 W recommended)
- Power adapter for the Pi
- Micro or full-size SD card (8-GB should suffice, larger for regular time-lapses)
- USB cable to connect the Pi to your 3D printer
- A 3D printer compatible with OctoPrint
Flashing the OctoPi Image:
The Raspberry Pi Imager simplifies the process of installing OctoPrint. Follow these steps:
- Download and install the Raspberry Pi Imager.
- Insert your SD card and open the Imager.
- Choose "Other specific-purpose OS > 3D printing > OctoPi" and select the latest version.
- In "Advanced Options," set a system password and configure wireless LAN settings.
- Click "Write" to install the OctoPrint image.
Alternatively, use Etcher by downloading the latest OctoPi version from the GitHub repository and flashing it onto the SD card.
Setting Up Wi-Fi:
Configure your Wi-Fi settings manually if not done during the Imager setup:
- Open the "octopi-wpa-supplicant.txt" file on the SD card.
- Edit Wi-Fi details (SSID and password) in the first network block.
- Add country code and save the file.
Securing Communication:
Change the default password to enhance security:
- Access the Pi via SSH using the default username "pi" and password "raspberry."
- Change the password using the "sudo raspi-config" command.
Connecting the Pi to Your Printer:
Connect the Raspberry Pi to your 3D printer using a USB cable:
- Insert the SD card into the Pi if set up via Imager; otherwise, disconnect and reconnect the Pi.
- Power up the Pi and your 3D printer.
Setting Up the Interface:
Access OctoPrint through your local network:
- Type "http://octopi.local" (or the Pi's IP address) in your browser.
- Complete the setup wizard, including creating a unique username and password for OctoPrint.
- Connect to your printer using the "AUTO" option in the Connection panel.
Congratulations! You've successfully set up OctoPrint on your Raspberry Pi. Explore its functionalities, upload G-code files wirelessly, and enjoy the seamless control it brings to your 3D printing endeavors.
- Choosing a selection results in a full page refresh.