


How to Connect External Audio Hardware to the Raspberry Pi
The Raspberry Pi is a powerful and versatile device that can be used for a wide range of DIY audio projects. One of the most important aspects of these projects is connecting external audio hardware, such as amplifiers, digital-to-analog converters (DACs), and speakers, to the Raspberry Pi. In this article, we will discuss the different ways of connecting external audio hardware to the Raspberry Pi, and provide some tips and best practices for doing so.
Connecting Amplifiers
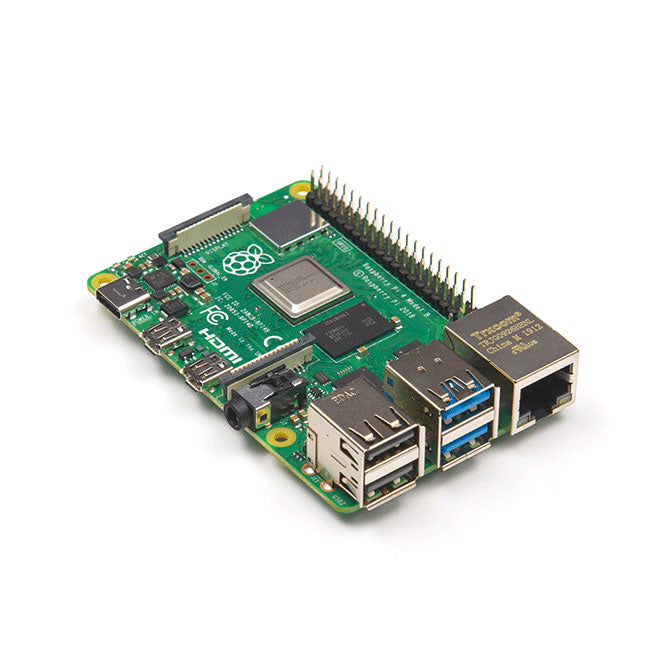
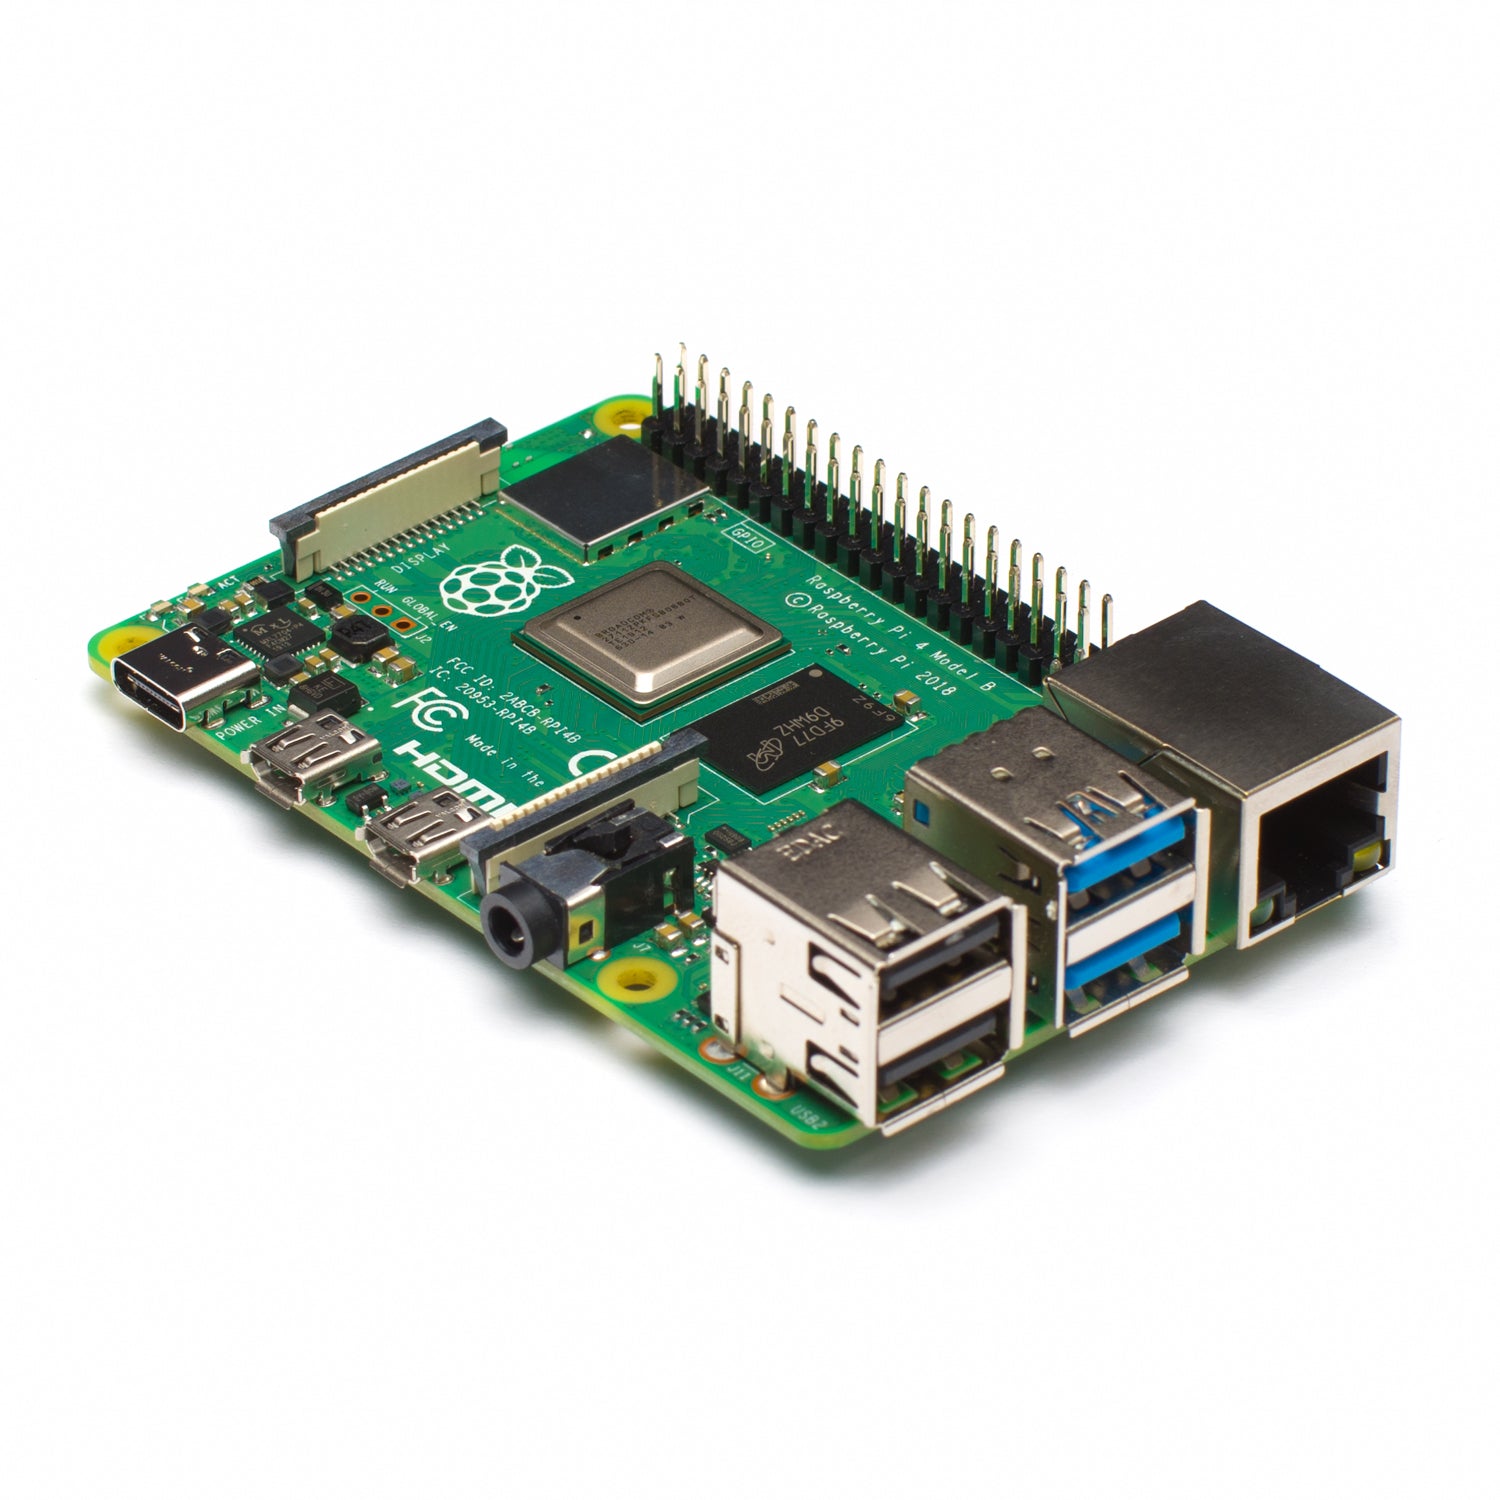
An amplifier is an electronic device that increases the amplitude of a signal, making it louder. To connect an amplifier to the Raspberry Pi, you have two options, either the 3.5mm audio jack or the HDMI port.
The 3.5mm audio jack can be used to connect a variety of amplifiers, including those designed for use with headphones. To connect an amplifier to the 3.5mm audio jack, you will need a 3.5mm audio cable. Simply plug one end of the cable into the 3.5mm audio jack on the Raspberry Pi, and the other end into the amplifier's input.
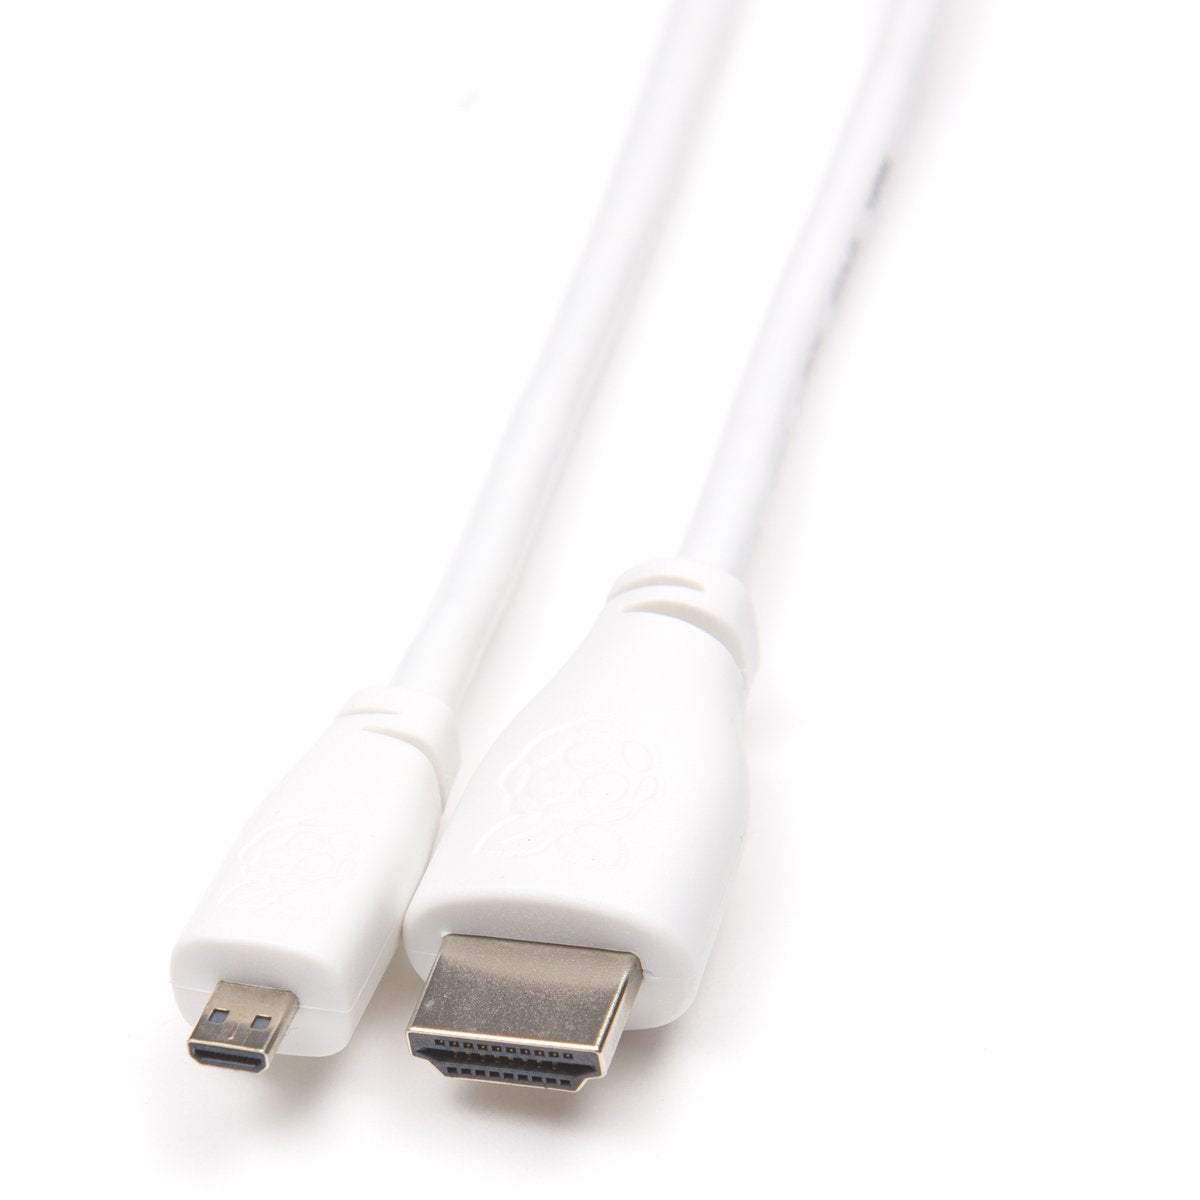
Alternatively, you can use the HDMI port to connect an amplifier that has an HDMI input. To do this, you will need an HDMI cable. Simply plug one end of the cable into the HDMI port on the Raspberry Pi and the other end into the amplifier's HDMI input.
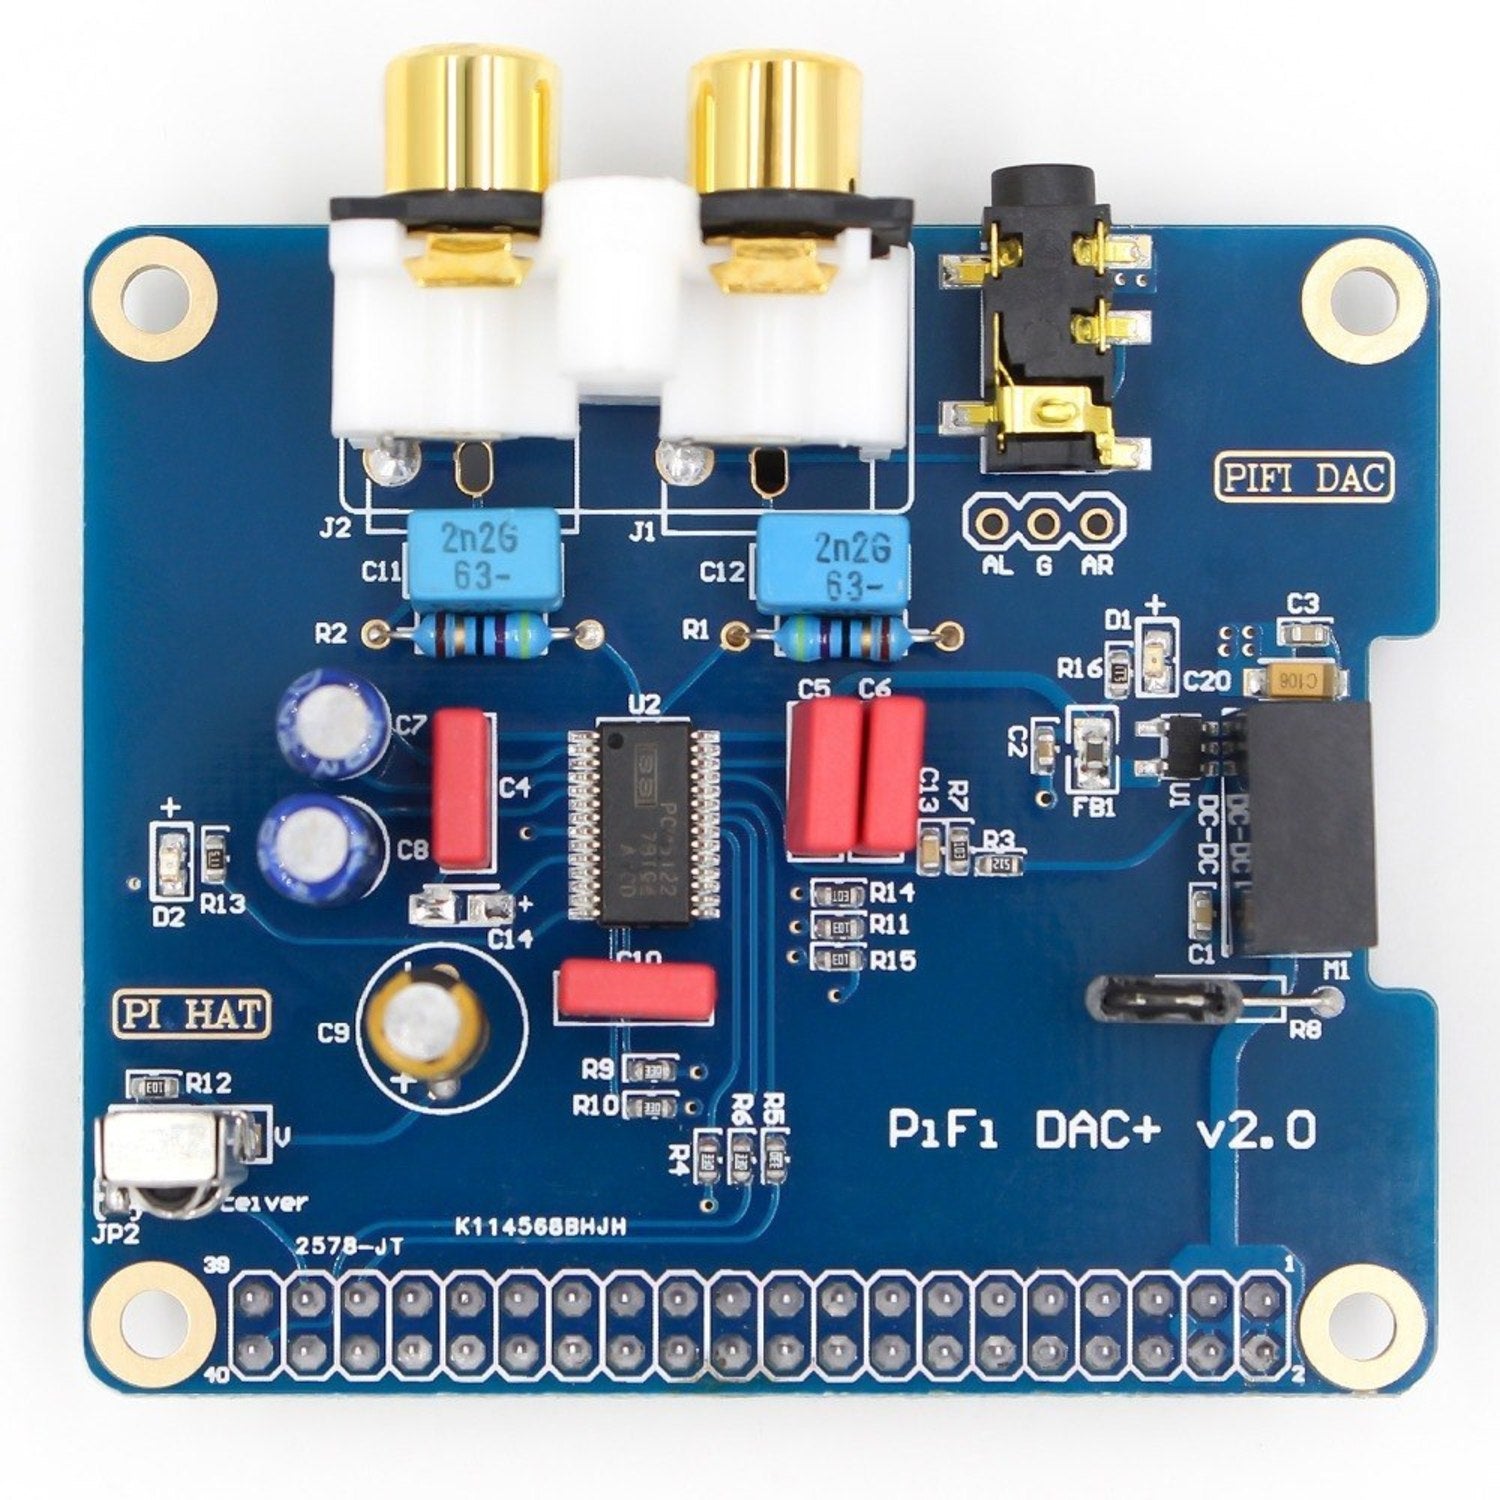
Connecting DACs
A DAC, or digital-to-analog converter, is an electronic device that converts digital audio signals into analog audio signals. To connect a DAC to the Raspberry Pi, you will need to use the USB port.
To connect a DAC to the Raspberry Pi, you will need a USB cable. Simply plug one end of the cable into the USB port on the Raspberry Pi, and the other end into the DAC's USB input.
Connecting Speakers
There are different ways to connect speakers to the Raspberry Pi, depending on the type of speakers and the output you want to achieve. One way to connect speakers is by using the 3.5mm audio jack, which can be used to connect a variety of speakers, including bookshelf, computer and portable speakers. To connect speakers to the 3.5mm audio jack, you will need a 3.5mm audio cable. Simply plug one end of the cable into the 3.5mm audio jack on the Raspberry Pi and the other end into the speakers' input.
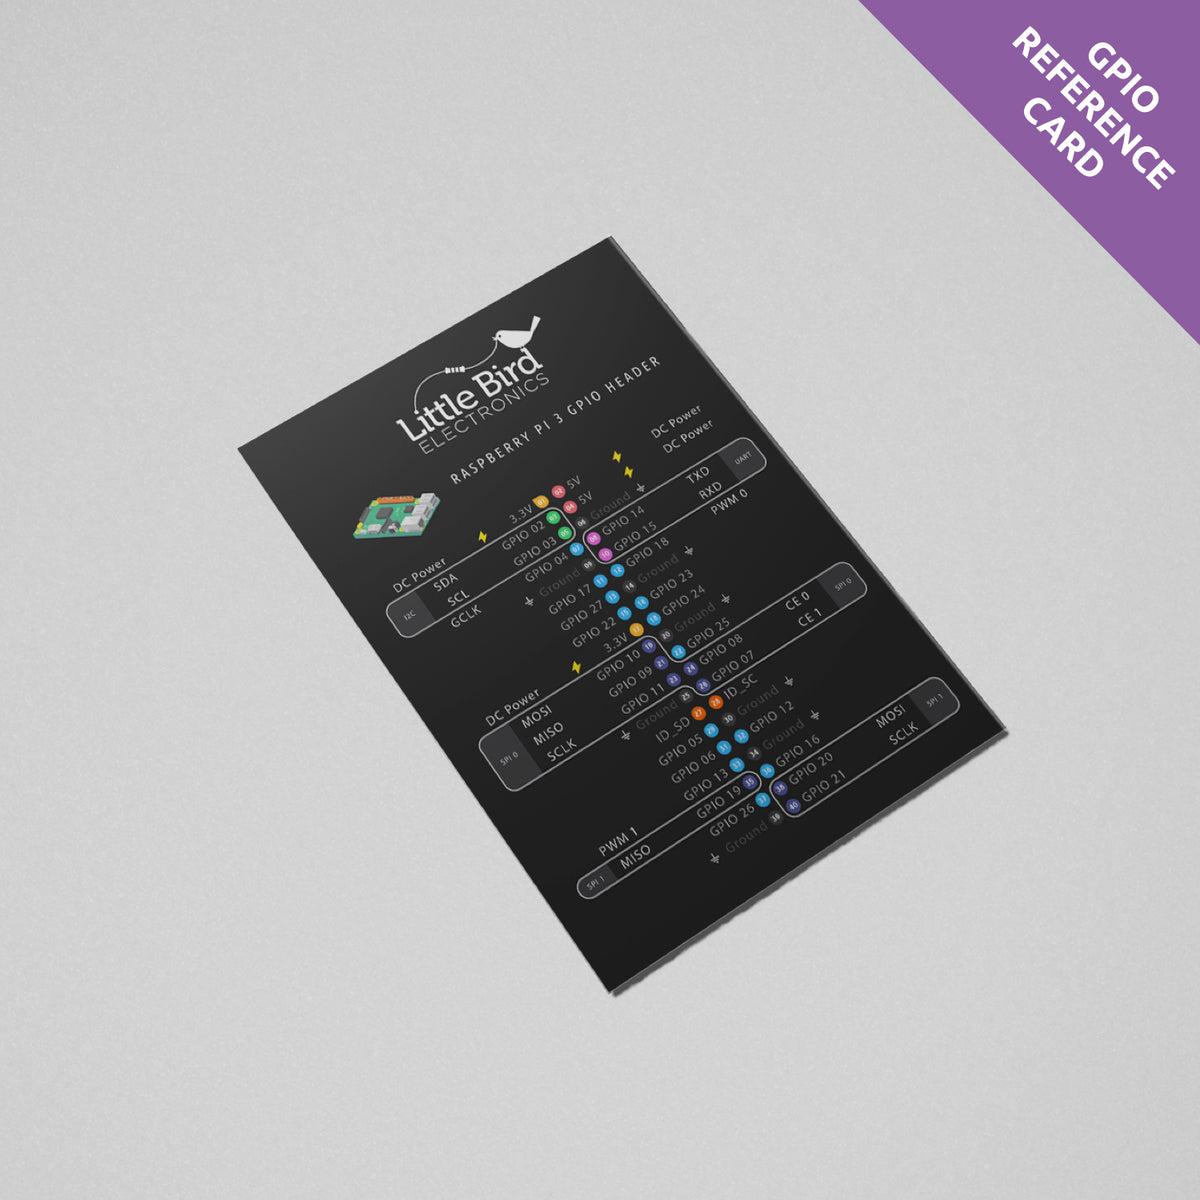
Another way to connect speakers is by using the GPIO pins on the Raspberry Pi. This method allows you to connect speakers using wires and connect them directly to the Raspberry Pi's GPIO pins, which can provide a better sound quality. However, this method requires some knowledge of electronics and soldering.
Conclusion
Connecting external audio hardware to the Raspberry Pi is an essential step in creating a powerful and customizable audio setup. By using the 3.5mm audio jack, HDMI port, or USB port, you can connect a variety of amplifiers, DACs, and speakers to the Raspberry Pi. Keep in mind that the method of connection will depend on the type of hardware you have and the output you want to achieve. With the right connections and setup, you can enhance the audio experience on your Raspberry Pi and enjoy high-quality sound.
- Choosing a selection results in a full page refresh.