


Tips and Tricks for Optimizing Audio Quality for Raspberry Pi
As a maker or DIY enthusiast, you may have come across the Raspberry Pi as a versatile and affordable platform for your audio projects. Whether you're building a music player, a podcast recorder, or a home theater system, the Raspberry Pi has the potential to deliver high-quality audio performance. However, achieving optimal audio quality with the Raspberry Pi can be a bit tricky, as it involves several factors such as hardware, software, and audio configuration. In this blog post, we'll explore some tips and tricks for optimizing audio quality for Raspberry Pi DIY audio projects.
Hardware Considerations
-
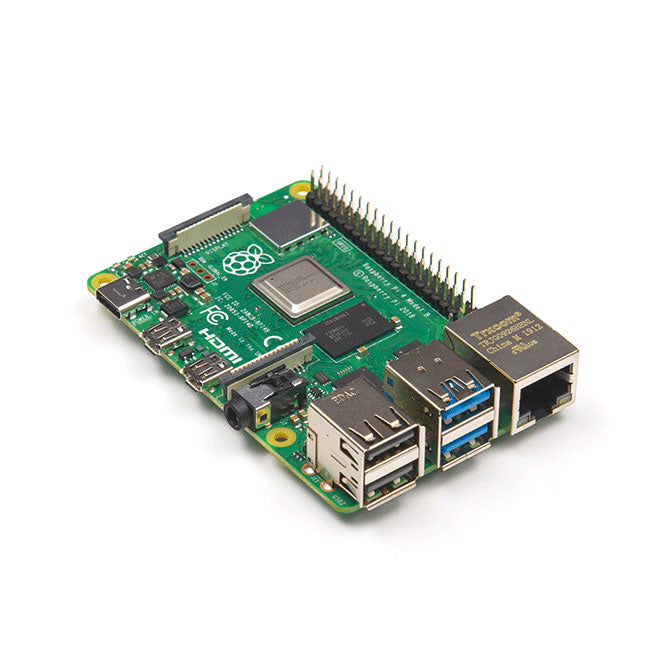
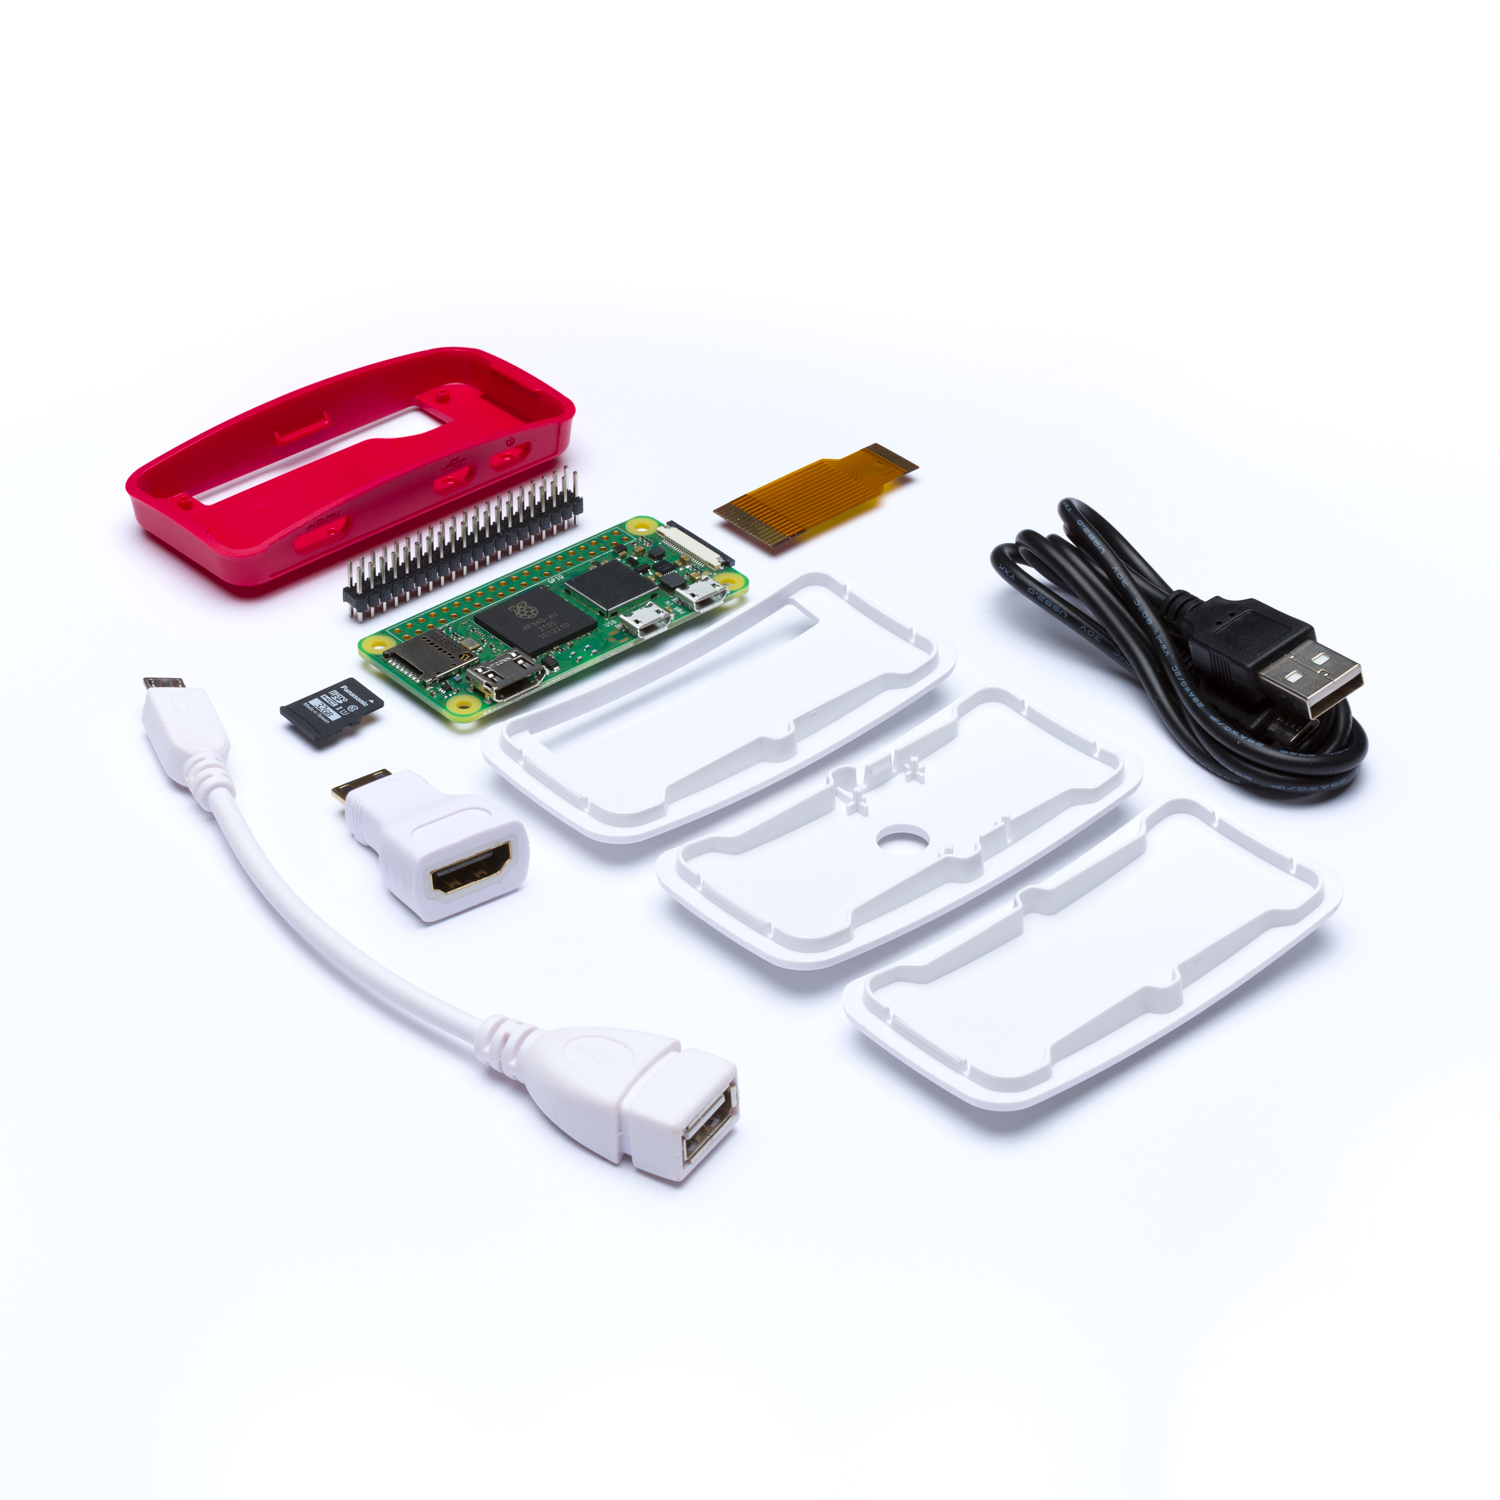
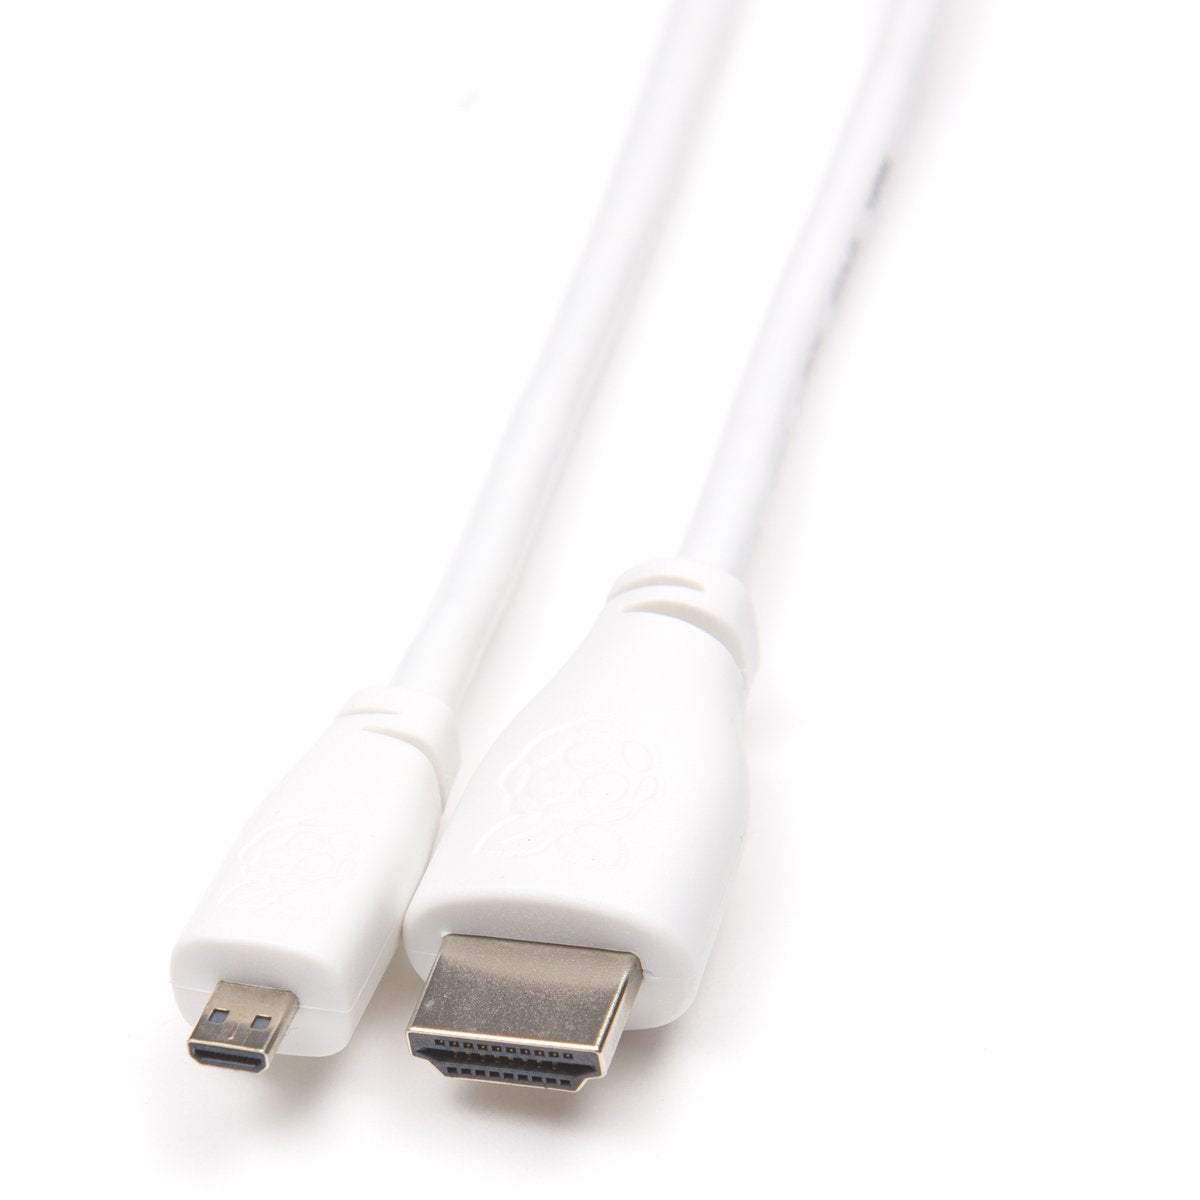
Audio Output: The Raspberry Pi offers several audio output options, such as HDMI, 3.5mm jack, and USB audio. Each option has its own advantages and limitations, and the choice depends on your project's requirements and budget. For example, HDMI can deliver high-resolution audio and multi-channel output, but it requires a compatible display or audio receiver. On the other hand, the 3.5mm jack and USB audio can offer better compatibility and flexibility, but they may not support high-resolution audio formats.
-
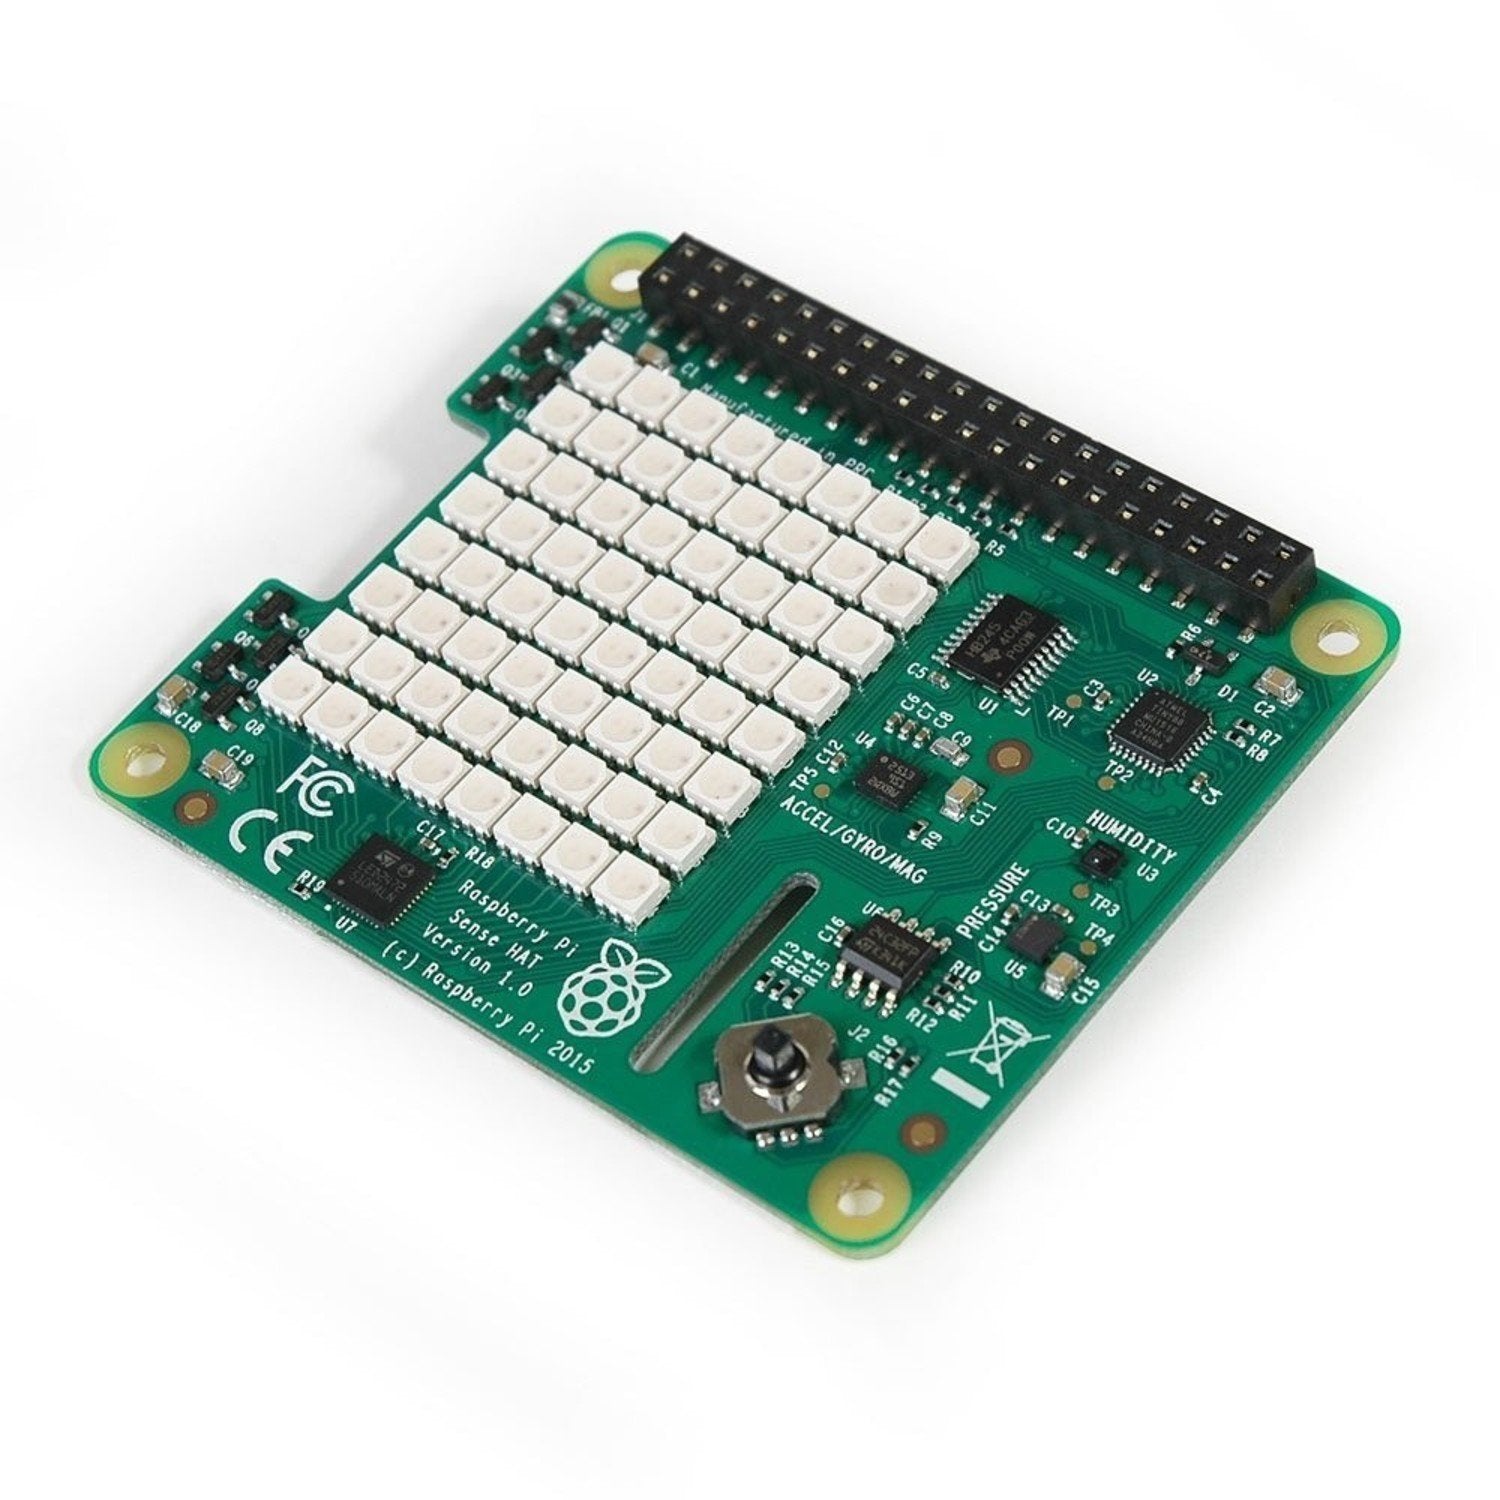
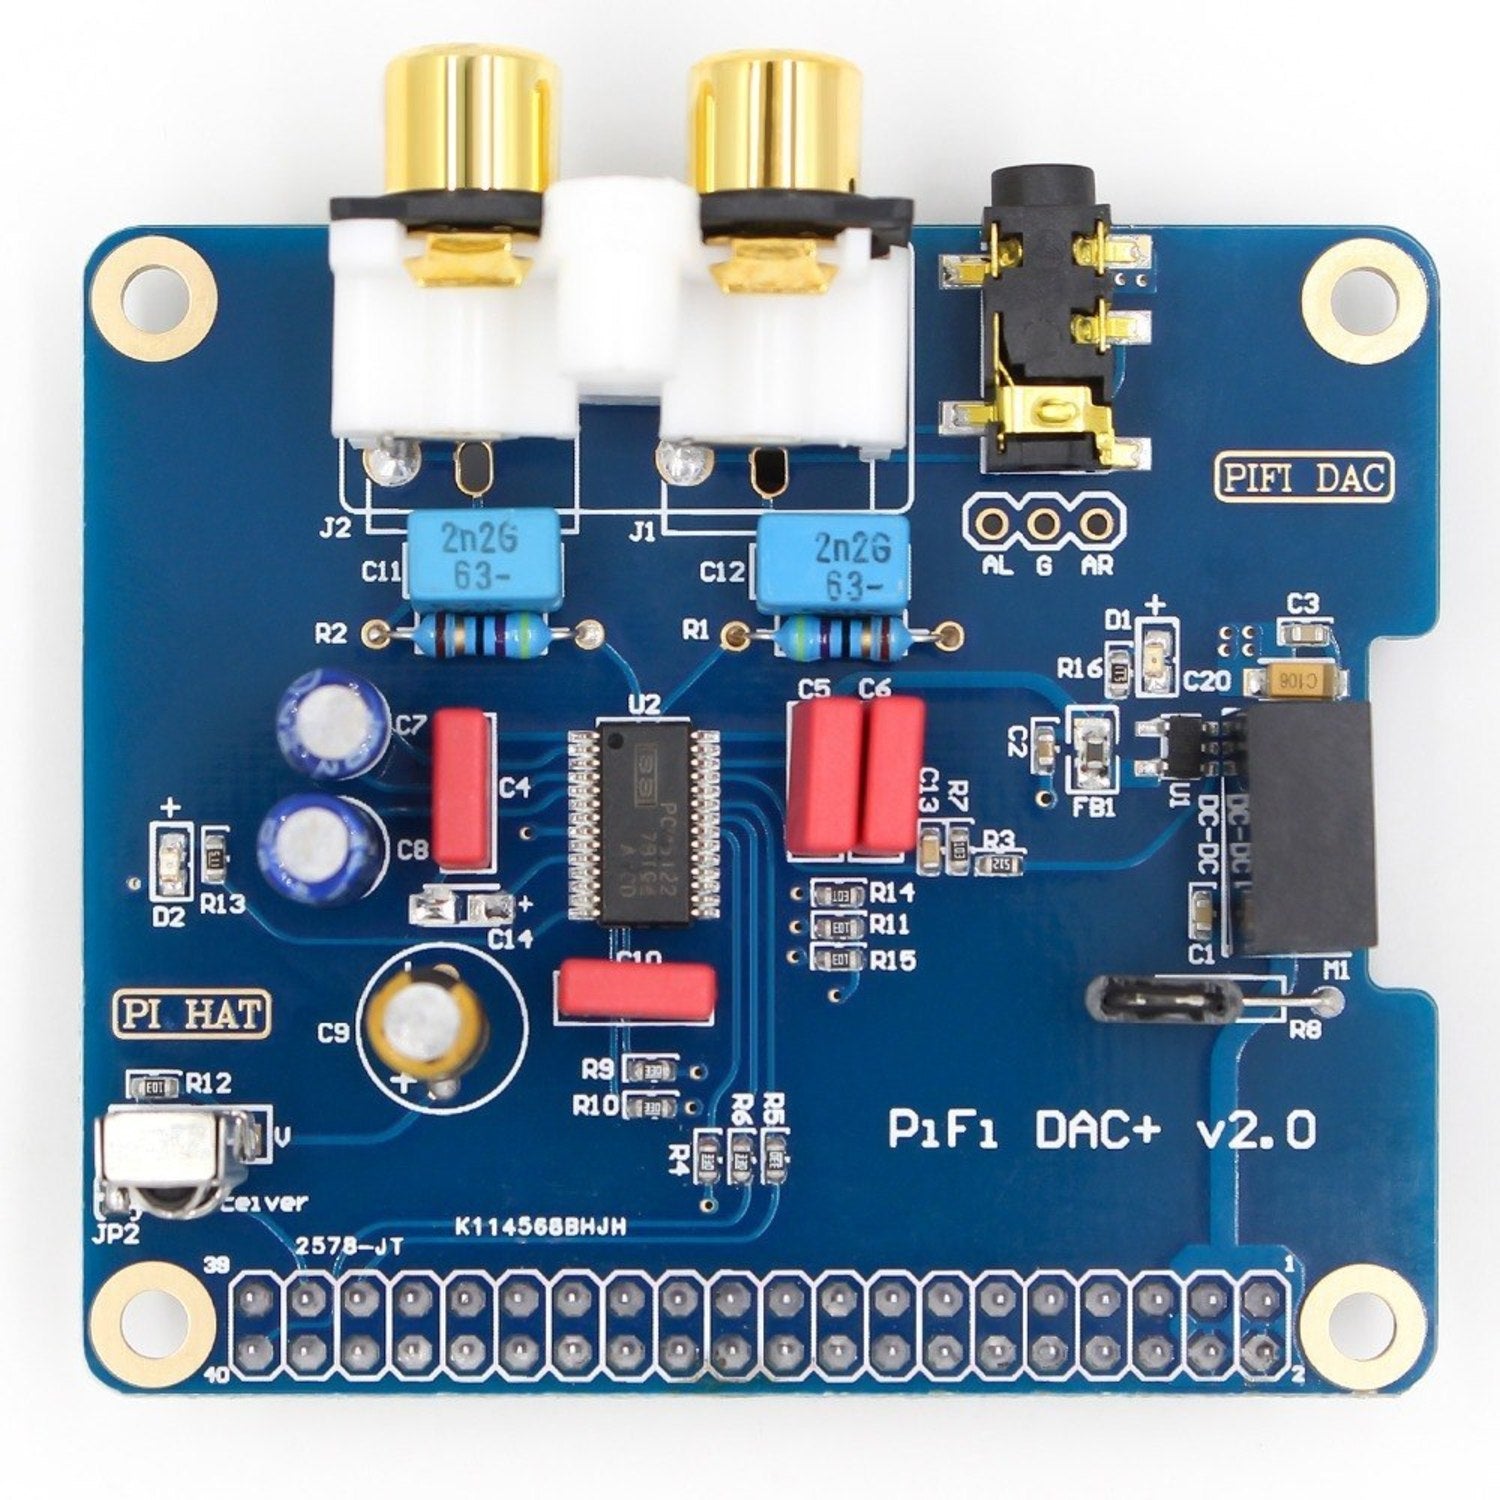
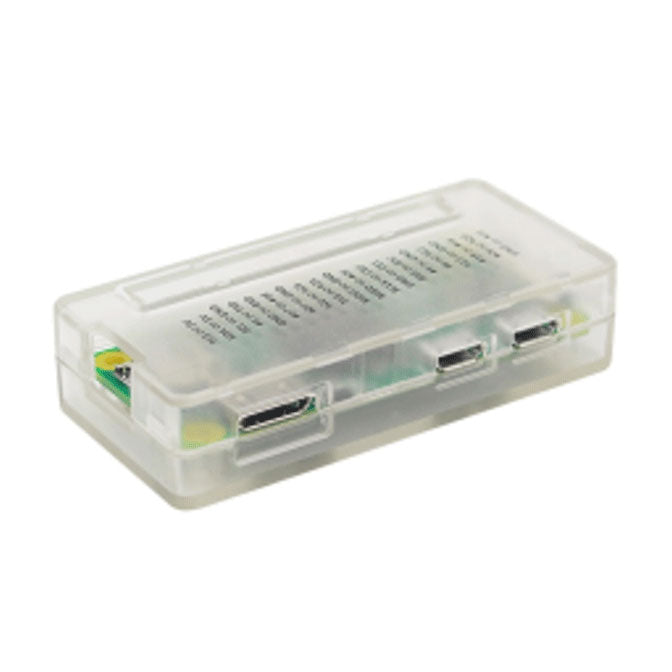
Sound Card: To improve the audio quality of your Raspberry Pi, you can add an external sound card. A sound card is a device that interfaces with the Raspberry Pi's audio output and enhances the quality and features of the audio. Some sound cards offer features such as digital-to-analog conversion, audio filtering, and volume control.
-
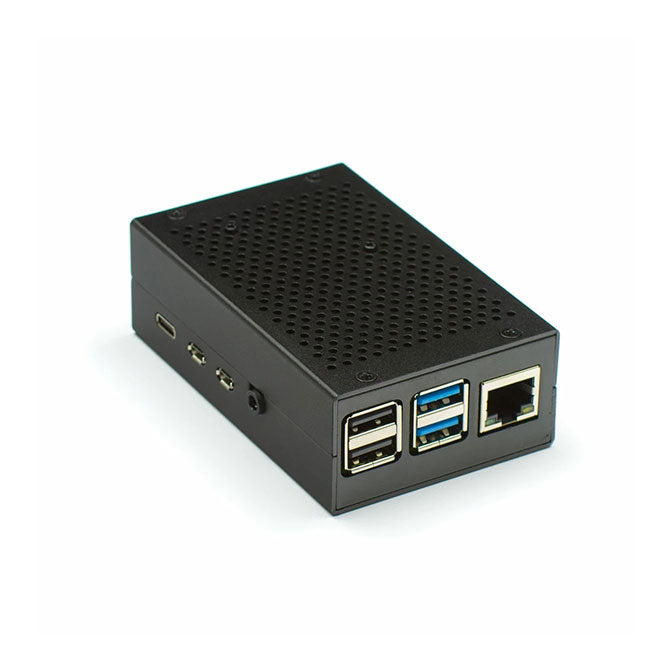
Amplifier: If you're building a music player or a home theater system, you may need to add an amplifier to your Raspberry Pi project. An amplifier is a device that boosts the audio signal and drives speakers or headphones. A good amplifier can improve the volume, clarity, and dynamic range of the audio.
Software Considerations
-
Operating System: The Raspberry Pi supports a variety of operating systems, such as Raspbian, Ubuntu, and Arch Linux. Some operating systems may have better support for audio features and configurations, so it's worth researching which OS would be best for your project.
-
Audio Drivers: The Raspberry Pi's audio output is handled by Linux audio drivers, which can have varying levels of support and quality. It's important to ensure that your operating system and audio drivers are up to date and compatible with your hardware and software.
-
Audio Software: There are several software options available for the Raspberry Pi that can improve audio quality, such as ALSA, PulseAudio, and MPD. Each software has its own features and capabilities, and it's worth researching which one would be best for your project.
Audio Configuration
-
Sampling Rate and Bit Depth: The sampling rate and bit depth are two important factors that affect the audio quality. The sampling rate determines the number of times per second that the audio is sampled, and the bit depth determines the number of bits used to represent each sample. Higher sampling rates and bit depths can result in better audio quality, but they also increase the file size and processing power required.
-
Volume Control: The Raspberry Pi's audio output can be controlled by software or hardware volume control. Software volume control can be adjusted through the operating system or audio software, while hardware volume control can be adjusted through the sound card or amplifier. It's important to ensure that the volume is set to an optimal level to avoid distortion or clipping.
-
Equalization: Equalization is the process of adjusting the balance of frequency components in an audio signal. Equalization can be used to enhance or reduce certain frequencies in the audio, such as bass, treble, and mid-range. The Raspberry Pi can be configured to use software or hardware equalization, depending on your project
- Choosing a selection results in a full page refresh.