


How to set up and configure a Raspberry Pi for IoT projects
Raspberry Pi is a small, low-cost computer that is perfect for Internet of Things (IoT) projects. With its small size and low power consumption, it's easy to set up and use as the central hub for your IoT network. In this blog post, we'll go over the steps to set up and configure a Raspberry Pi for IoT projects.
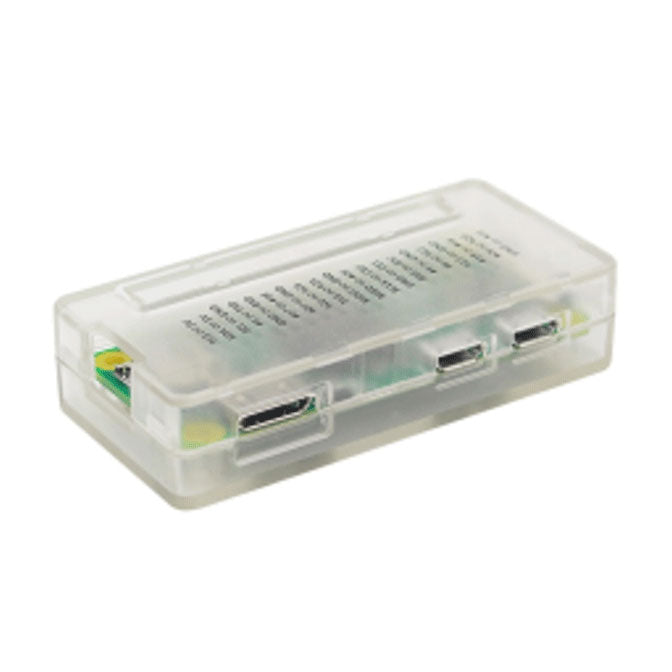
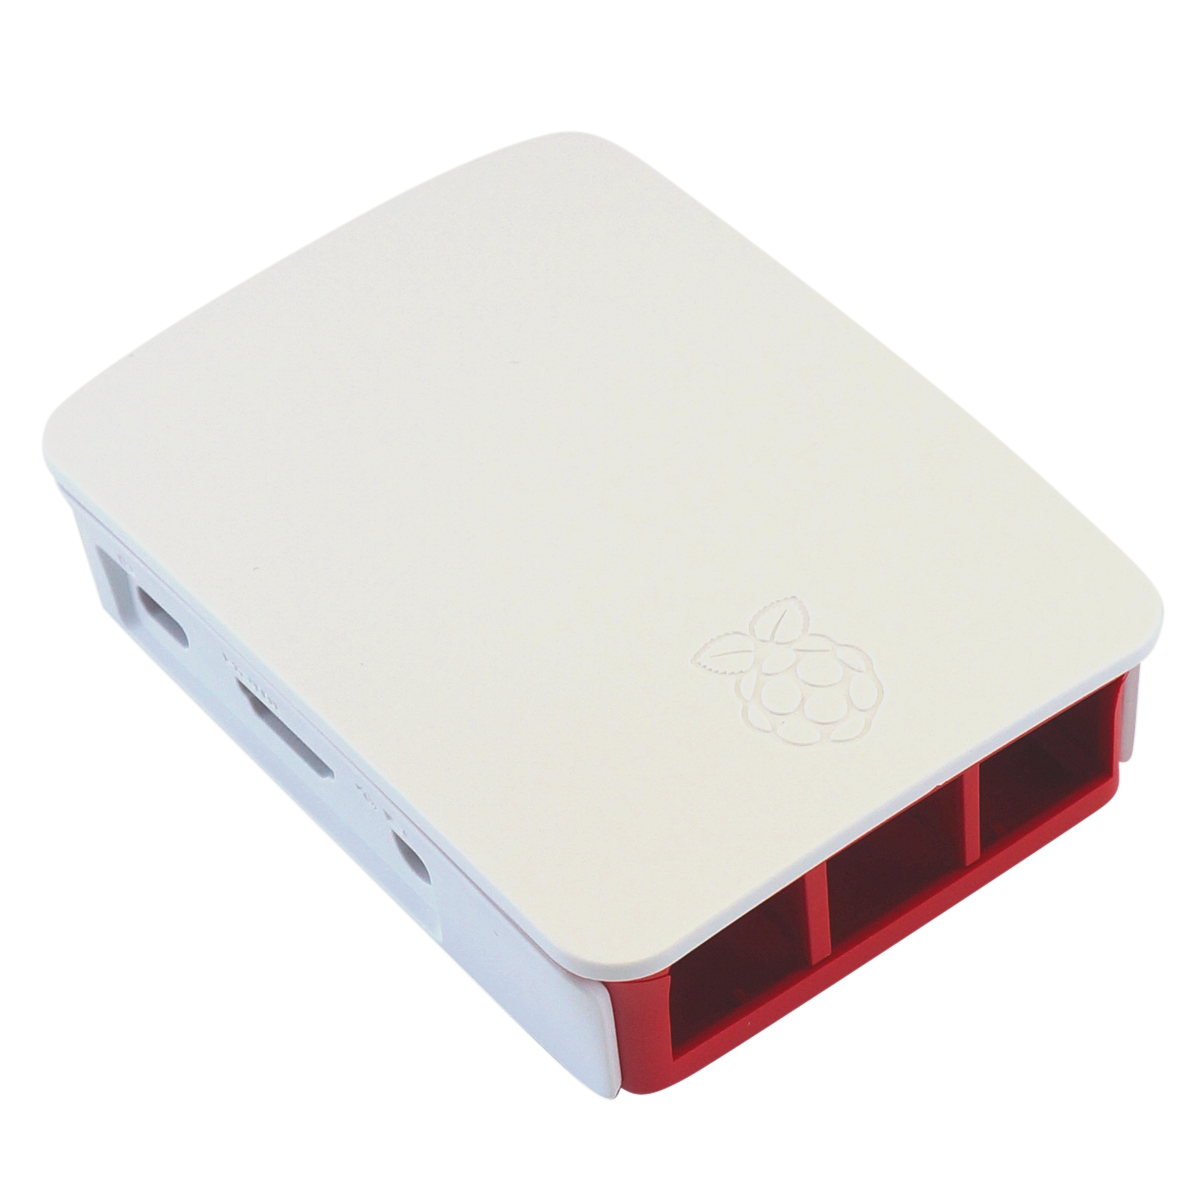
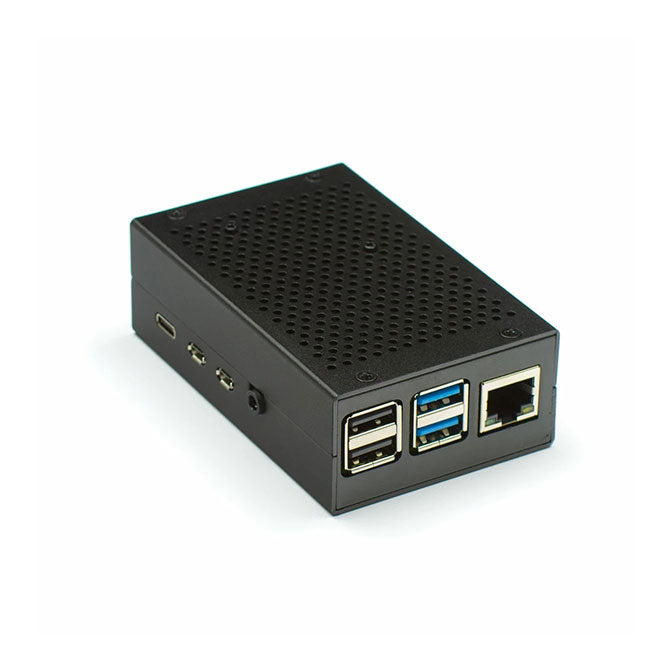
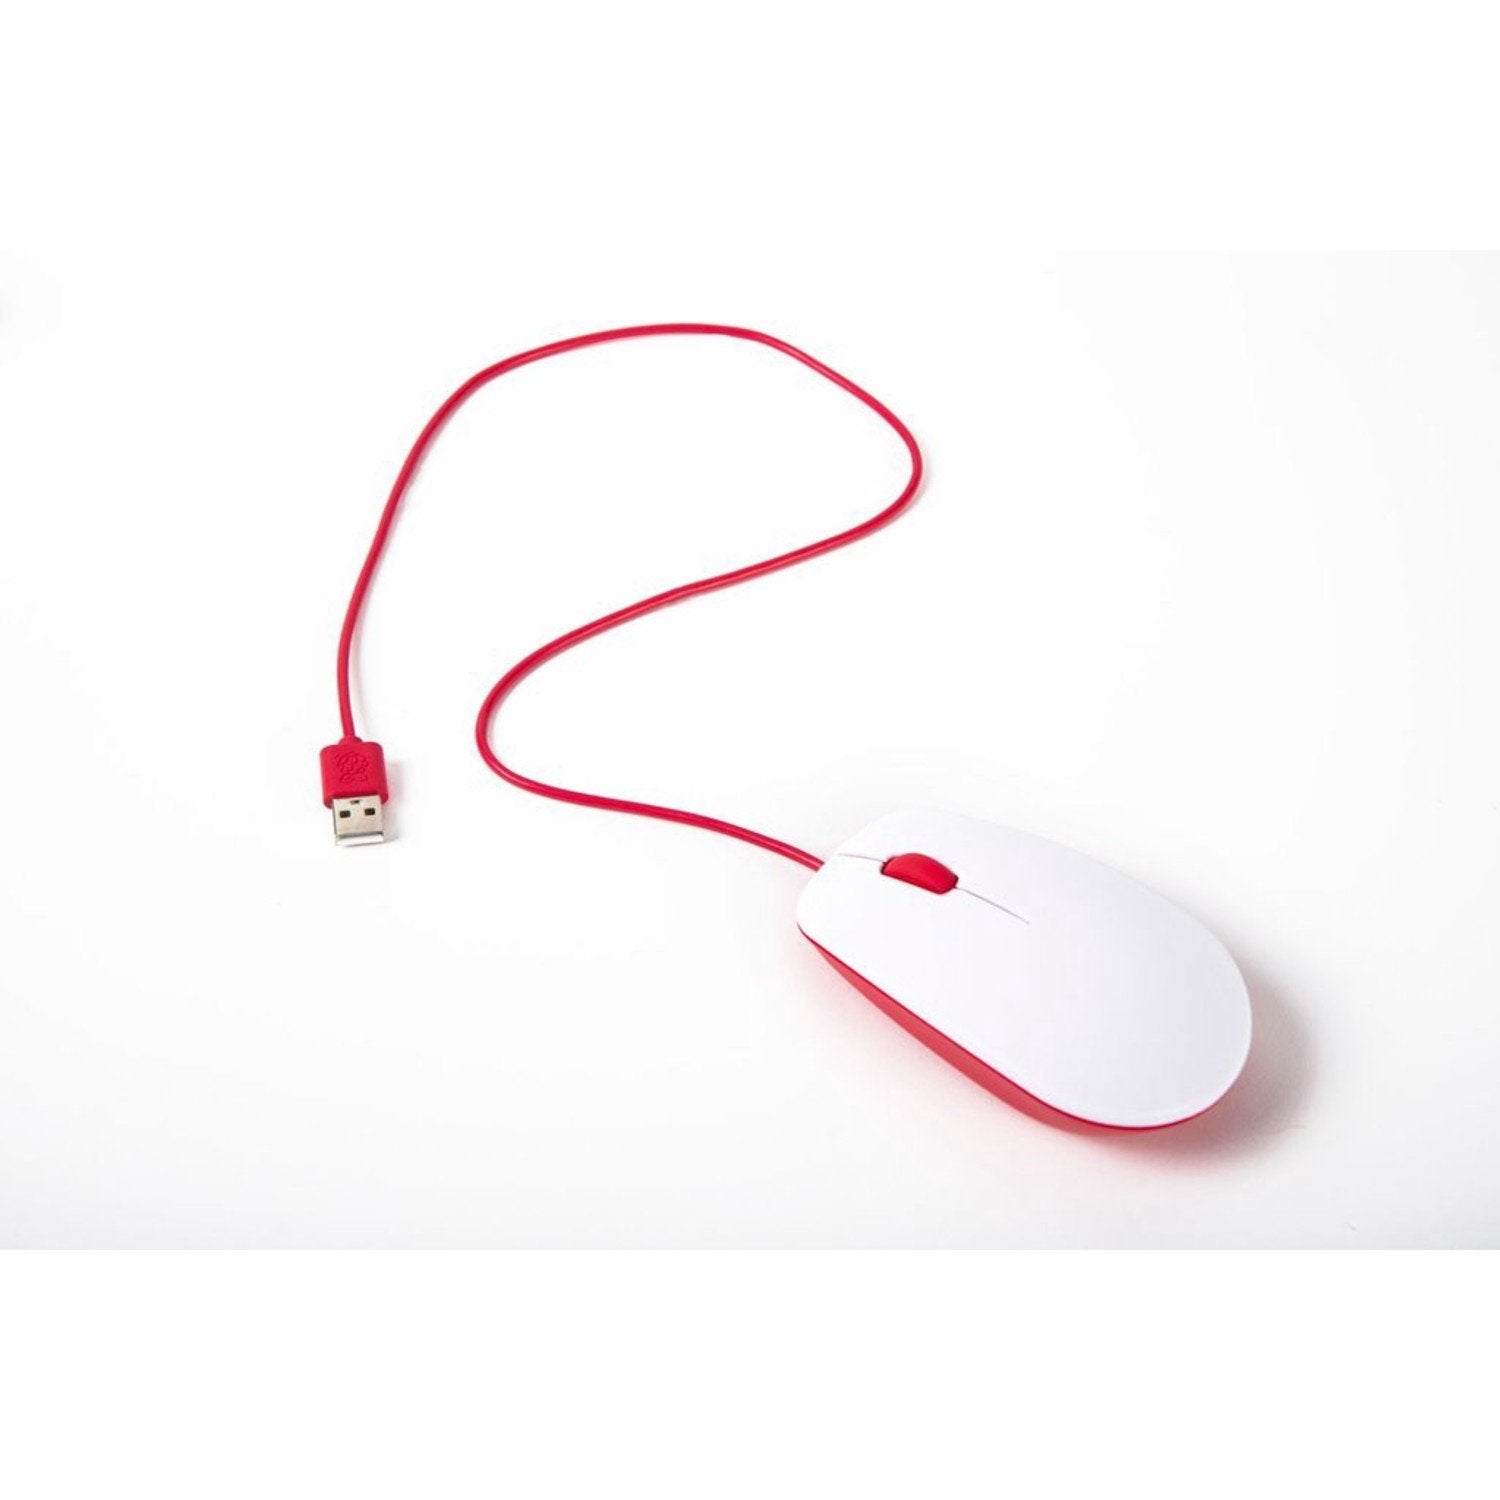
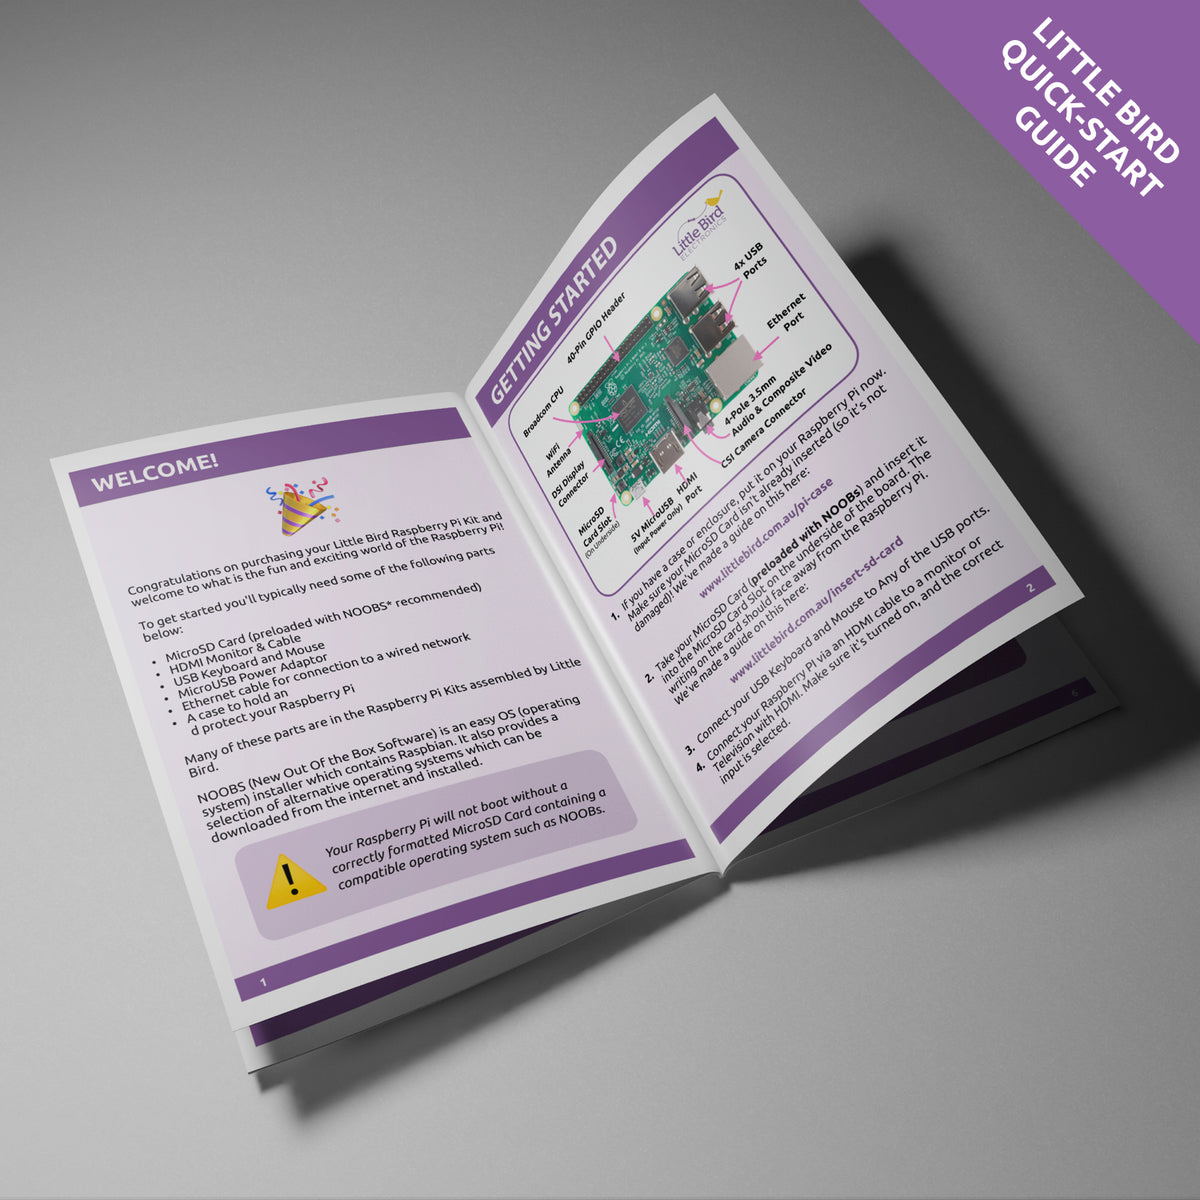
Step 1: Get the Hardware
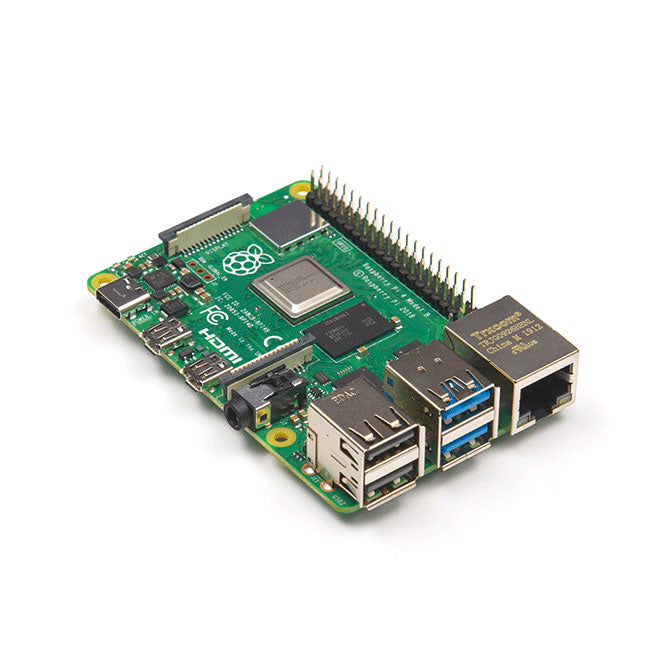
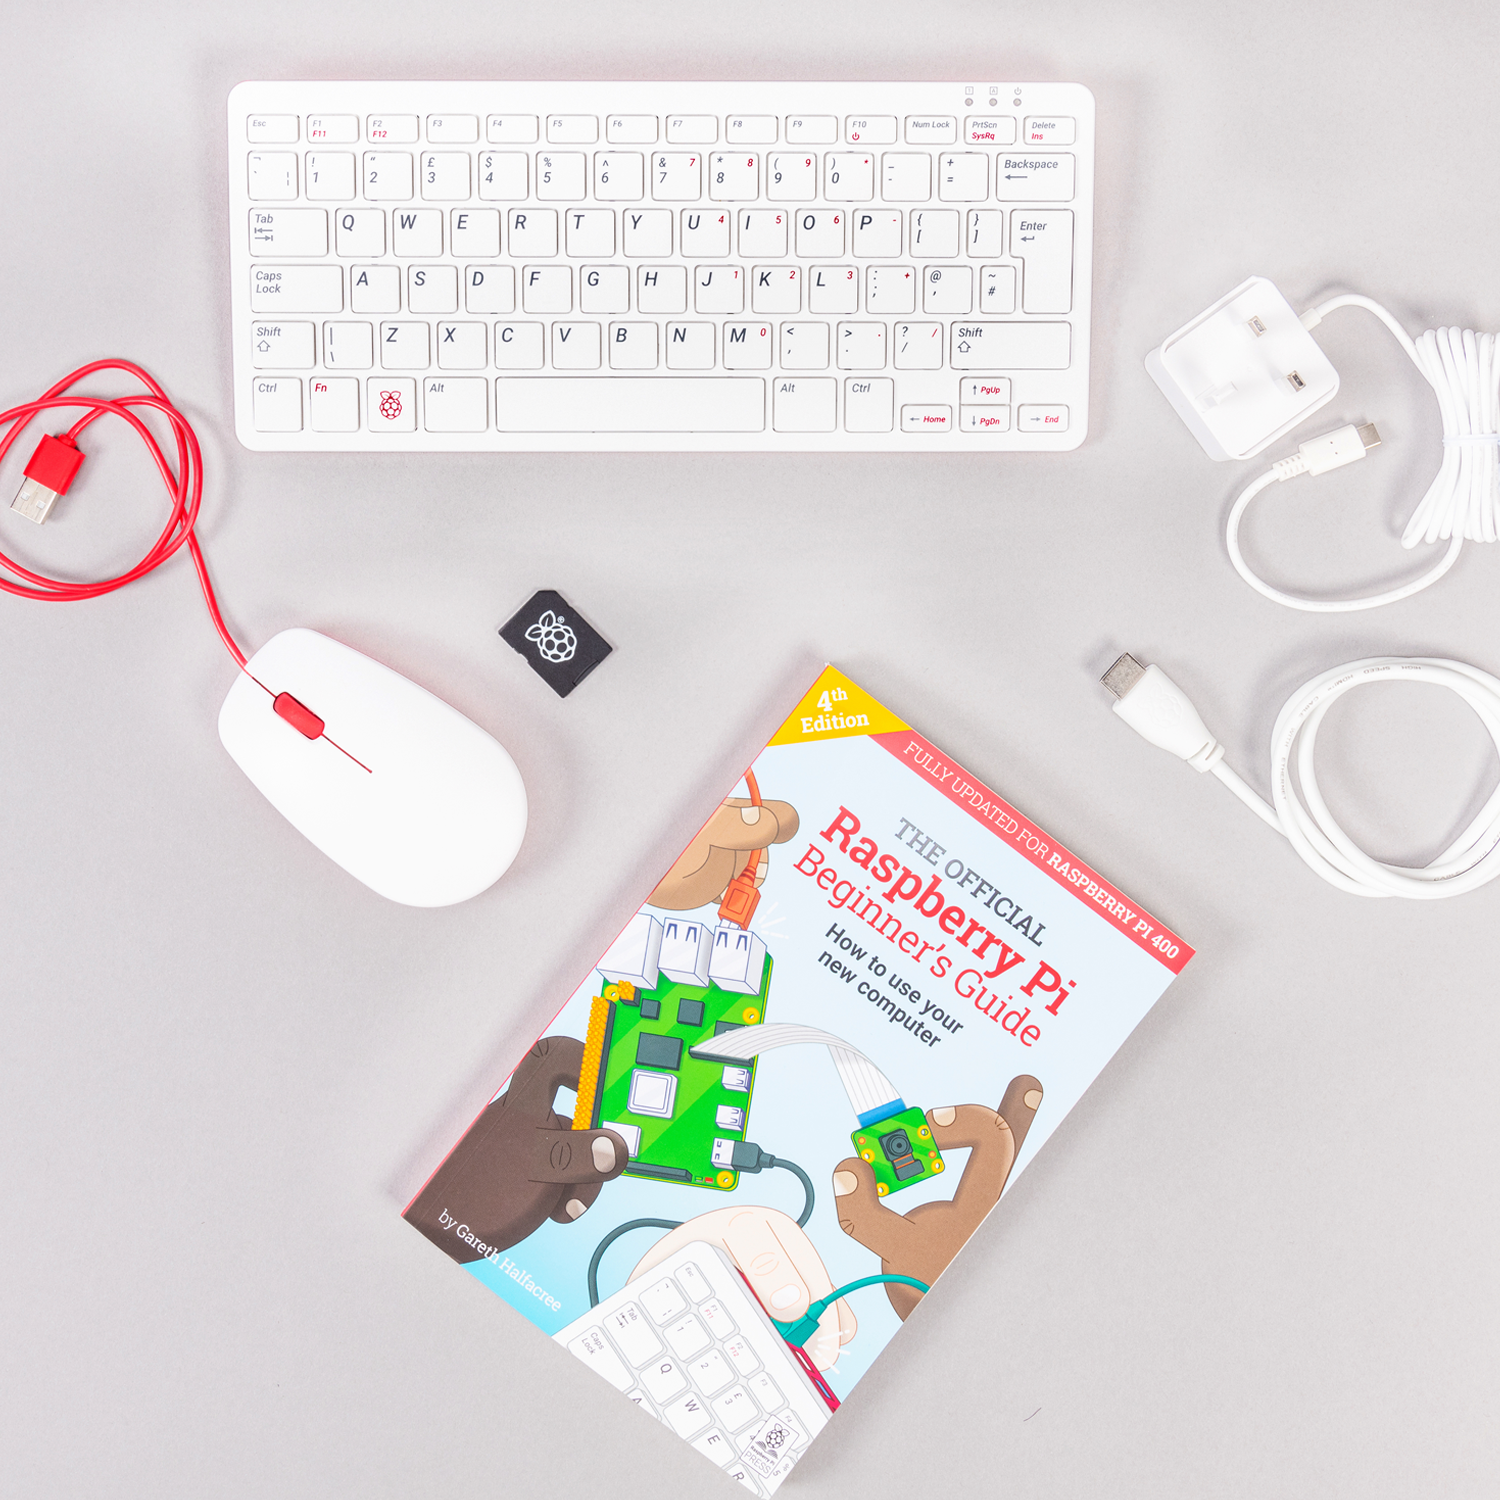
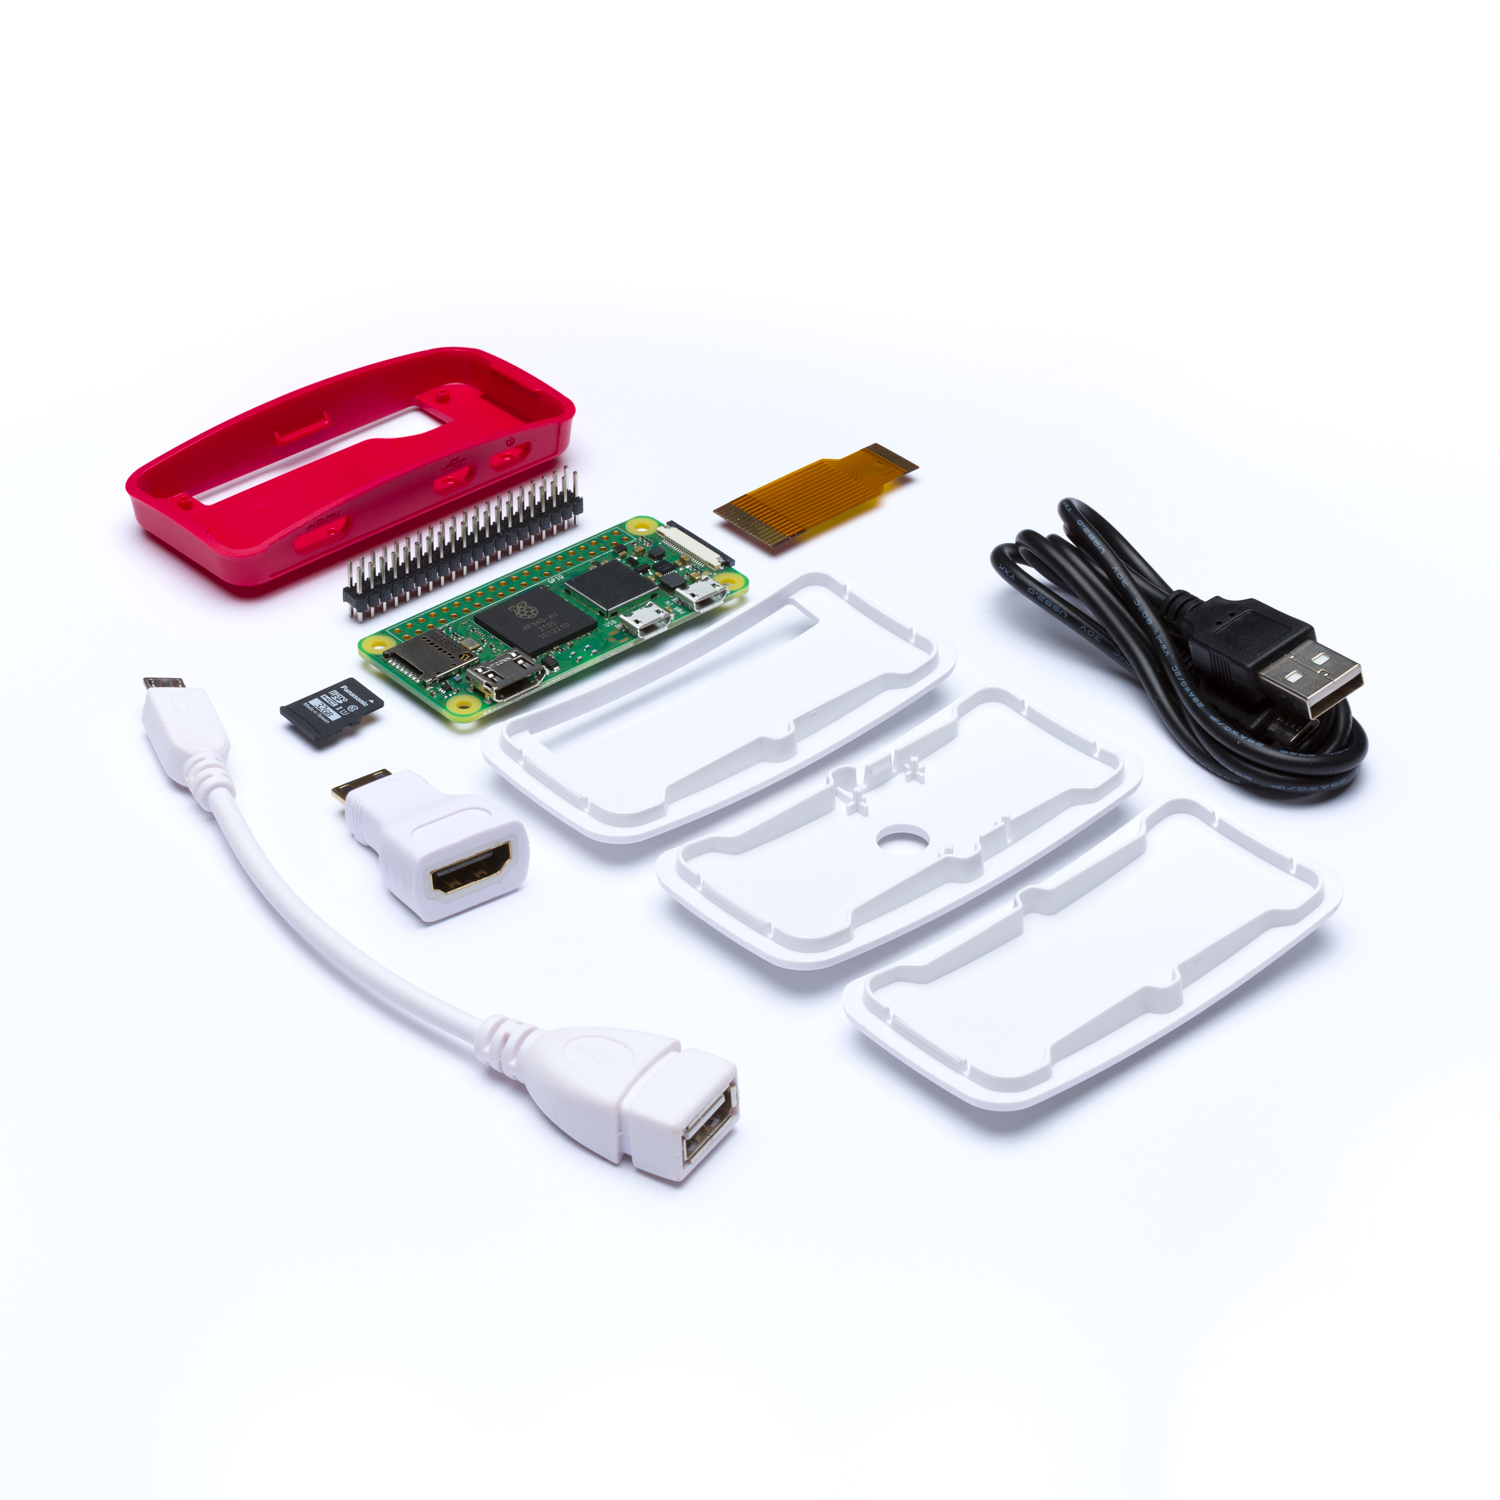
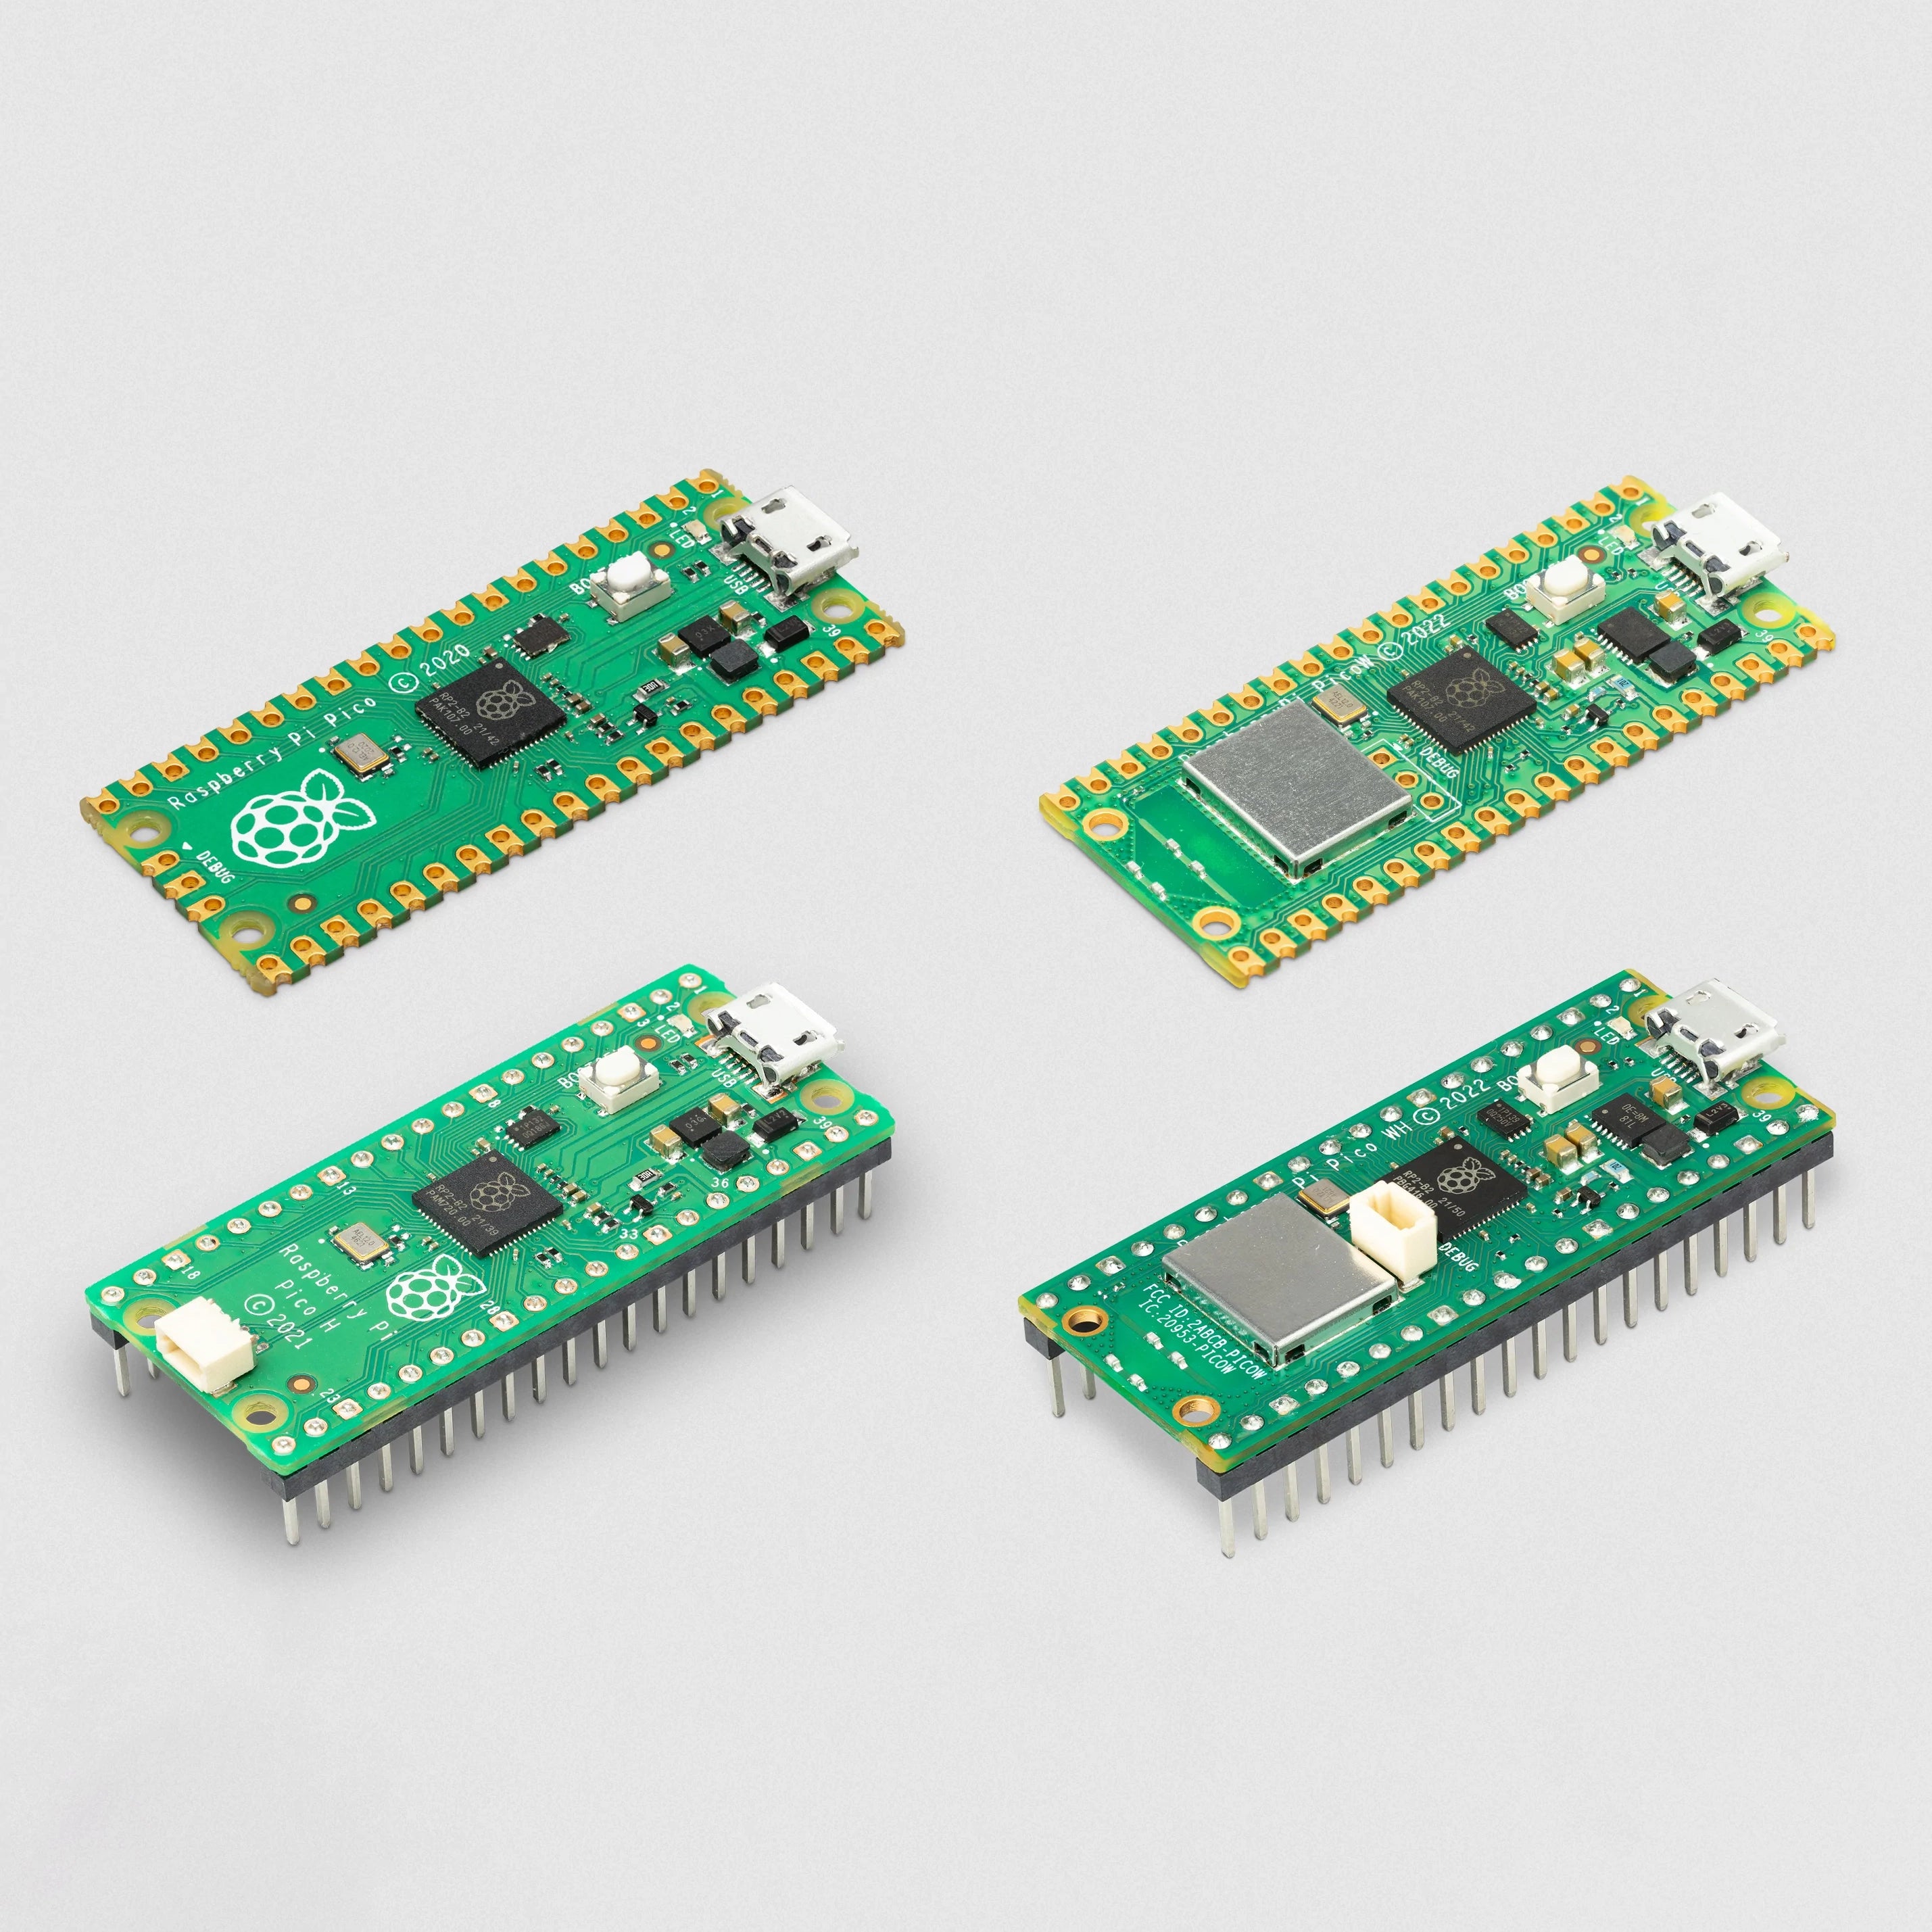
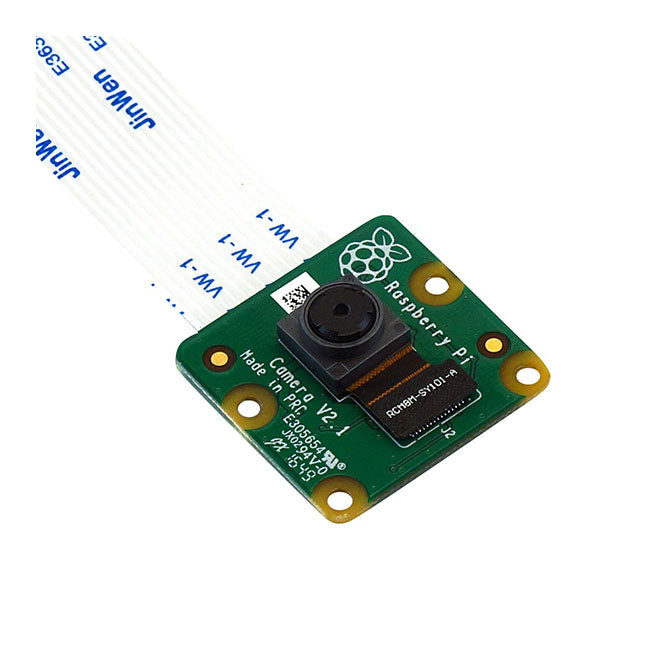
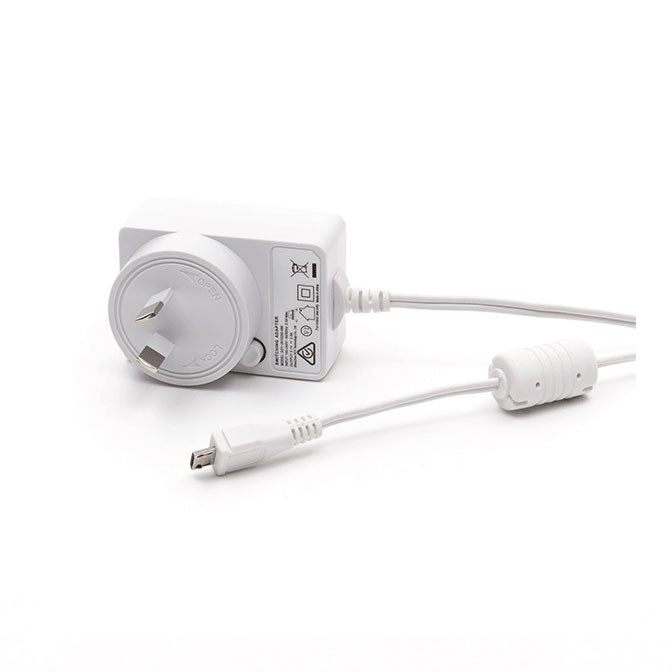
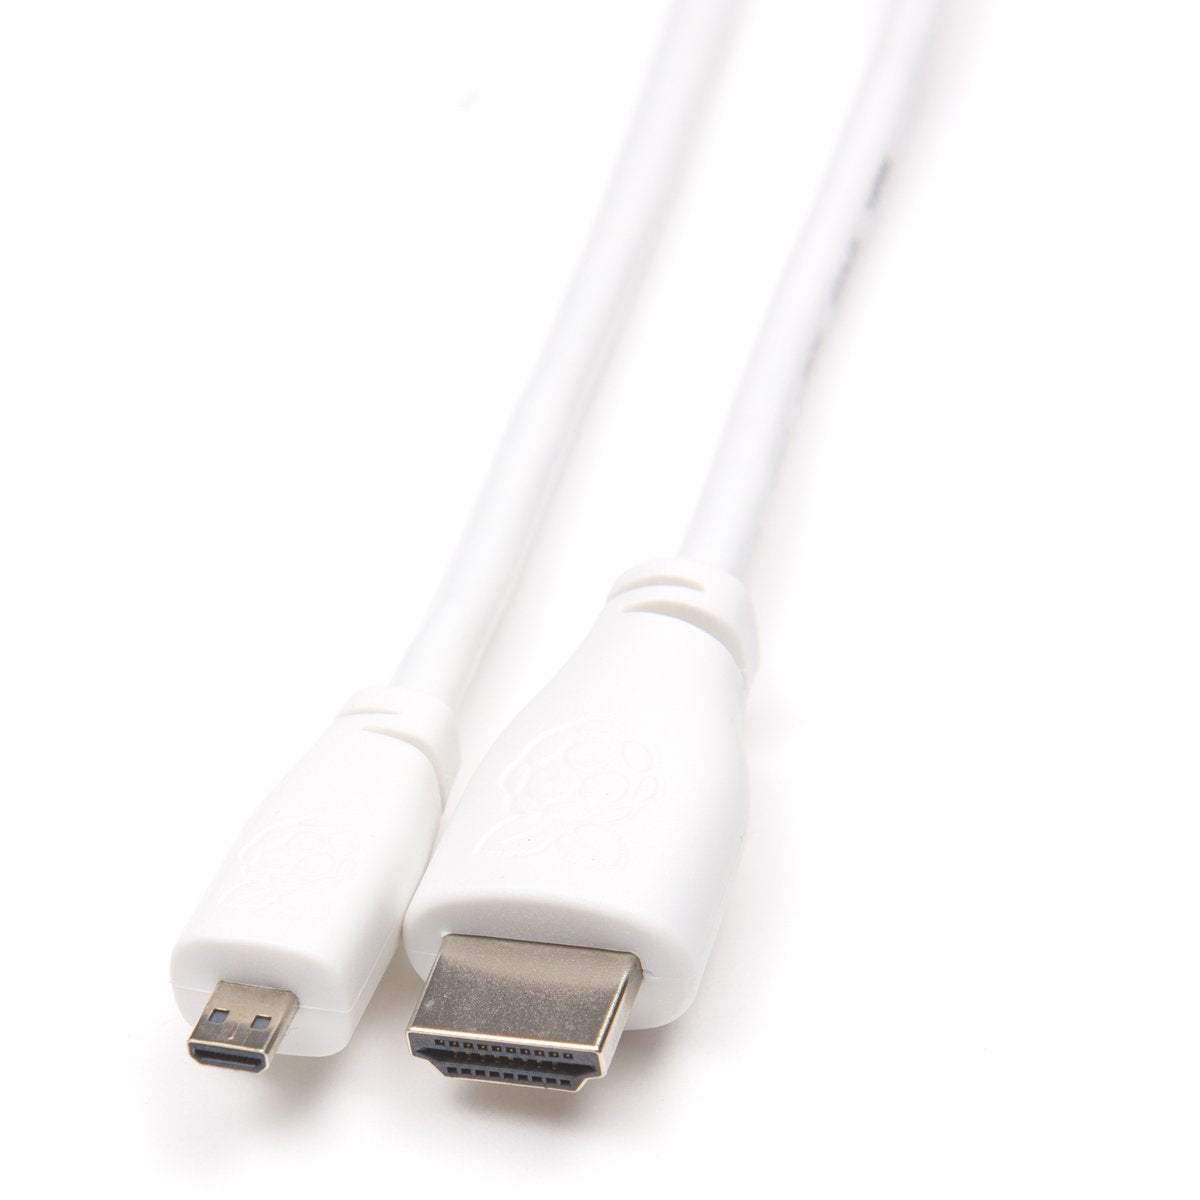
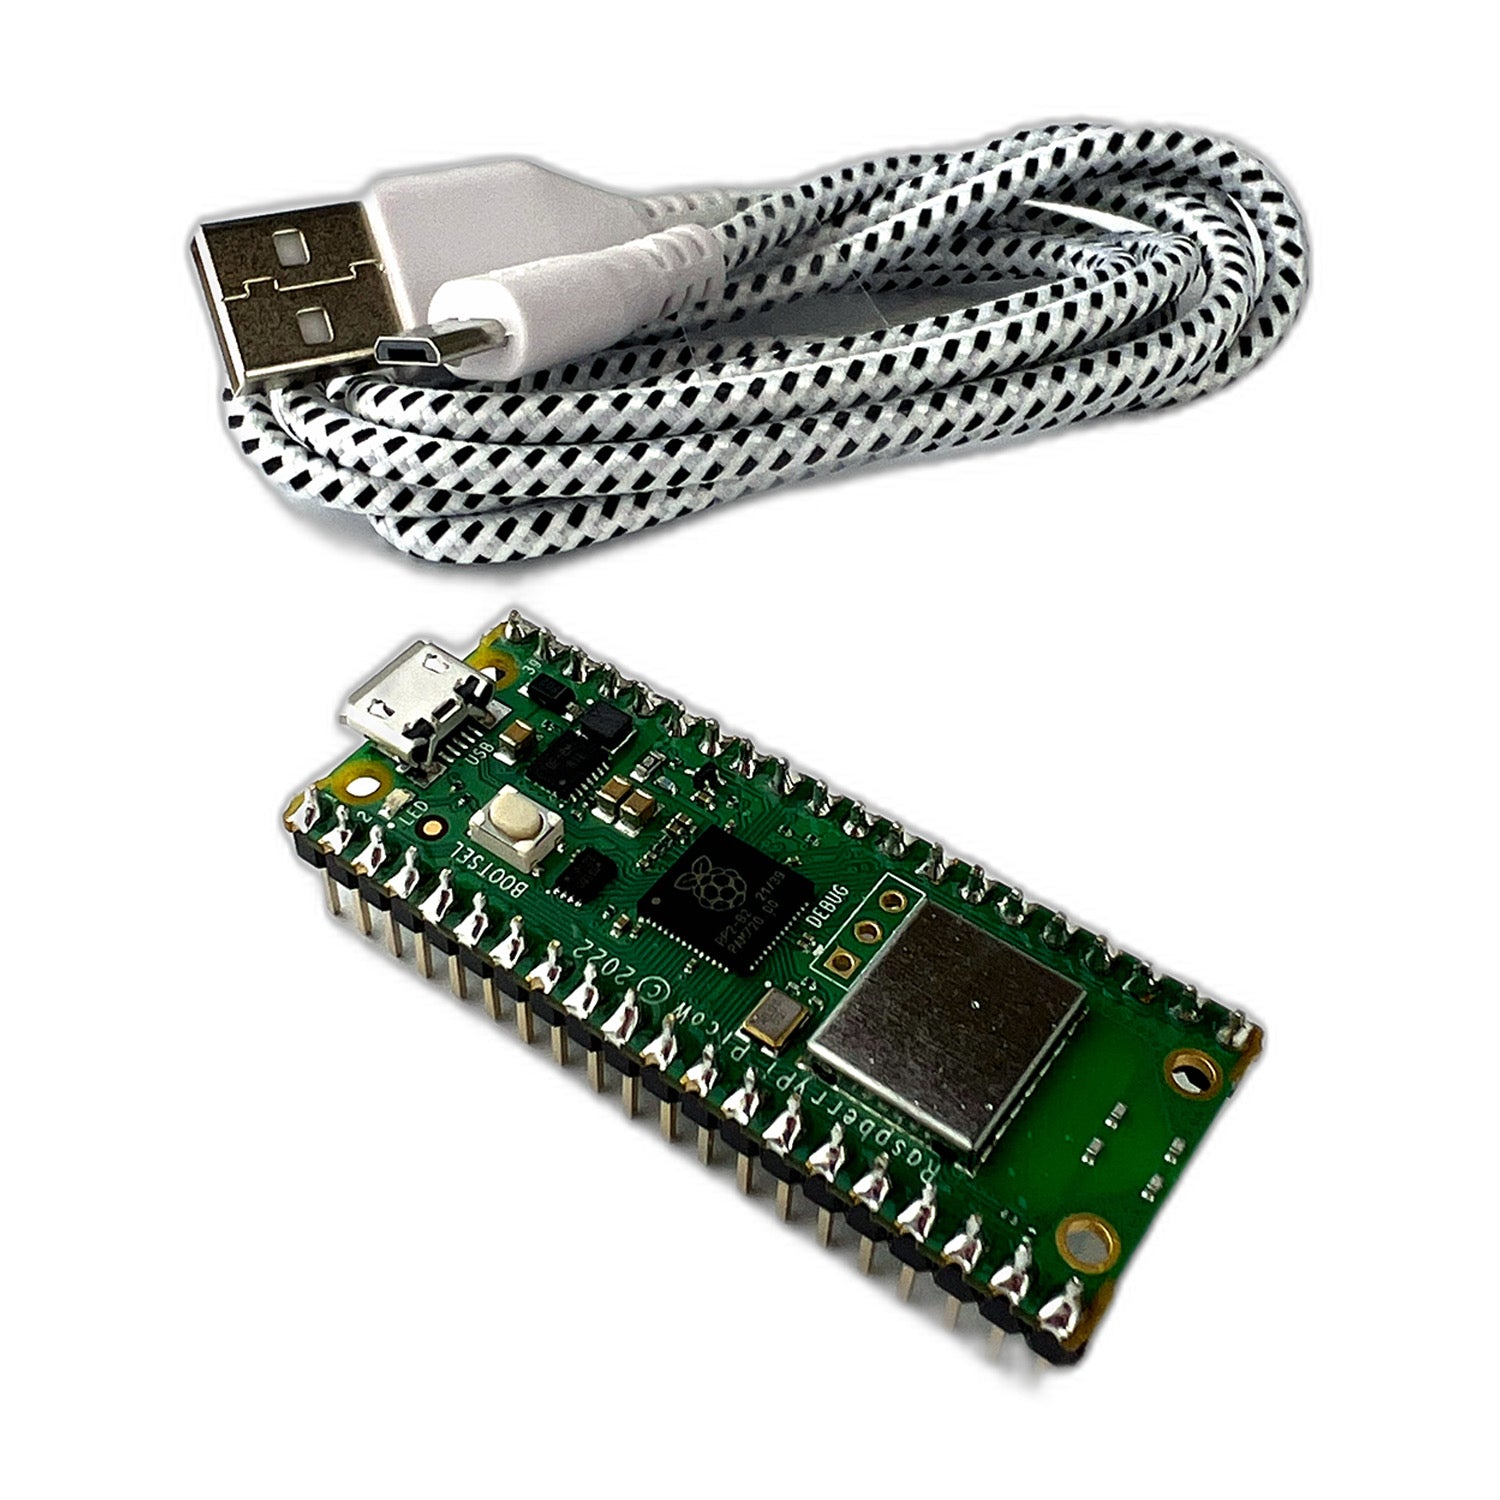
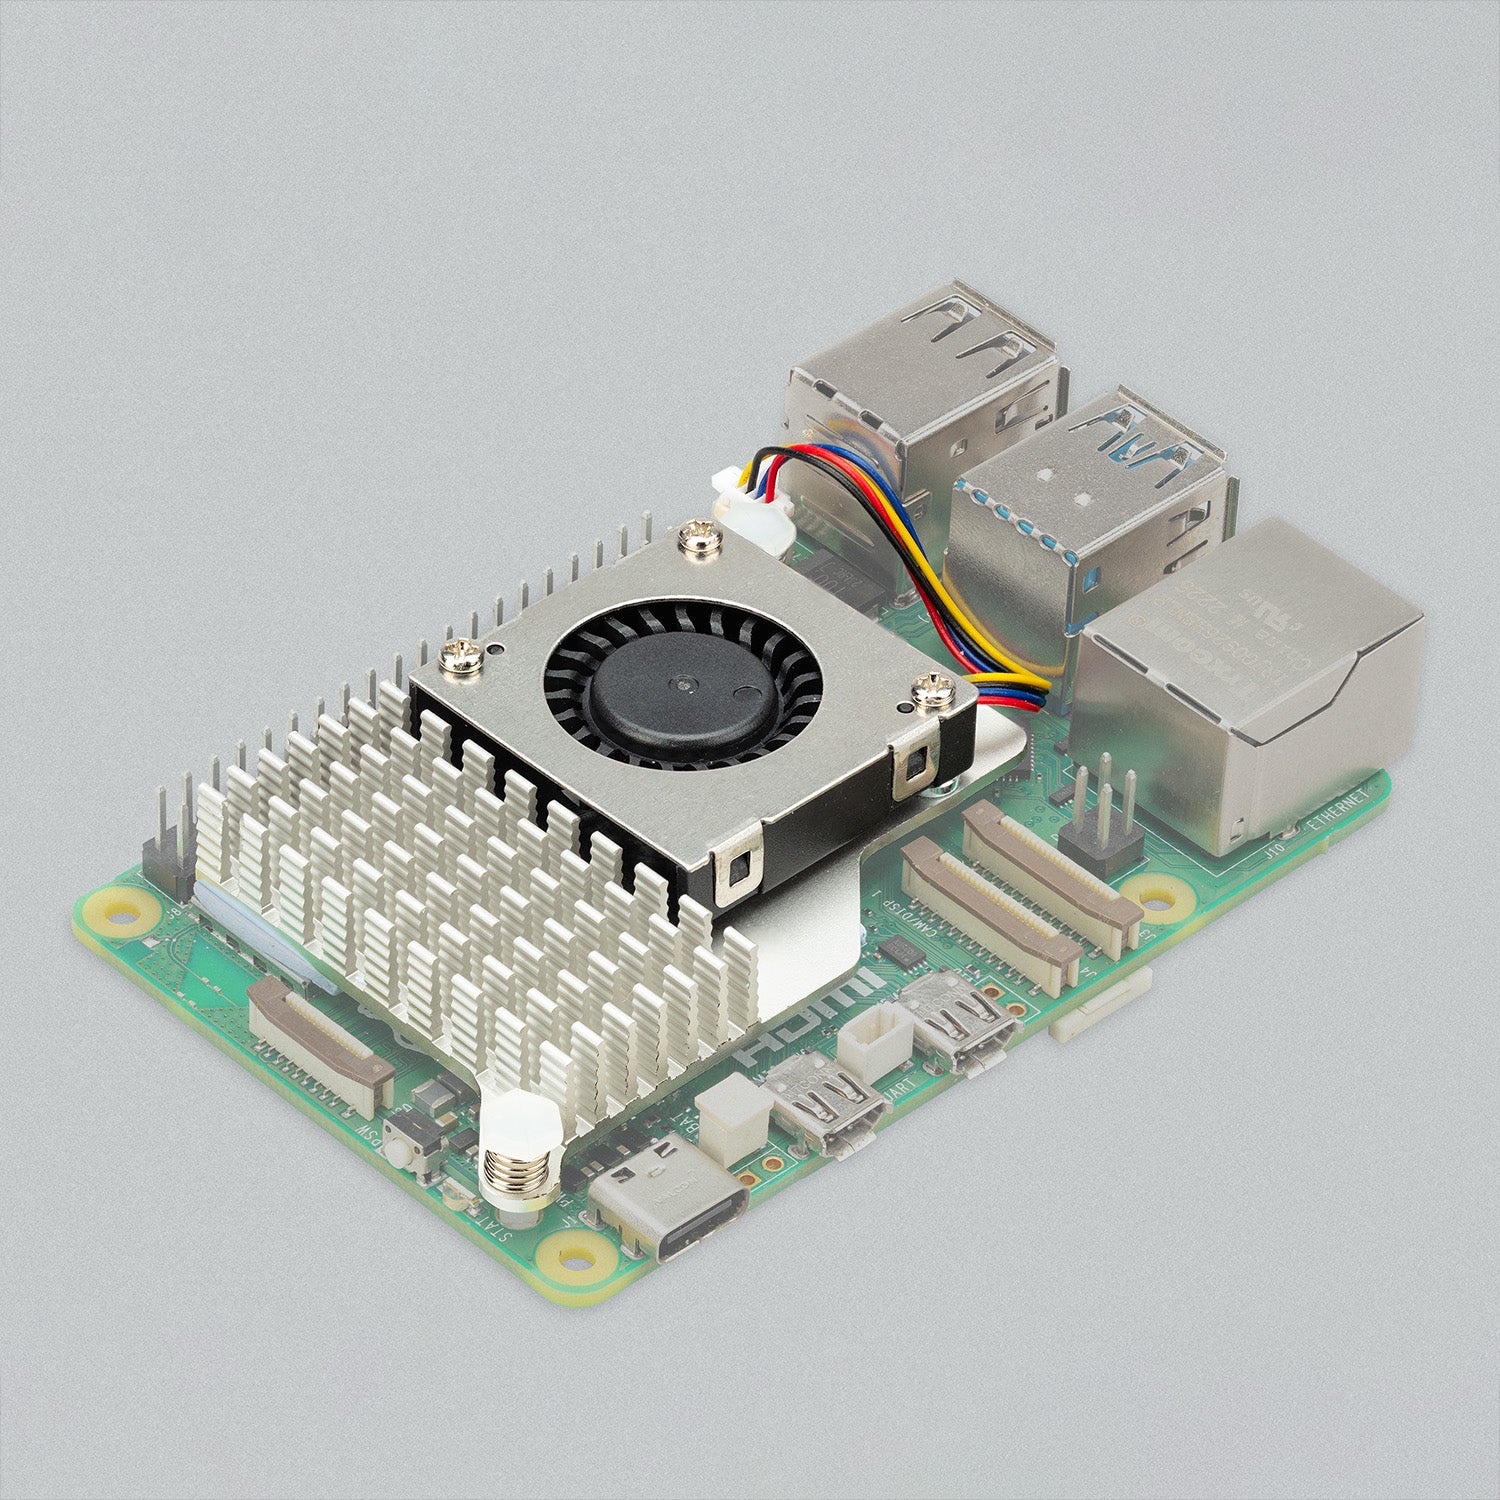
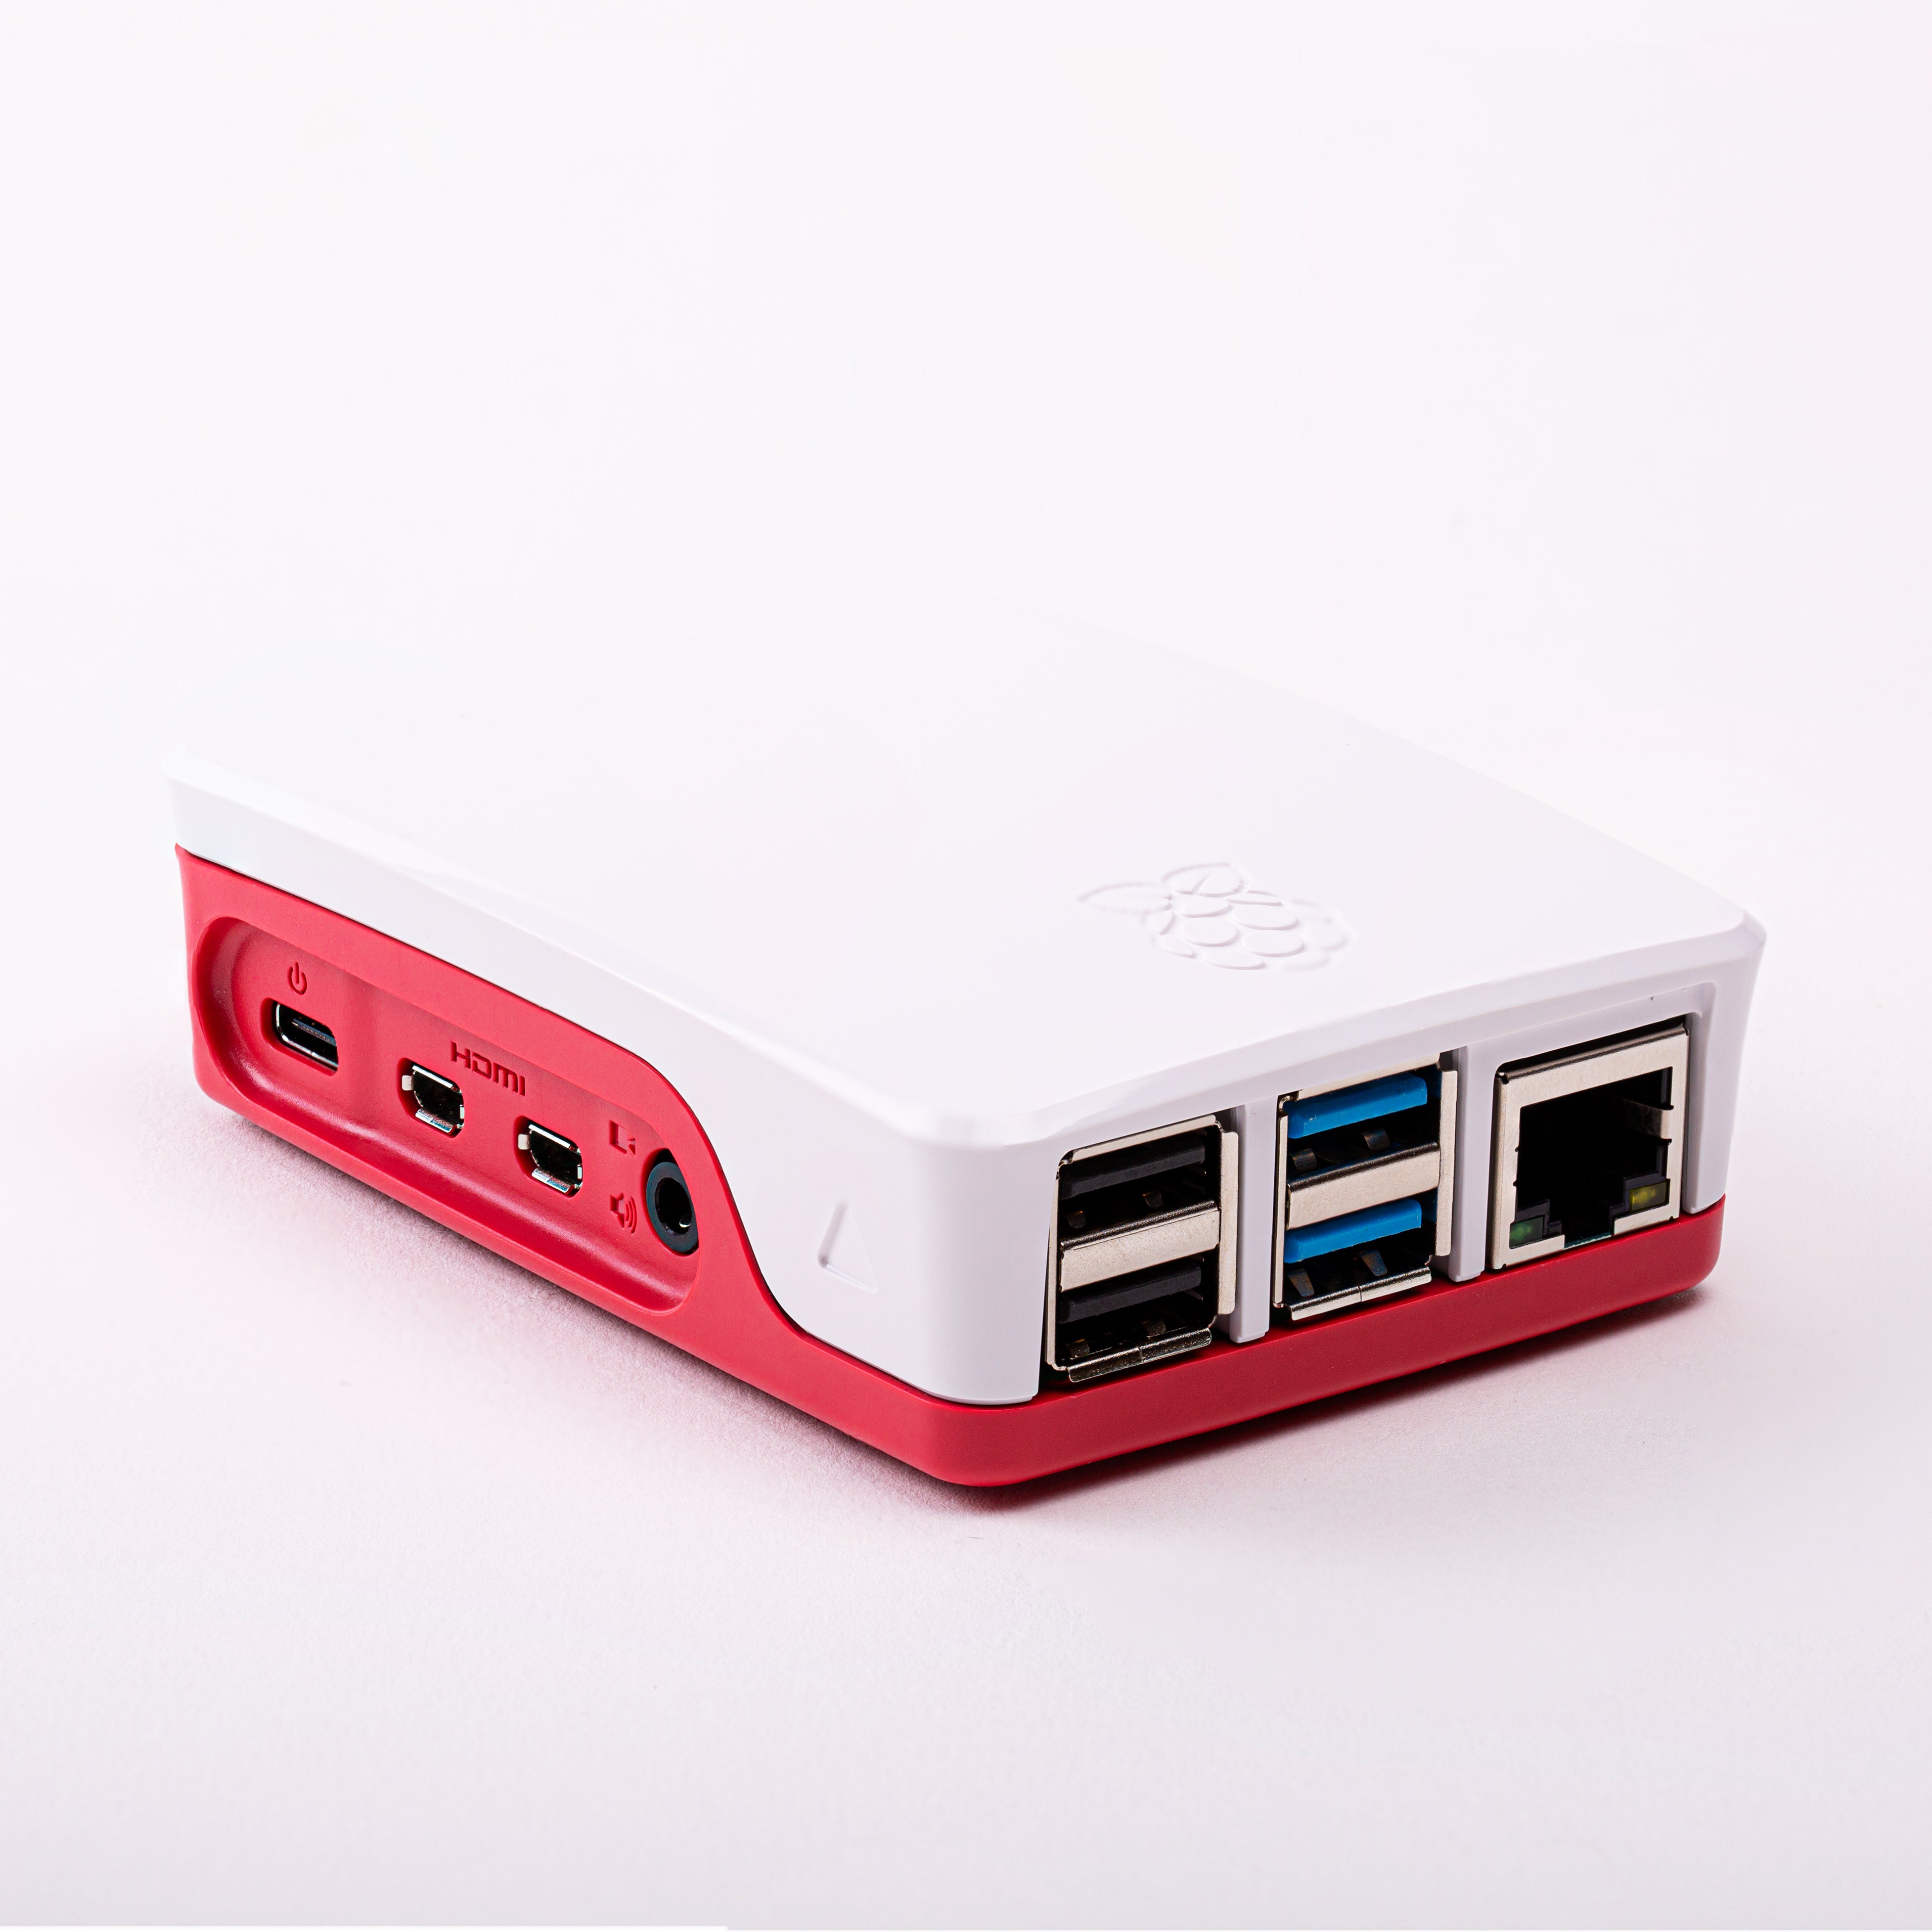
The first step in setting up a Raspberry Pi for IoT projects is to get the hardware. You'll need a Raspberry Pi (any model will do, but the newer models have more features and better performance), a microSD card (8GB or larger), a power supply, and a case (optional but recommended).
Step 2: Install the Operating System
Once you have the hardware, you'll need to install an operating system on the microSD card. The official operating system for the Raspberry Pi is called Raspbian, which is based on Debian Linux. You can download the Raspbian image from the Raspberry Pi website and use a program like Raspberry Pi Imager to write the image to the microSD card.
Step 3: Configure the Operating System
After you have the operating system installed, you'll need to configure it. This includes setting up the language, keyboard, and network settings. You can do this by running the Raspberry Pi Software utility and going through the setup wizard.
Step 4: Connect to the Internet
Once the operating system is set up, you'll need to connect the Raspberry Pi to the Internet. You can do this by connecting an Ethernet cable to the Raspberry Pi or by connecting to a WiFi network.
Step 5: Install Required Libraries
To use the Raspberry Pi for IoT projects, you'll need to install some additional libraries. The most important library is the RPi.GPIO library, which allows you to control the Raspberry Pi's GPIO pins. You can install this library by running the following command in the terminal:
sudo apt-get install python-rpi.gpioYou may also need to install other libraries depending on your specific project.
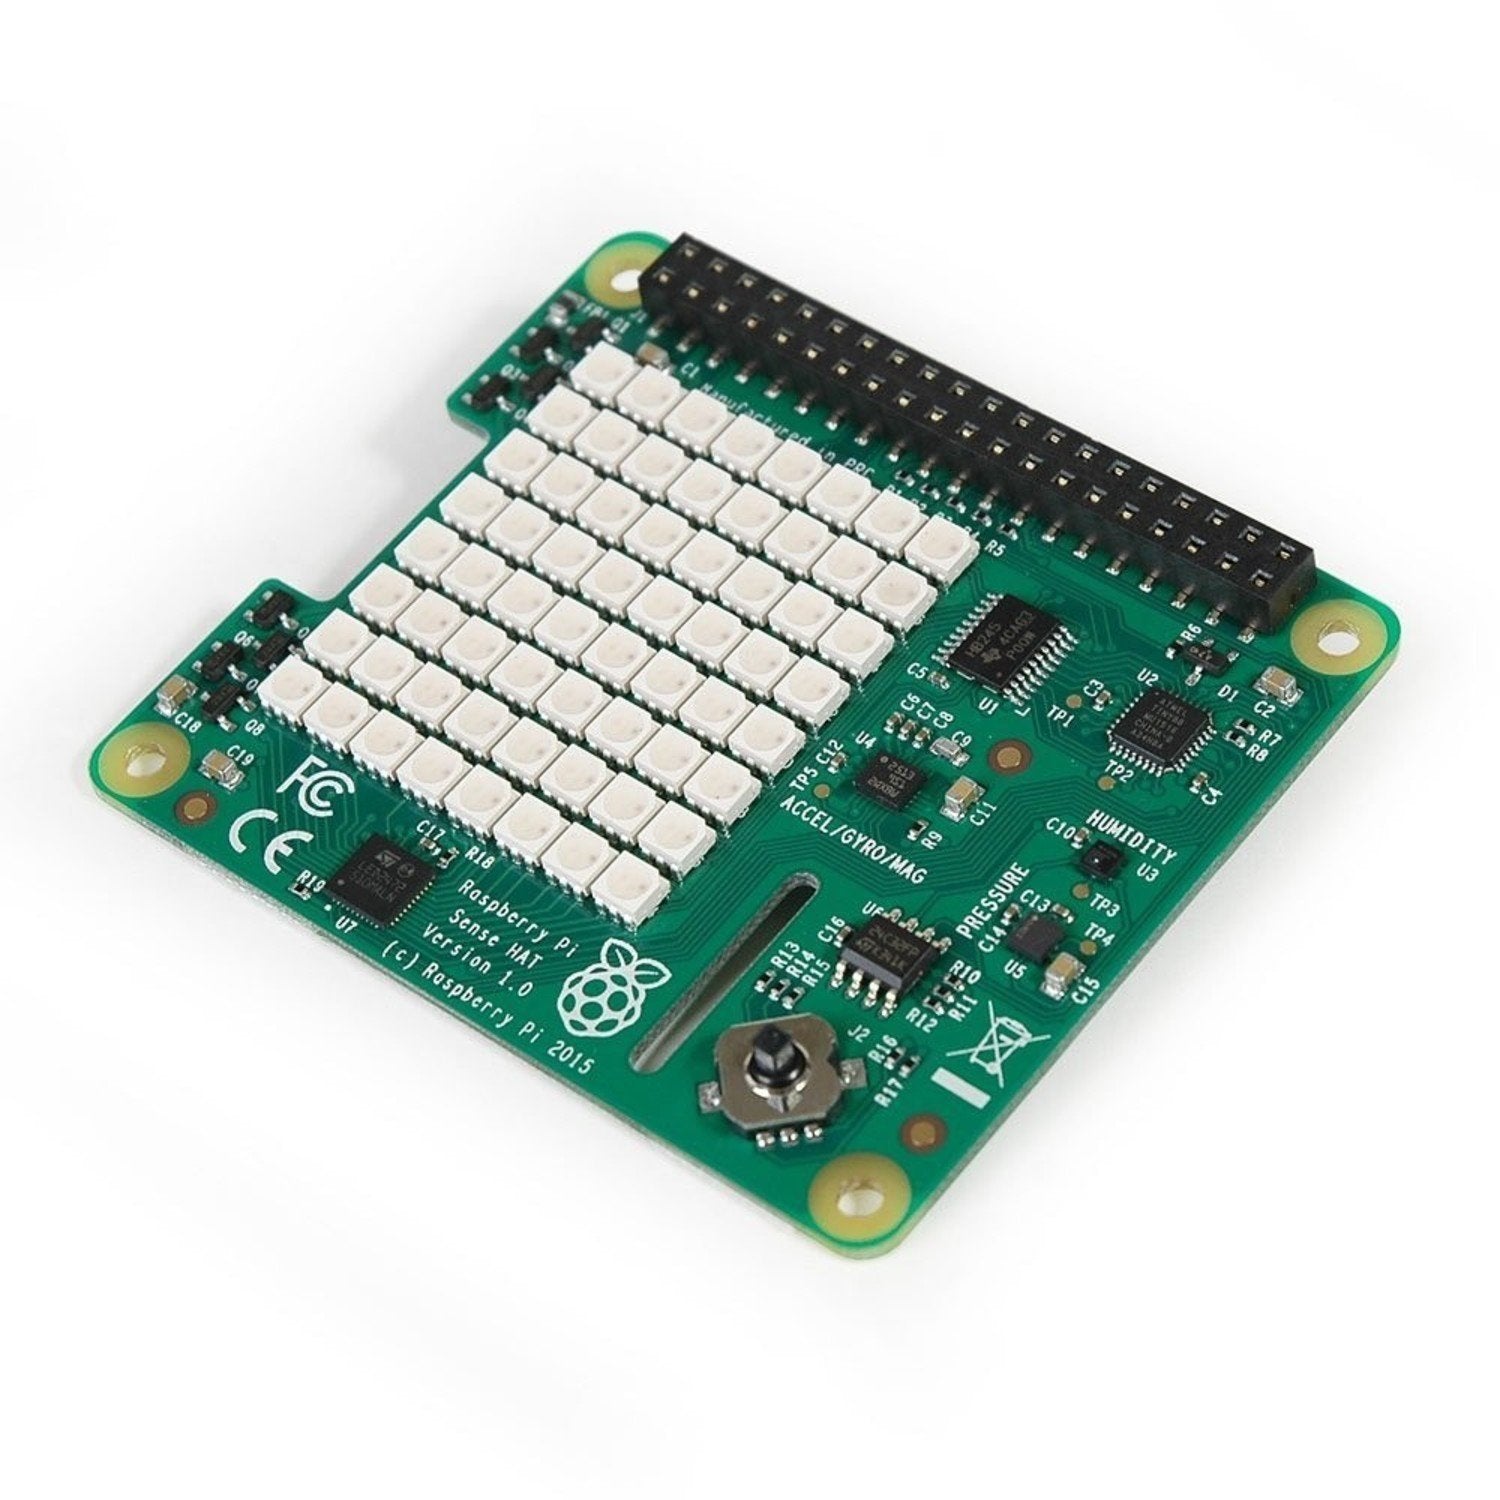
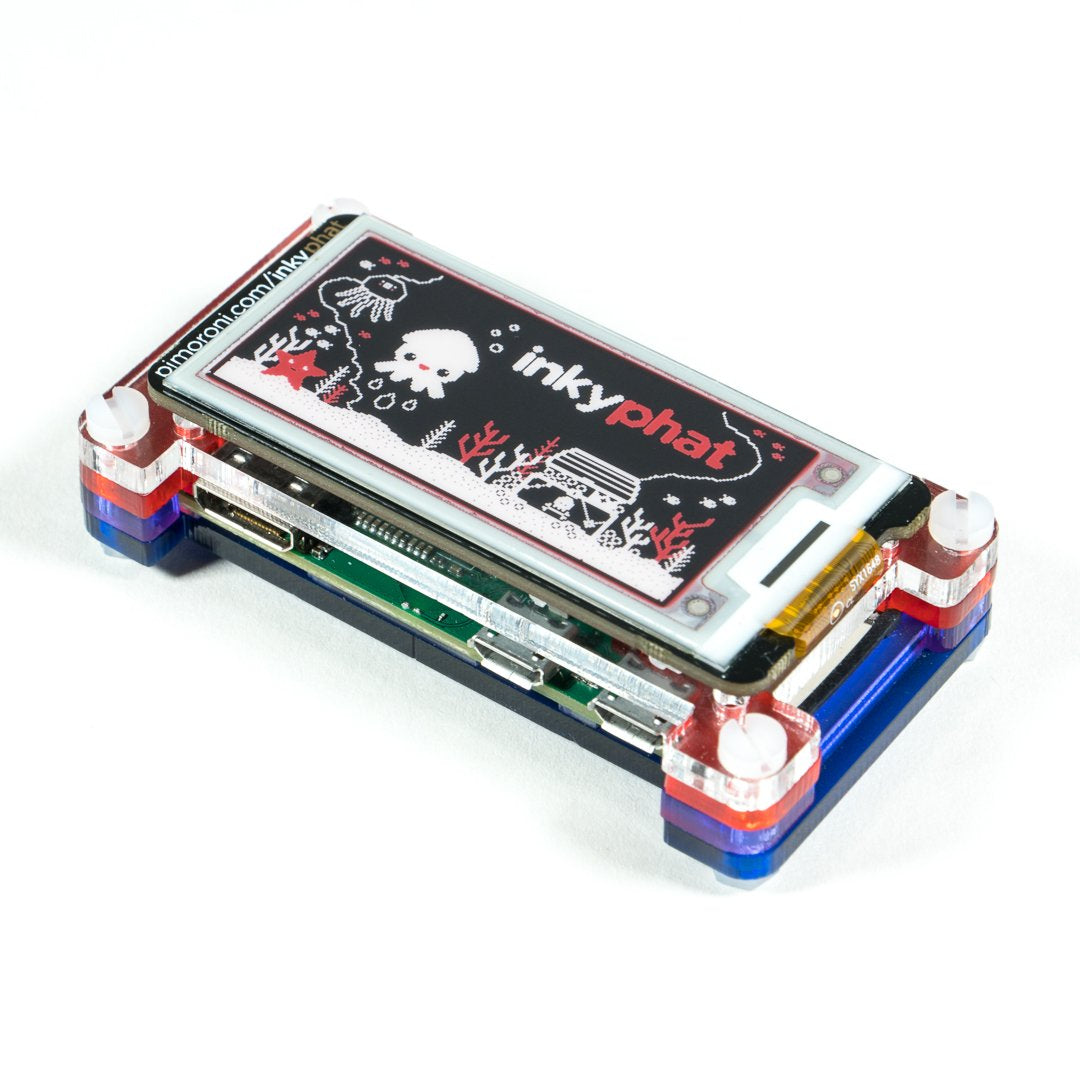
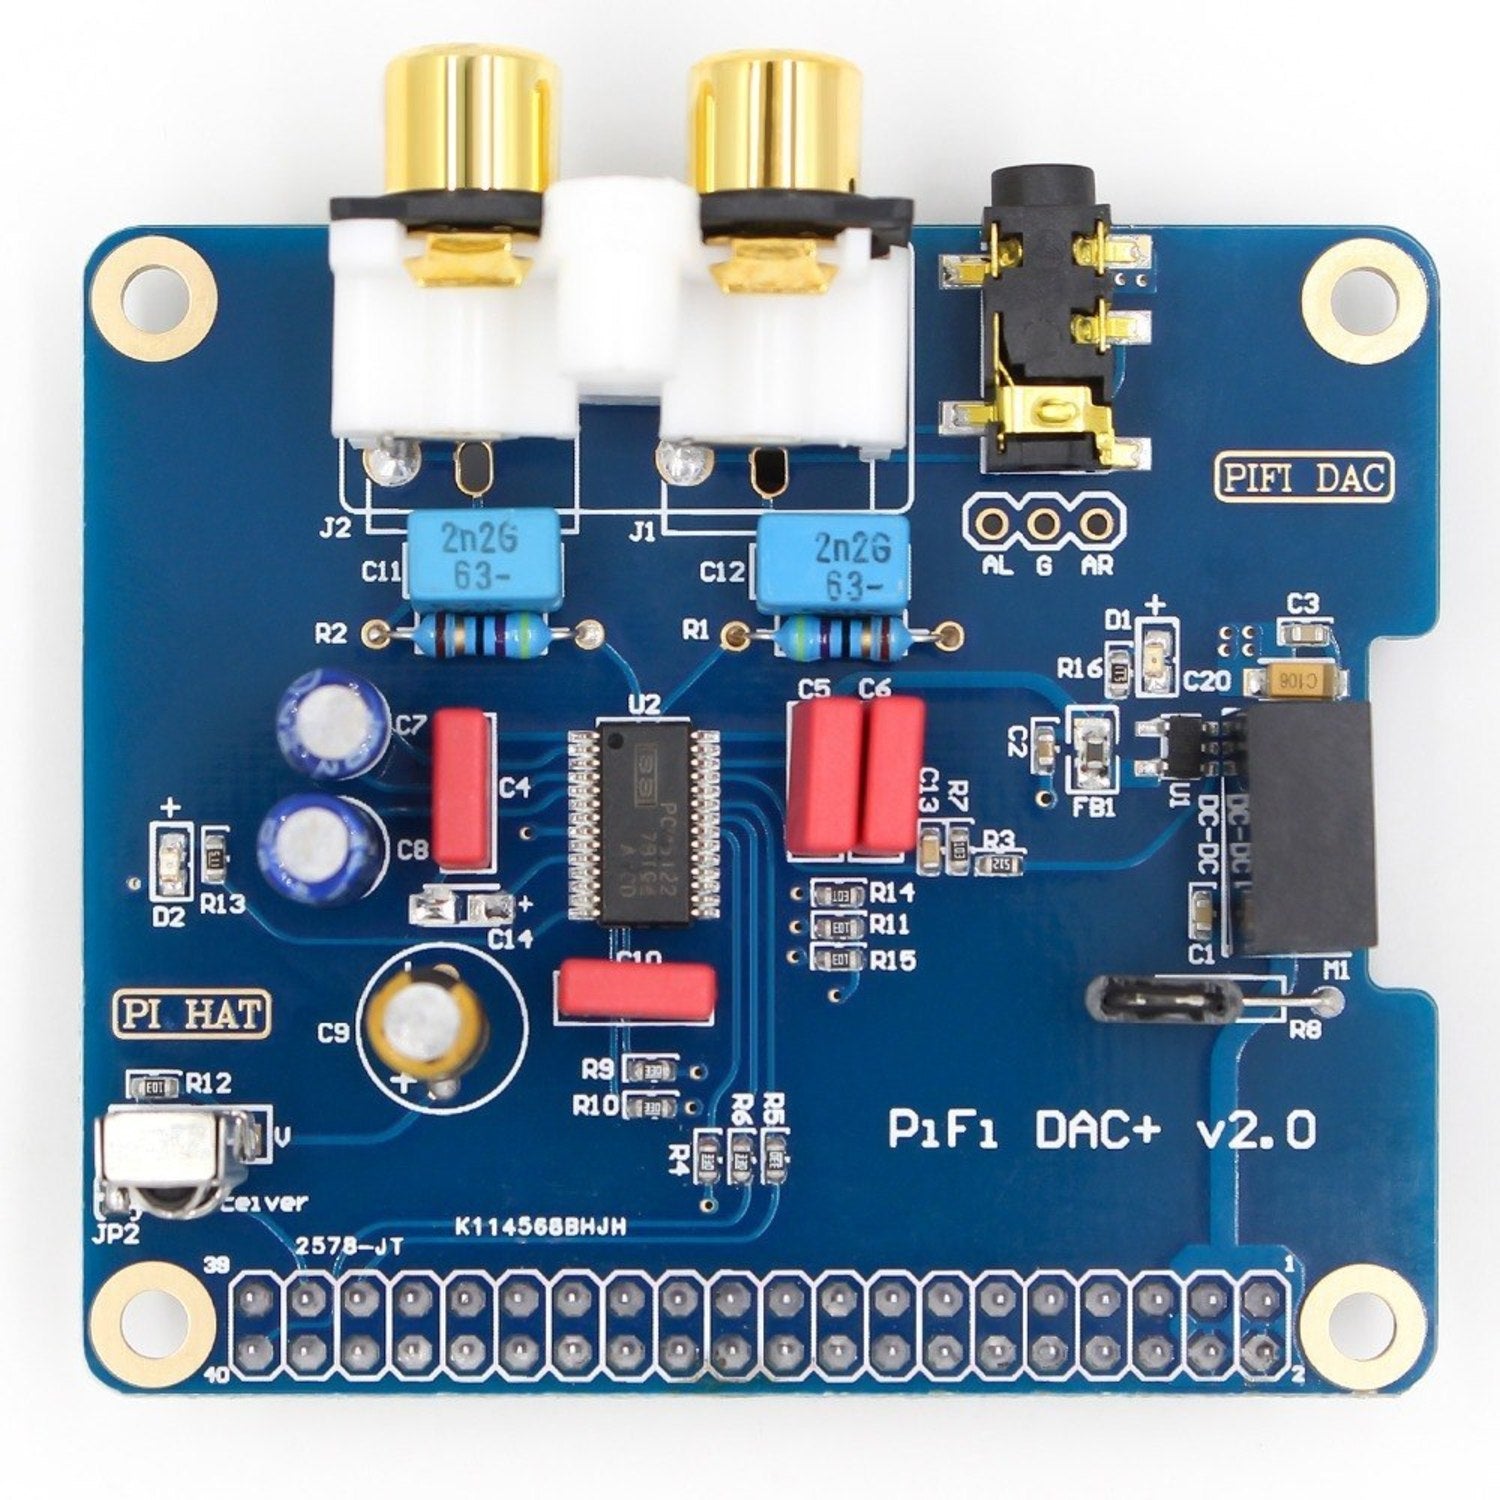
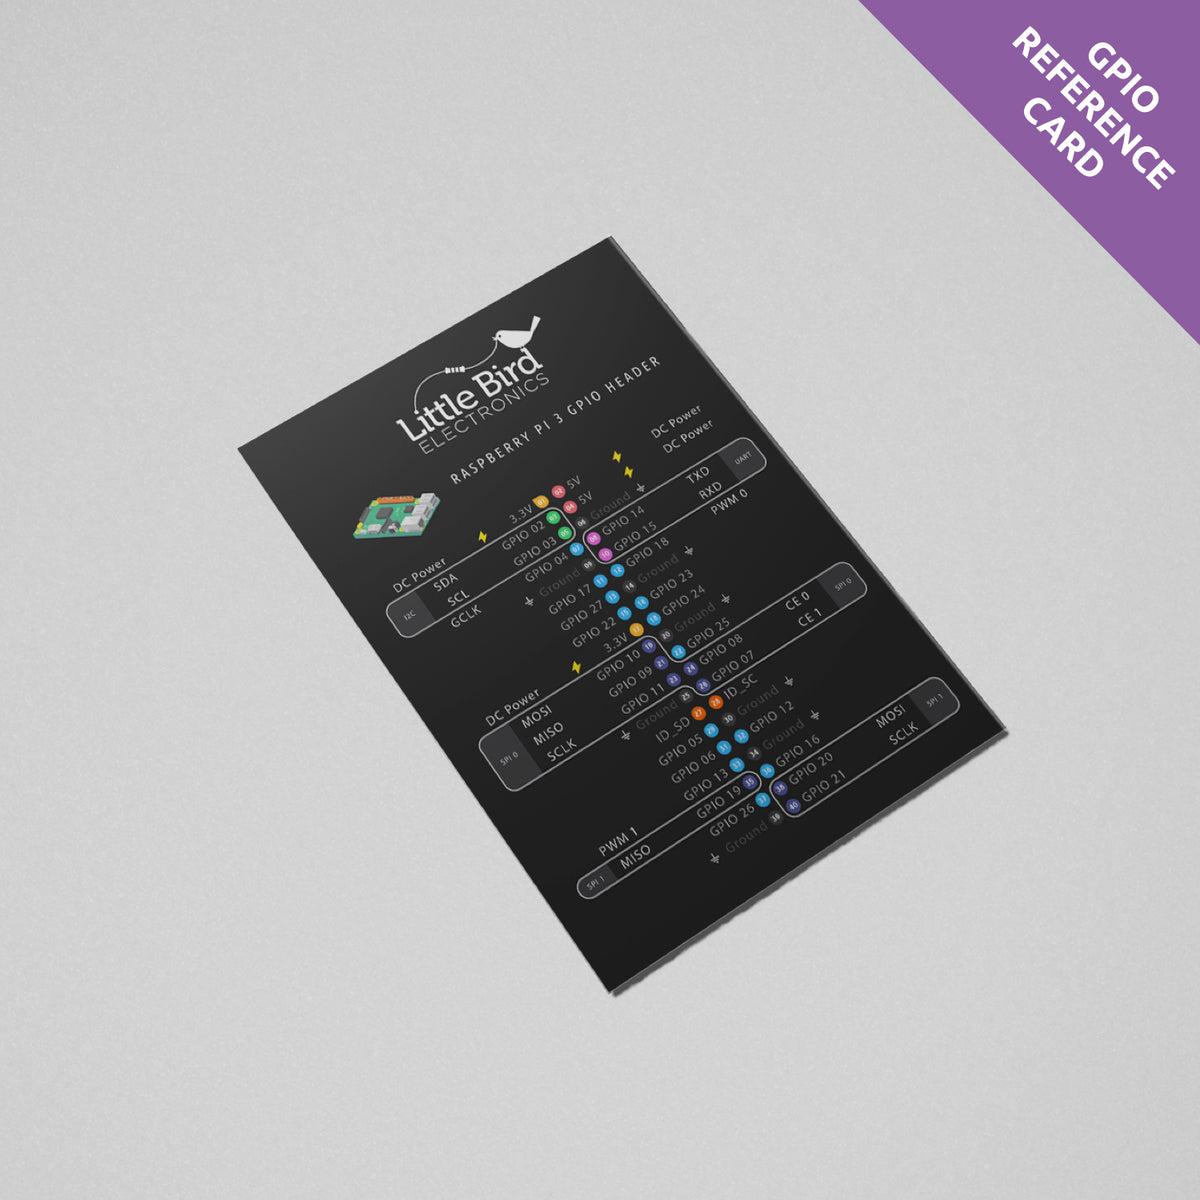
Step 6: Connect Sensors and Devices
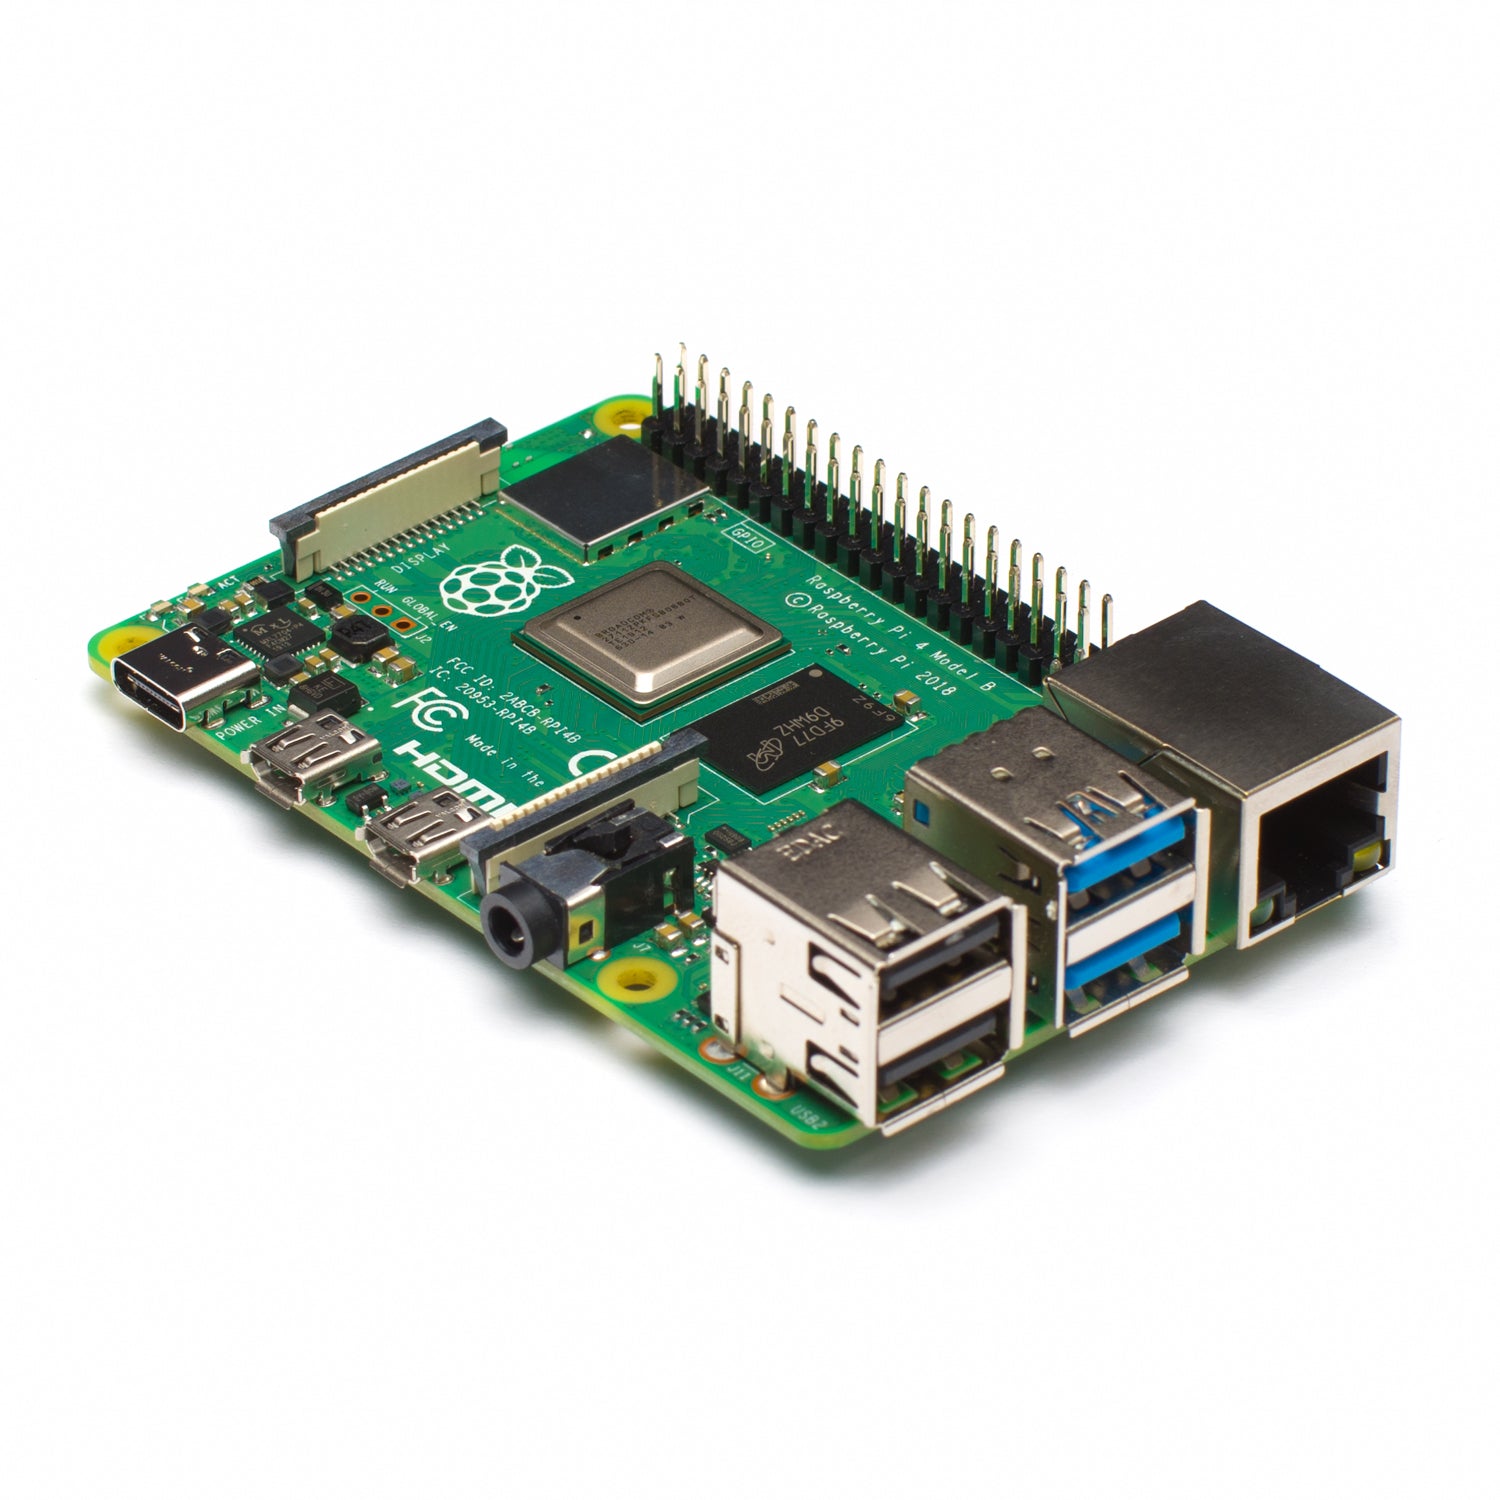
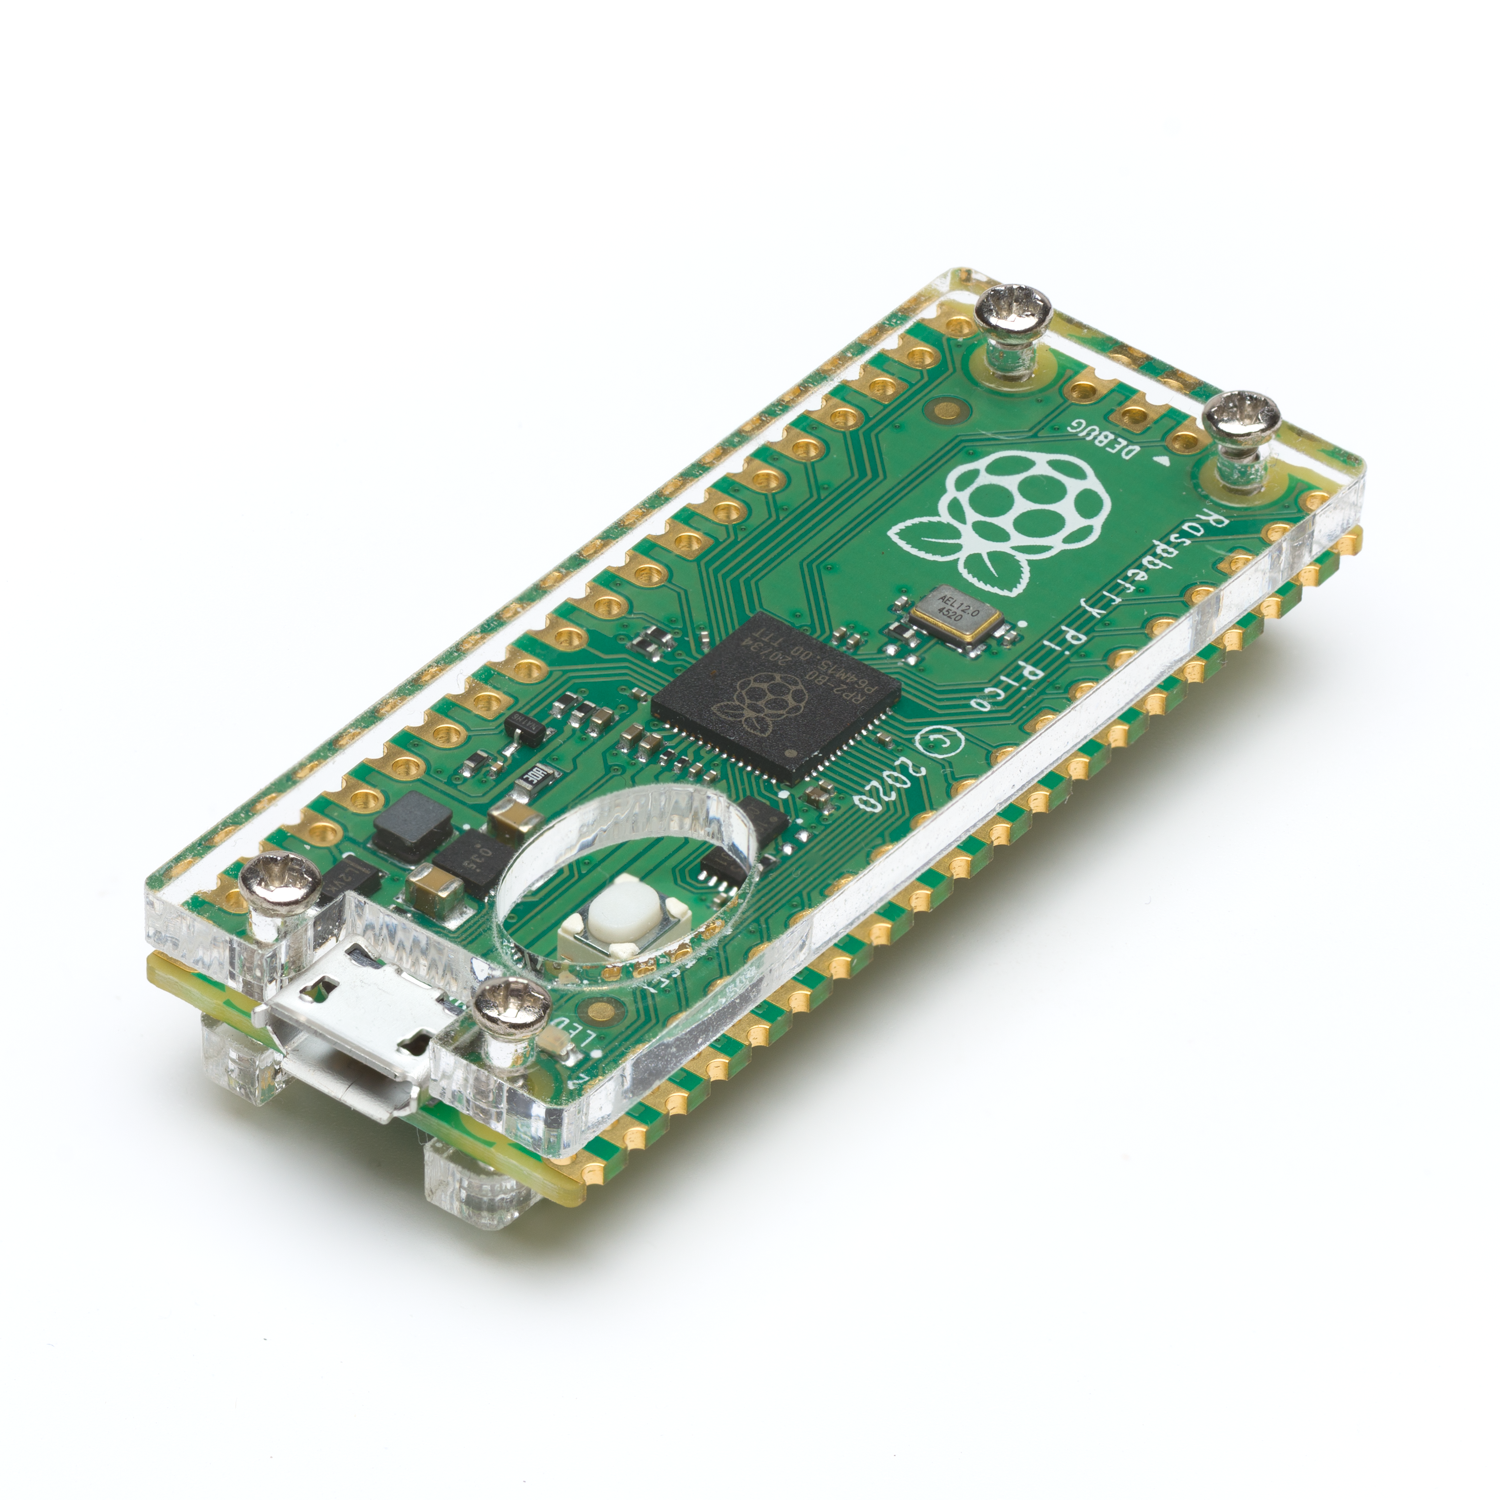
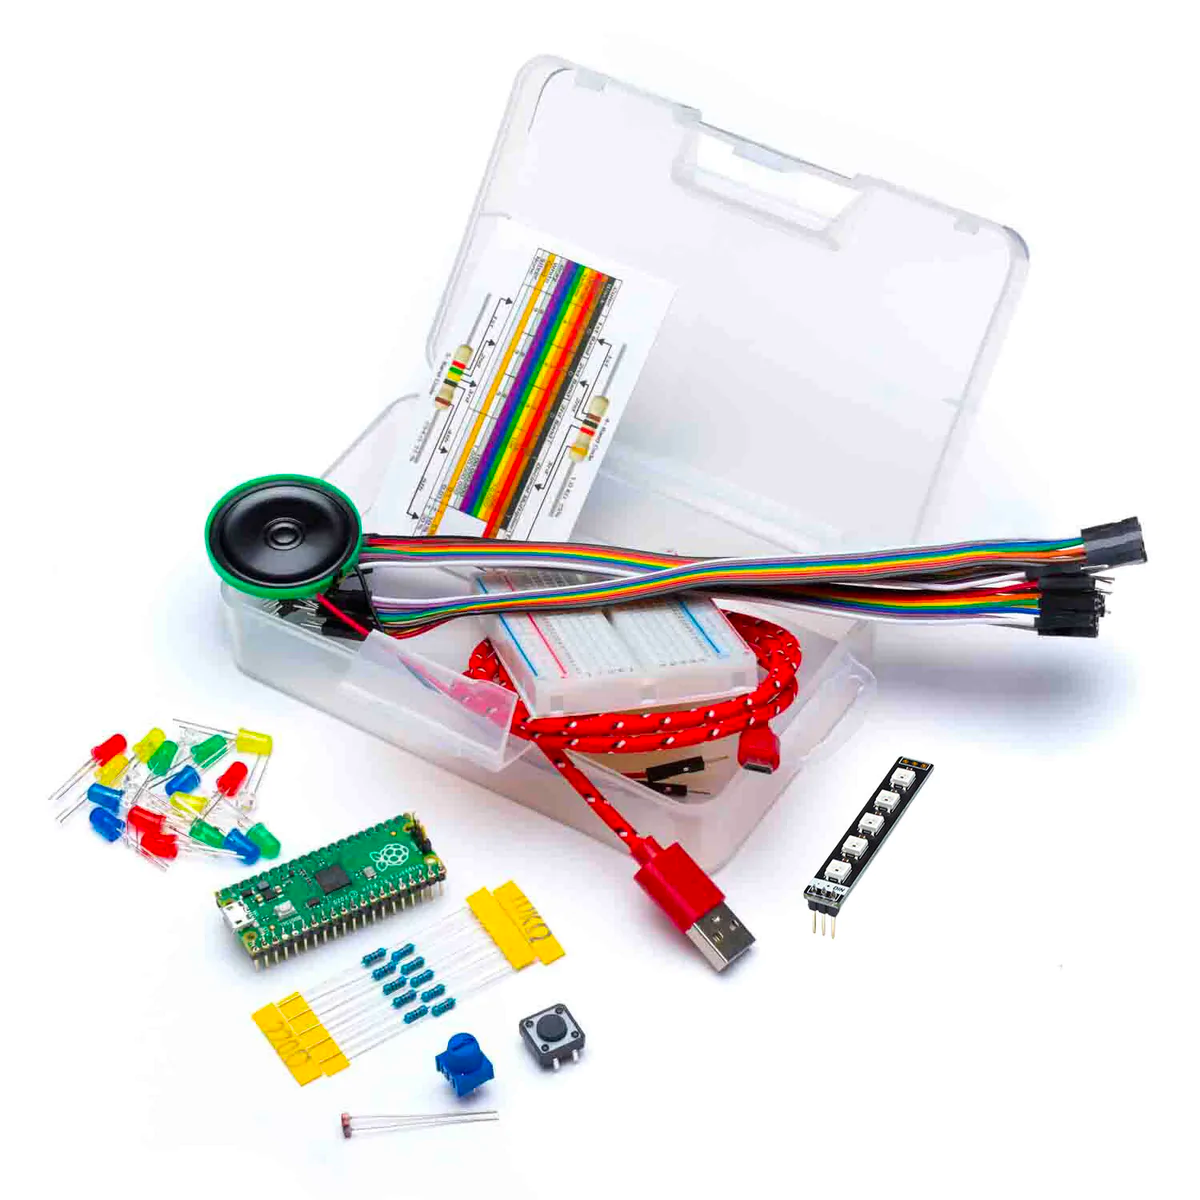
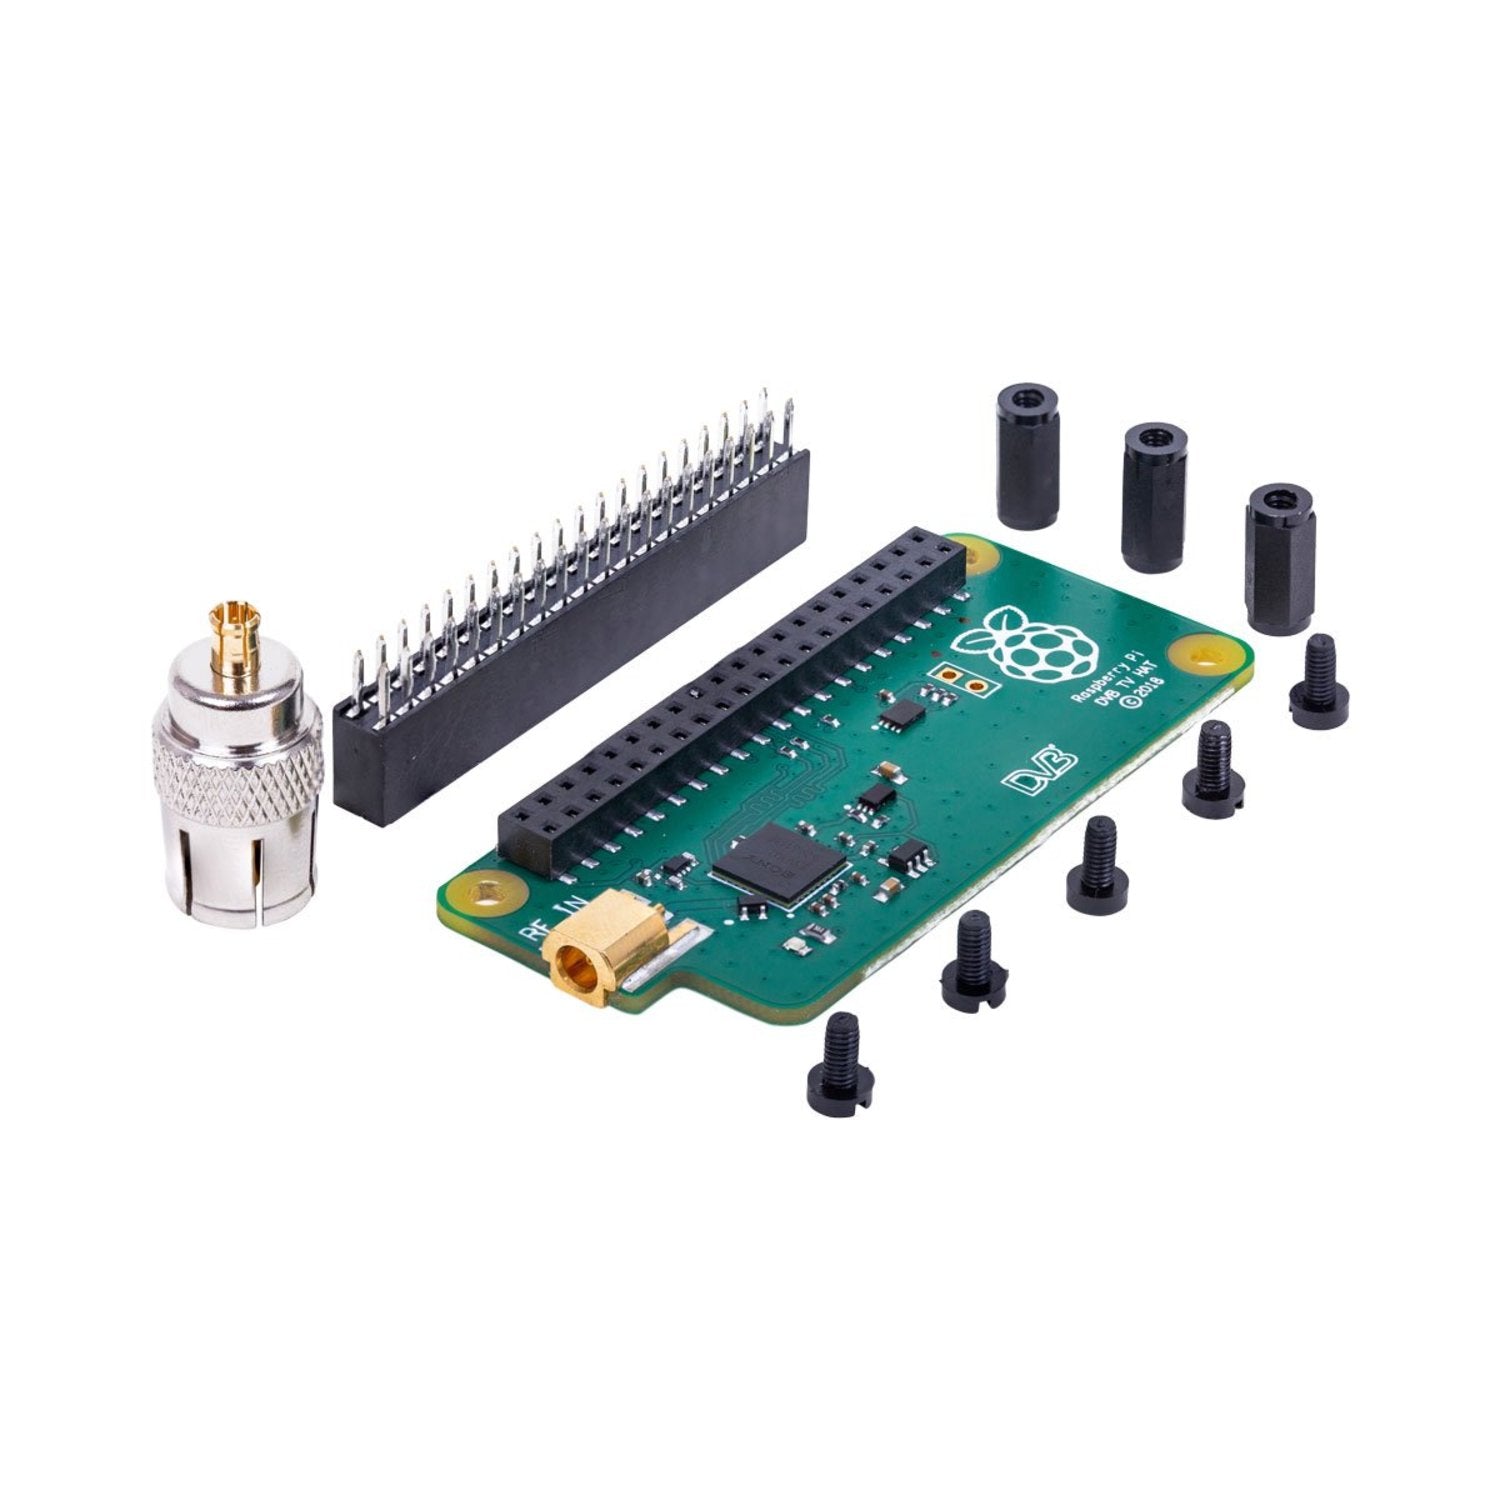
Once the Raspberry Pi is set up and configured, you can start connecting sensors and devices to it. The Raspberry Pi has a 40-pin GPIO header, which allows you to connect a wide range of sensors and devices. You can use jumper wires to connect the sensors and devices to the GPIO pins.
Step 7: Write a Code
Now that your Raspberry Pi is set up and you've connected your sensors and devices, you're ready to start writing code to control them. You can use a programming language like Python to write code that reads data from the sensors and controls the devices.
Conclusion
Setting up and configuring a Raspberry Pi for IoT projects is relatively easy. With a little bit of hardware, some software, and some programming knowledge, you can create a wide range of IoT projects. Whether you're looking to monitor temperature and humidity in your home or control a robot, the Raspberry Pi is a great platform for IoT projects.
- Choosing a selection results in a full page refresh.