


Blocking Ads, Trackers, and Malicious Websites with Pihole on Raspberry Pi
As we spend more and more time online, we are constantly bombarded with ads, trackers, and malicious websites that can slow down our browsing experience and even put our personal information at risk. One solution to this problem is to install Pi-hole on a Raspberry Pi, a small and affordable computer that can act as a DNS sinkhole and block unwanted ads and trackers on all devices connected to your network.
What is Pi-hole?
Pi-hole is an open-source software that blocks unwanted ads and trackers by redirecting them to a "black hole" and preventing them from loading on your devices. It works by acting as a DNS server, which is the service that translates domain names into IP addresses that computers can understand. By configuring your devices to use Pi-hole as their DNS server, you can block ads, trackers, and even malicious websites by adding them to a blacklist.
Setting up Pi-hole on Raspberry Pi
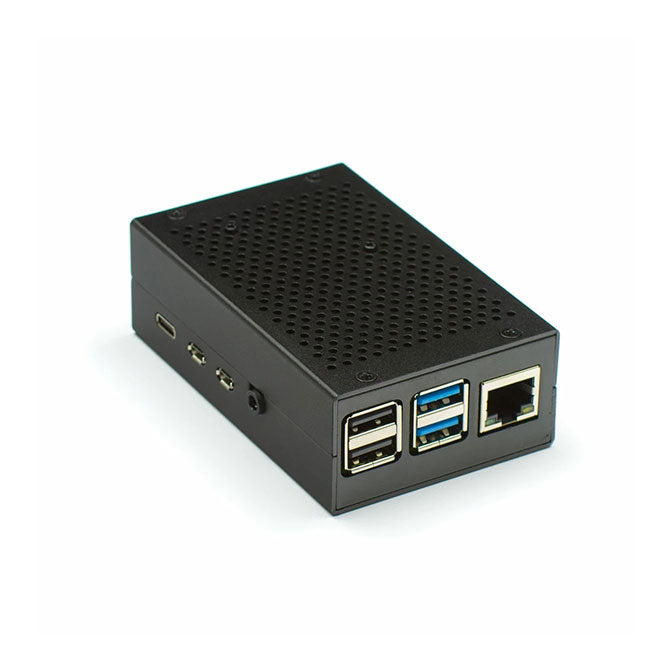
To set up Pi-hole on a Raspberry Pi, you will need the following:
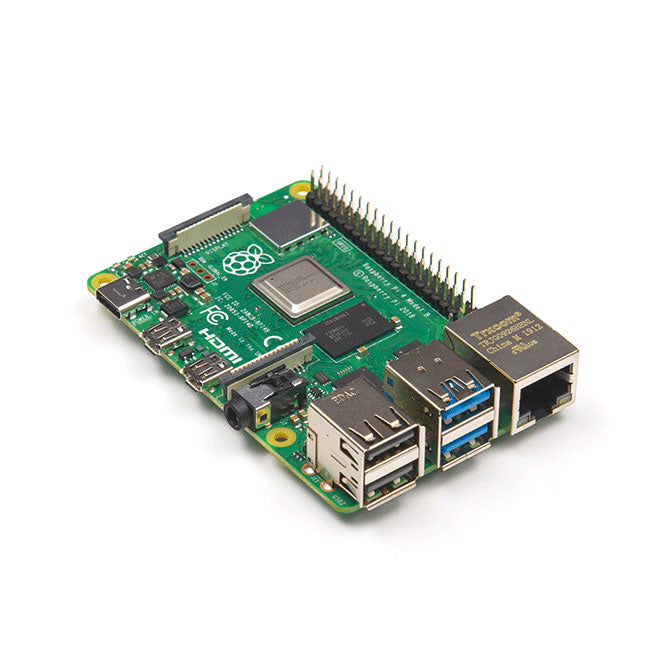
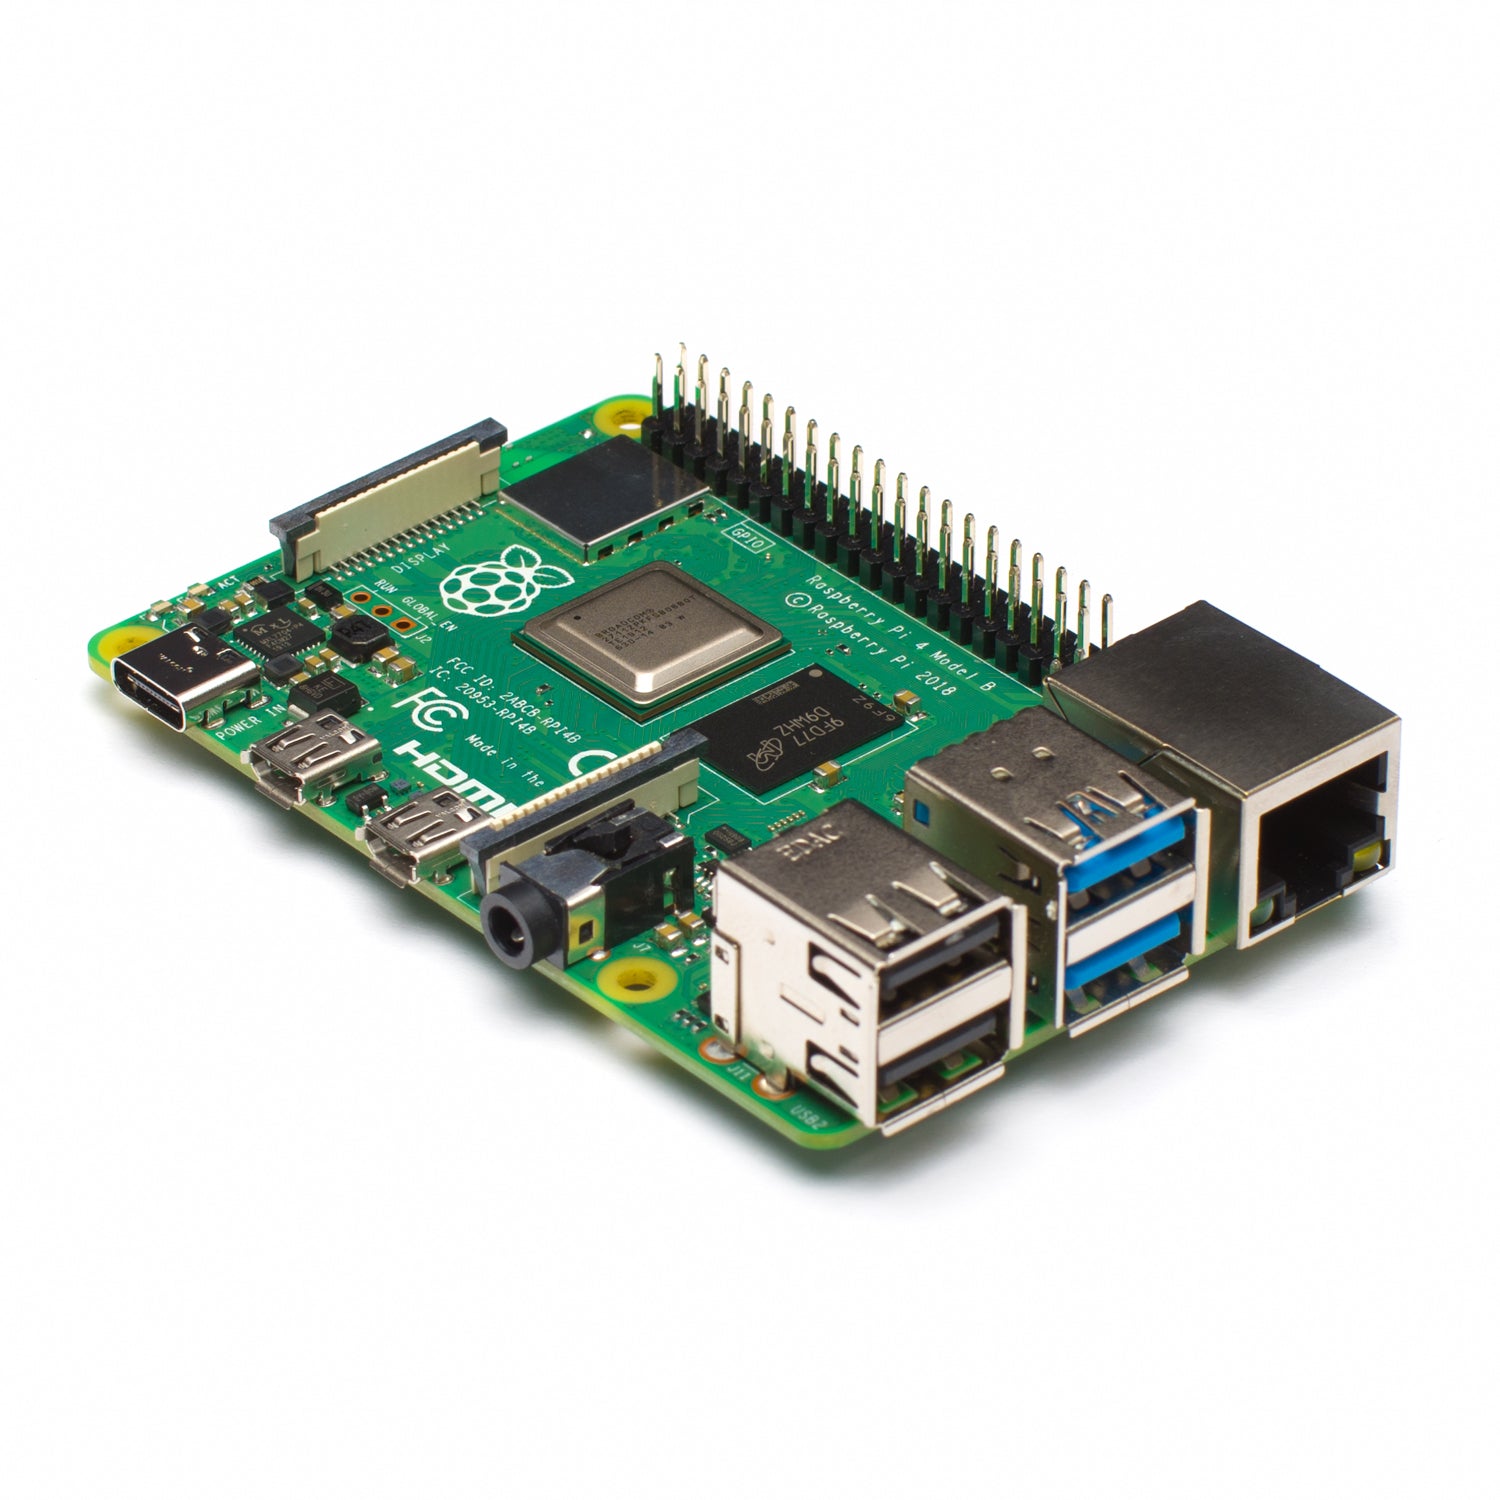
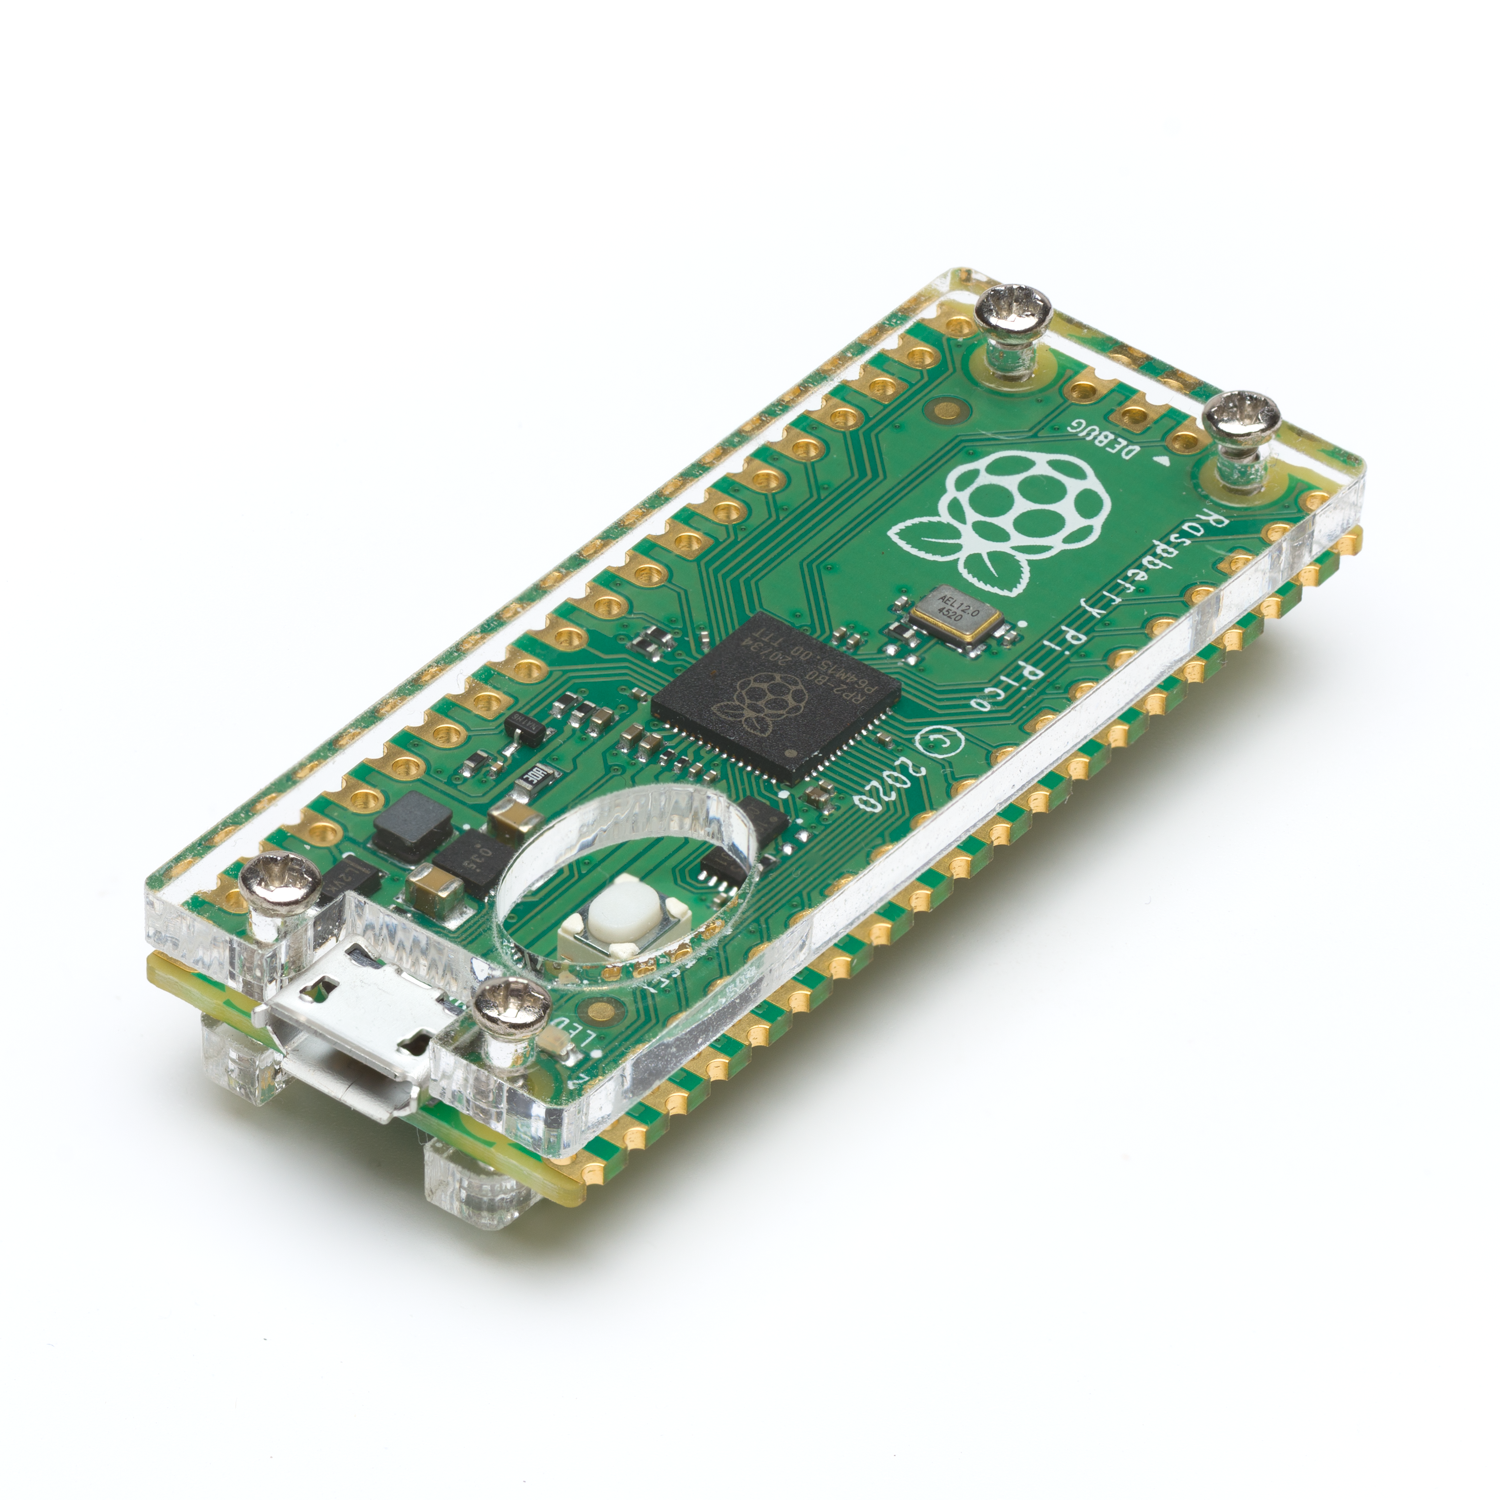
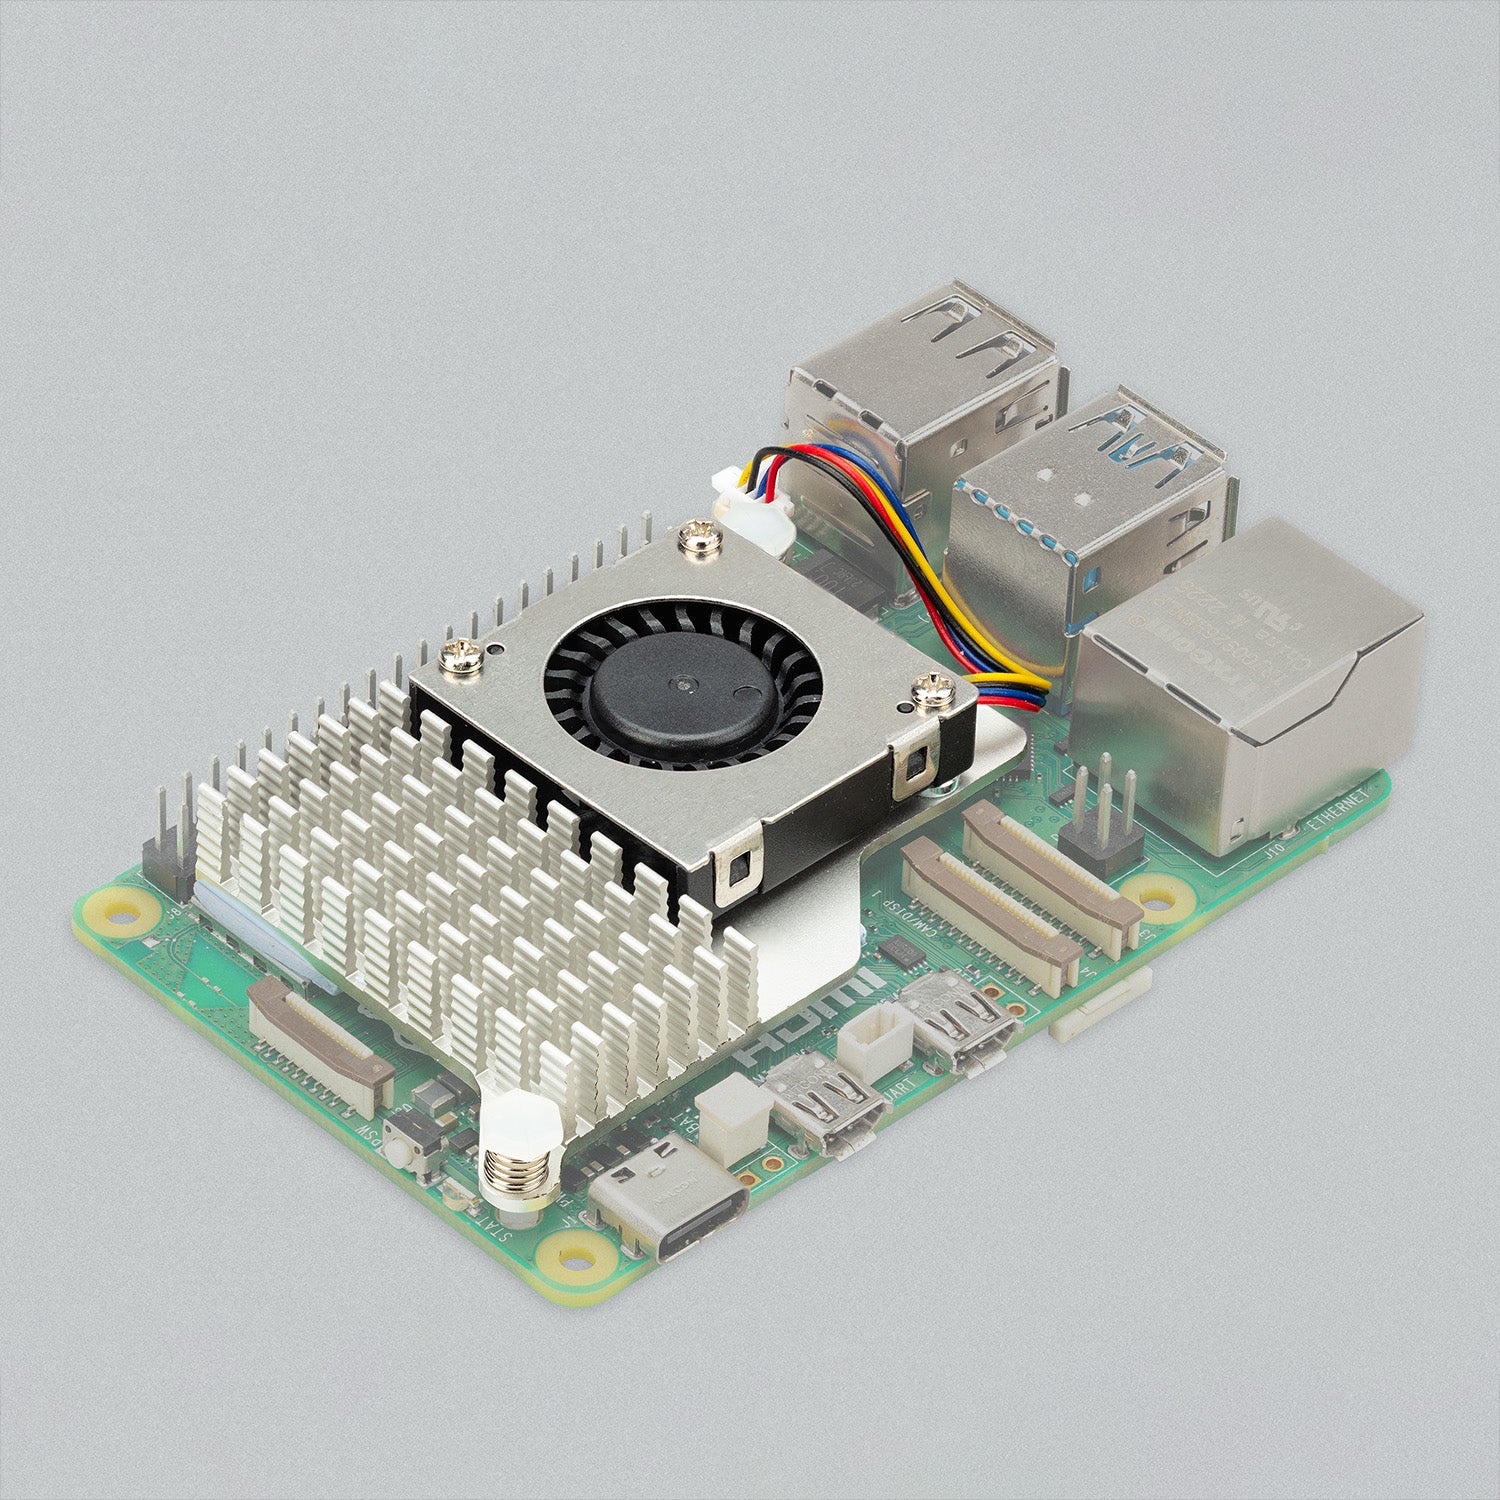
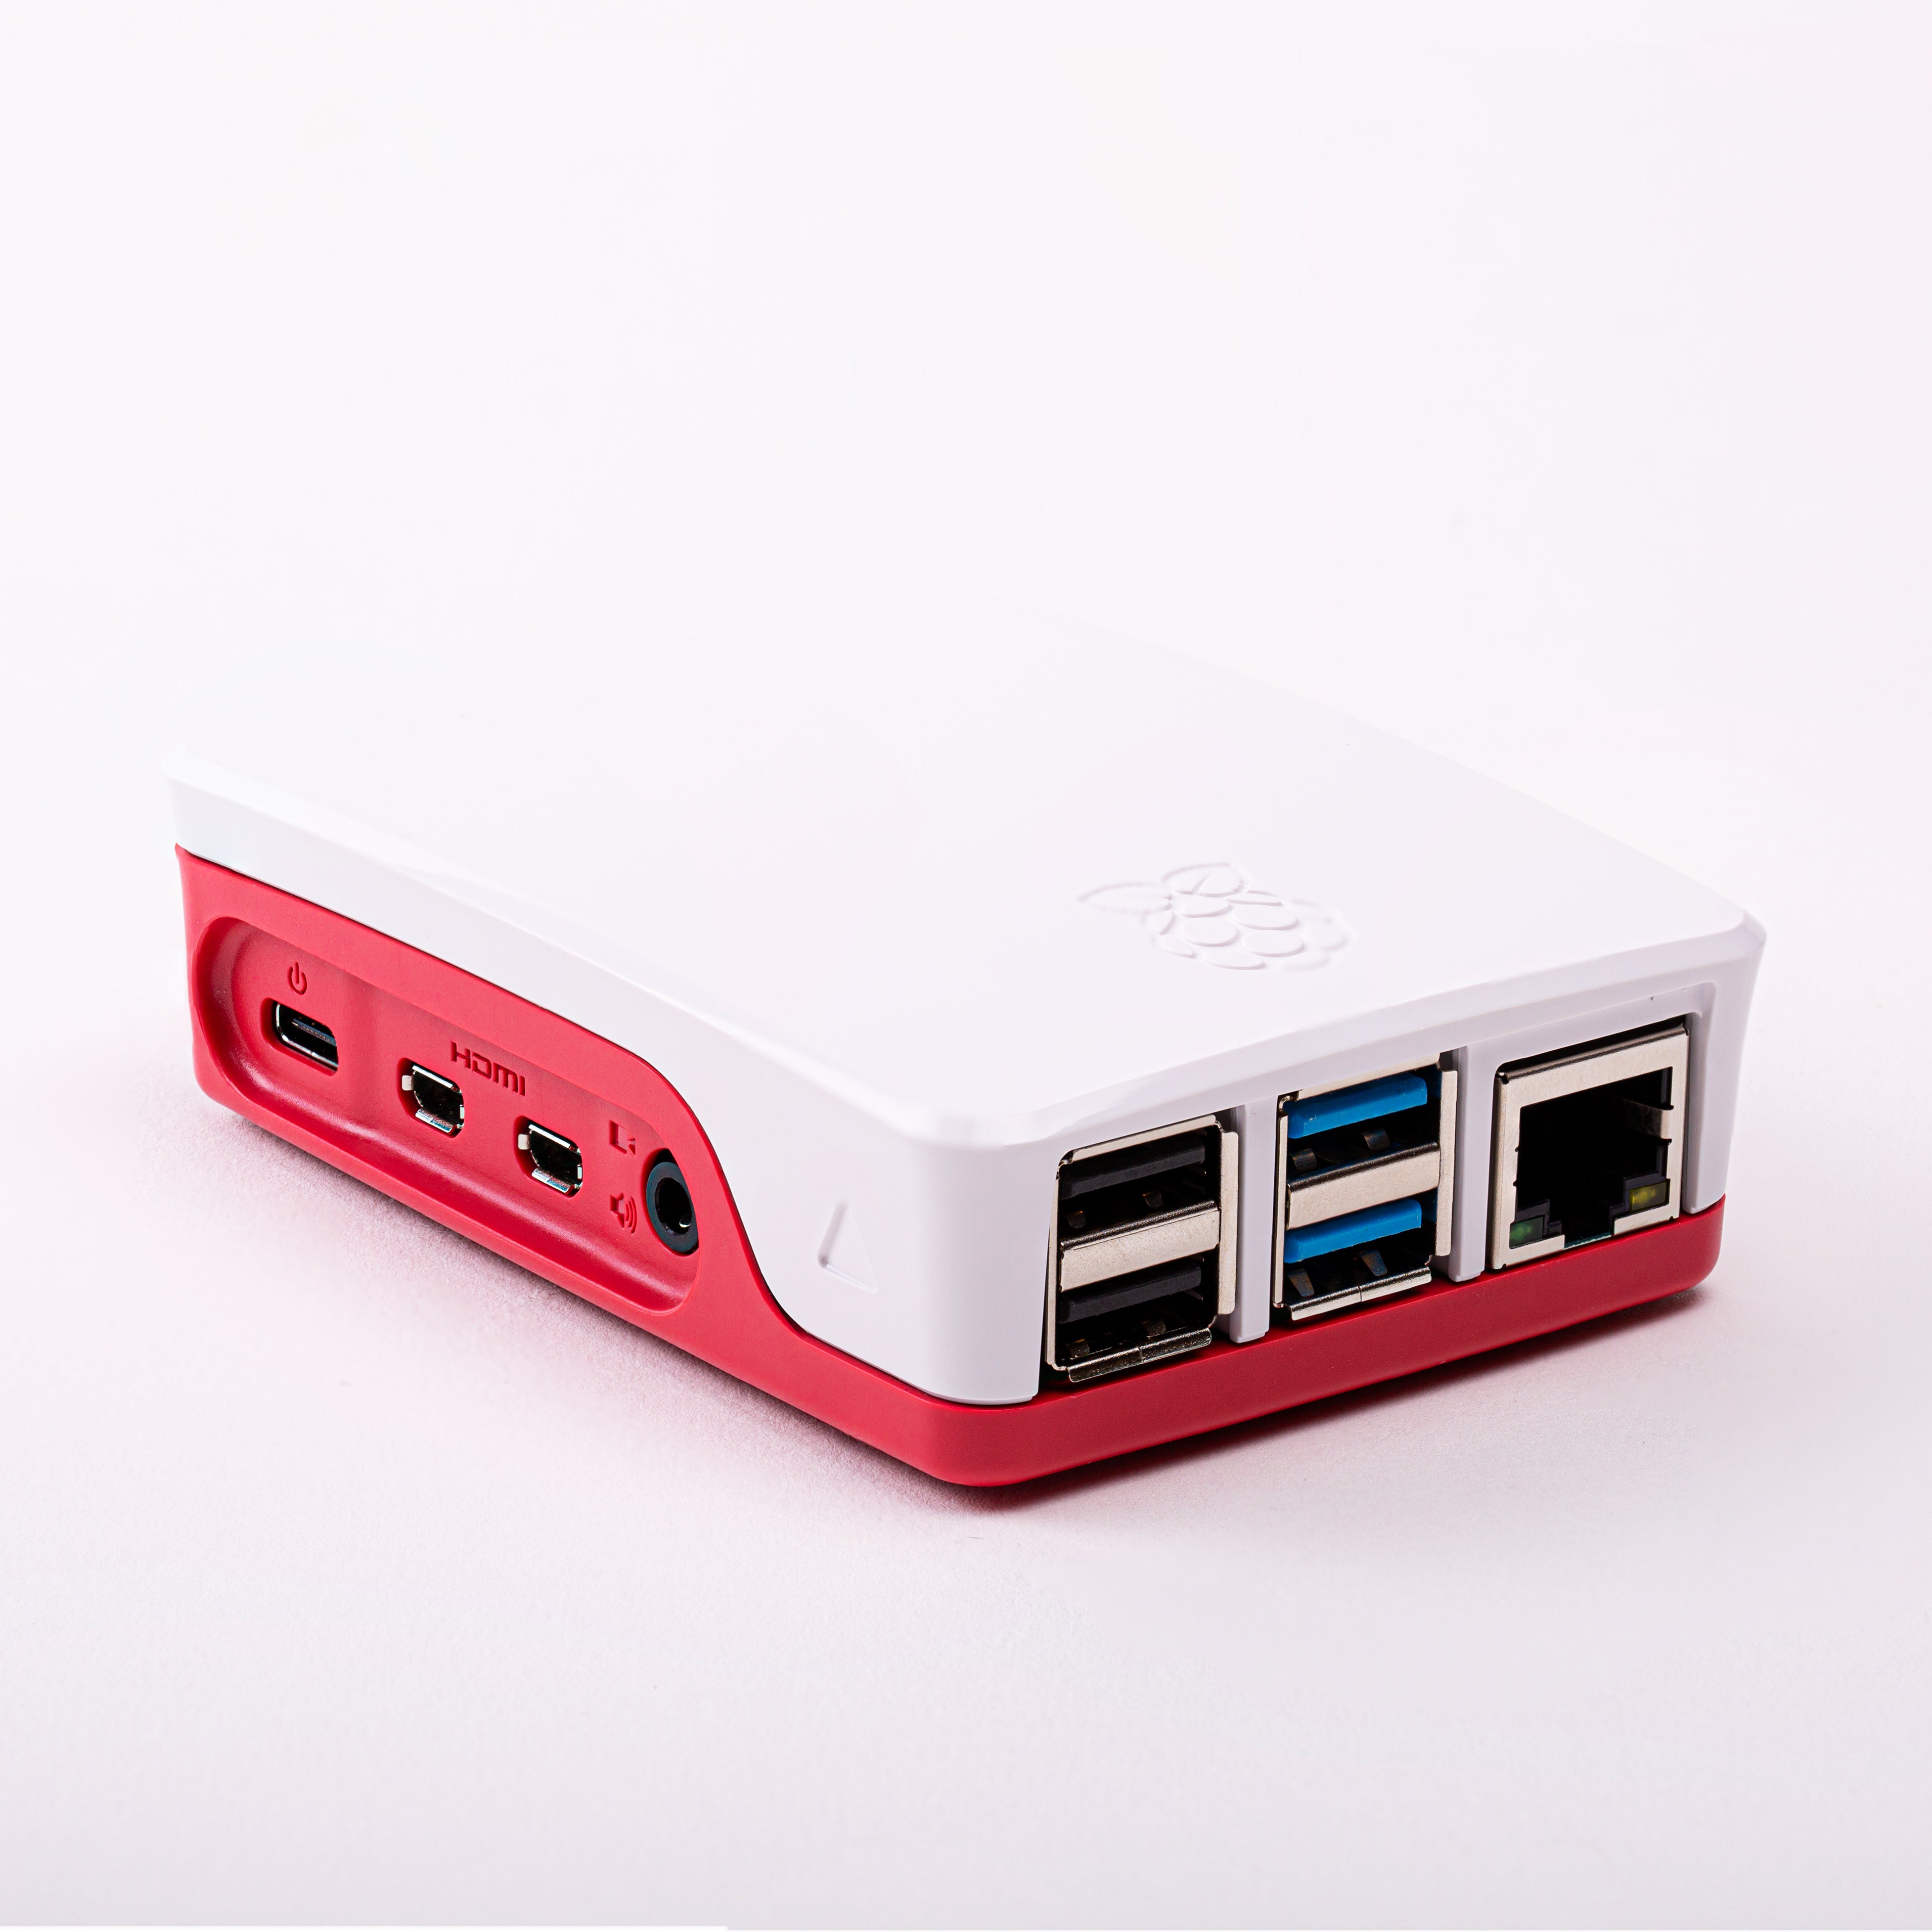
- A Raspberry Pi (any model will work, but a newer model will have better performance)
- A microSD card with at least 8 GB of storage (to run the operating system)
- A power supply for the Raspberry Pi
- A Ethernet cable (to connect the Raspberry Pi to your router)
Once you have all the necessary hardware, you can follow these steps to set up Pi-hole:
-
Download the Raspberry Pi Imager software for your computer and use it to flash the Raspbian operating system on your microSD card.
-
Insert the microSD card into the Raspberry Pi, connect the Ethernet cable to your router, and power on the Raspberry Pi.
-
Log in to the Raspberry Pi using the default username and password (username: pi, password: raspberry).
-
Open a terminal window and run the following command to install Pi-hole:
curl -sSL https://install.pi-hole.net | bash
-
Follow the prompts to configure Pi-hole, including setting the IP address of your router as the primary DNS server and adding any additional blacklisted domains.
-
Once the installation is complete, you can point all the devices on your network to use the Pi-hole as the primary DNS server. This can be done by going to your router settings and configuring it to use the IP address of your Raspberry Pi as the primary DNS server.
Monitoring and Managing Pi-hole
Once Pi-hole is set up, you can monitor its performance and manage its settings by accessing the web interface at http://pi.hole/admin. This interface provides statistics on blocked requests, query types, and top domains, as well as the ability to add or remove domains from the blacklist or whitelist.
Conclusion
Installing Pi-hole on a Raspberry Pi is a simple and effective way to block unwanted ads, trackers, and malicious websites on all devices connected to your network. With its easy-to-use web interface and powerful blocking capabilities, Pi-hole is a great solution for protecting your privacy and improving your browsing experience.
- Choosing a selection results in a full page refresh.