


Improving Network Performance with Pihole on Raspberry Pi
One of the most frustrating things that can happen while using the internet is experiencing slow network performance. This can be caused by a number of factors, including a high number of requests to external servers, and the presence of ads and trackers on websites. One way to improve network performance is by using a tool called Pihole, which can be installed on a Raspberry Pi. In this article, we will discuss what Pihole is, how it works, and how to set it up on a Raspberry Pi to improve network performance.
What is Pihole?
Pihole is an open-source software that can be installed on a Raspberry Pi to block ads and trackers on your network. This can help improve network performance by reducing the number of requests made to external servers. Pihole works by redirecting DNS requests to a local server, which blocks requests to known ad and tracker domains.
How Pihole works
When you visit a website, your computer sends a request to a DNS server to resolve the domain name of the website into an IP address. Pihole acts as a DNS server, and when it receives a request, it checks a list of known ad and tracker domains to see if the request should be blocked. If the request is for a known ad or tracker domain, the request is blocked, and the user is not directed to that site. If the request is for a legitimate site, the request is passed on to a remote DNS server which then sends back the IP address of that website.
Benefits of using Pihole
- By blocking requests to ad and tracker domains, Pihole can reduce the number of requests made to external servers. This can result in faster web page loading times, as the browser does not need to wait for responses from servers that are serving ads and trackers.
- Additionally, Pihole can also block malicious domains, which can help protect your devices from phishing and malware attacks.
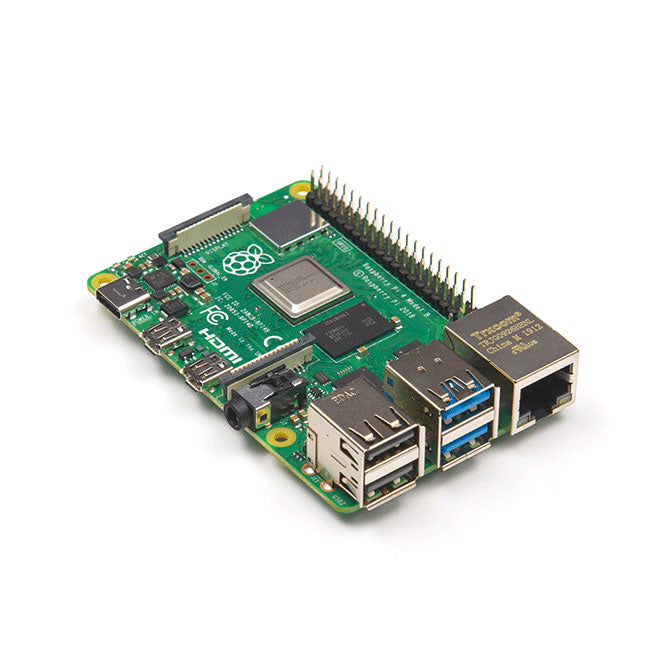
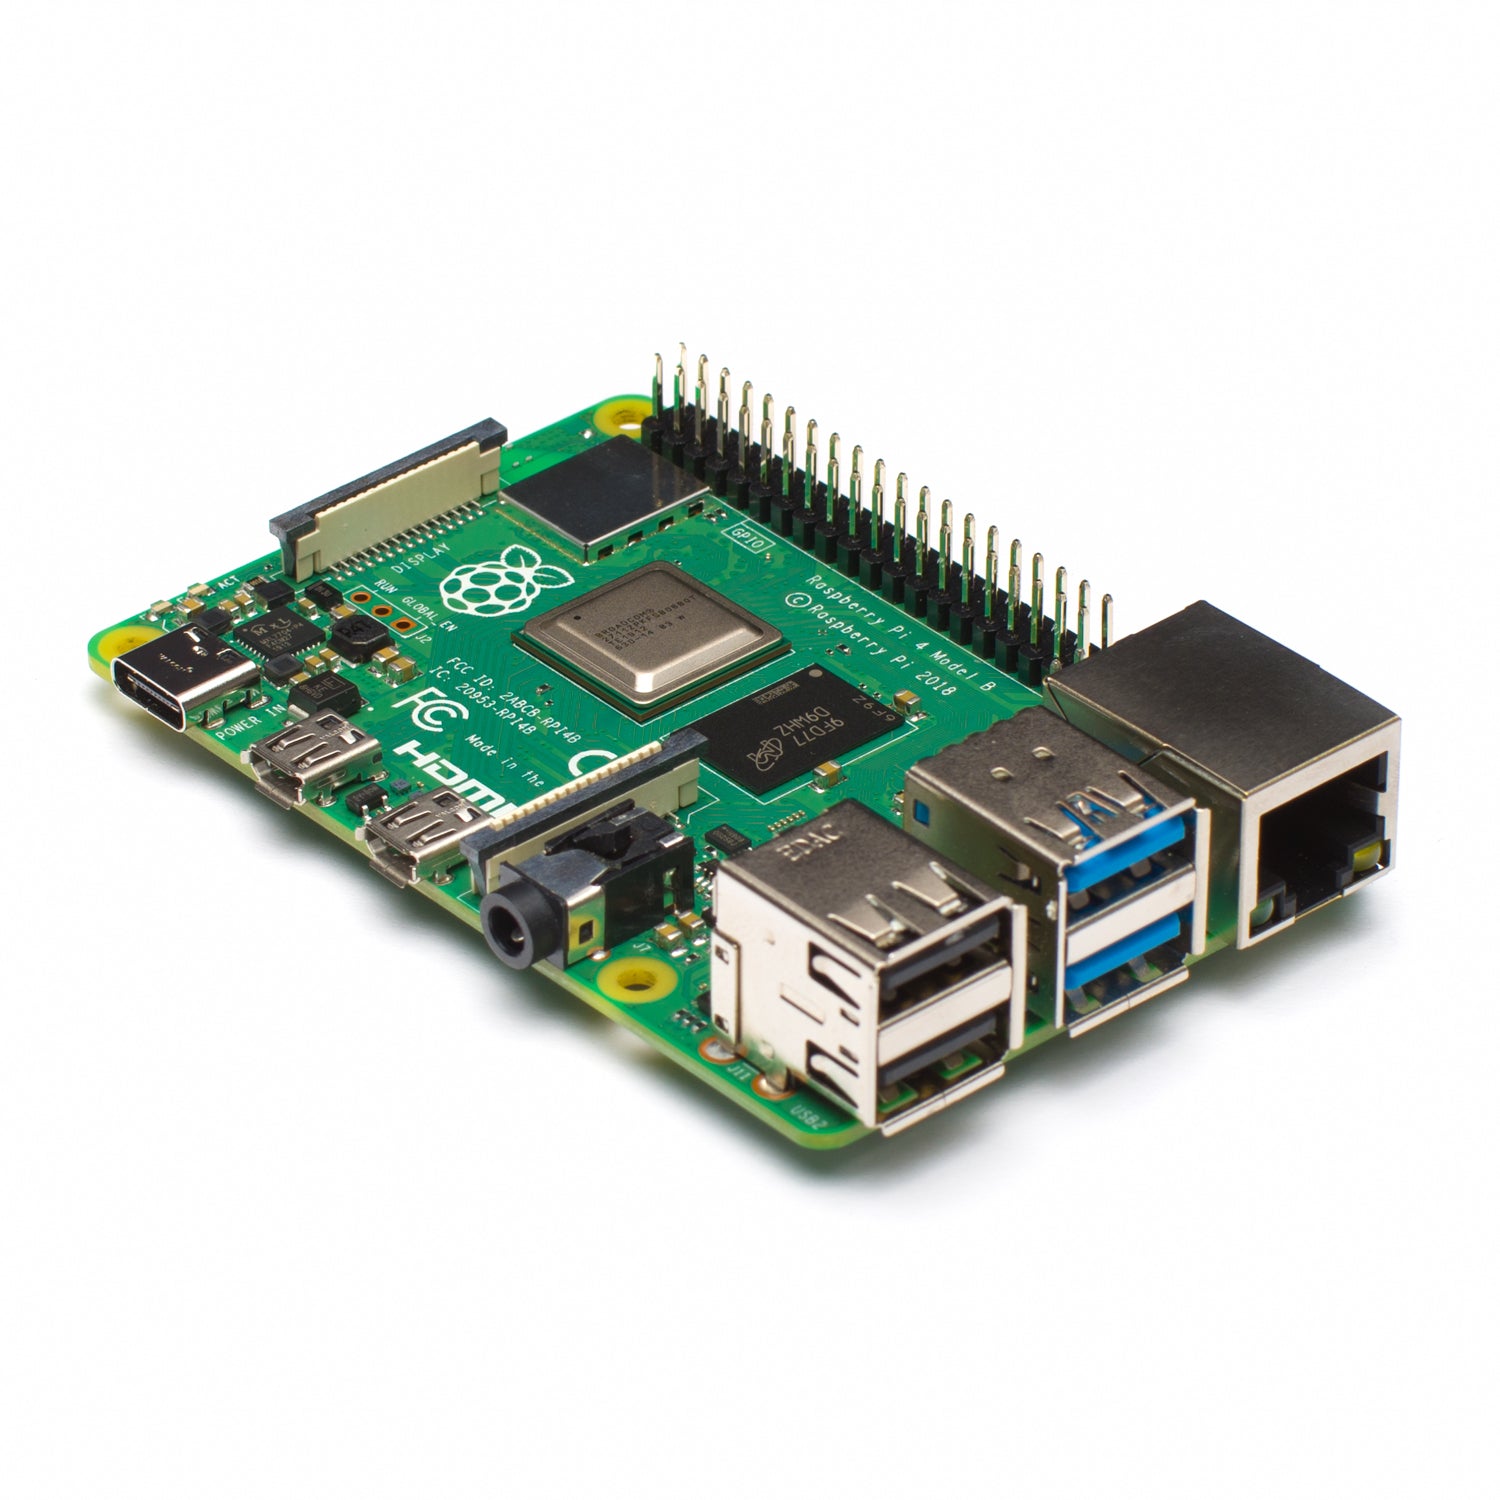
- Another benefit of using Pihole is that it can be installed on a Raspberry Pi, which is a small, low-power computer. This makes it easy to set up and use, as the Raspberry Pi can be placed anywhere on your network and does not require a lot of power to run.
Setting up Pihole on a Raspberry Pi
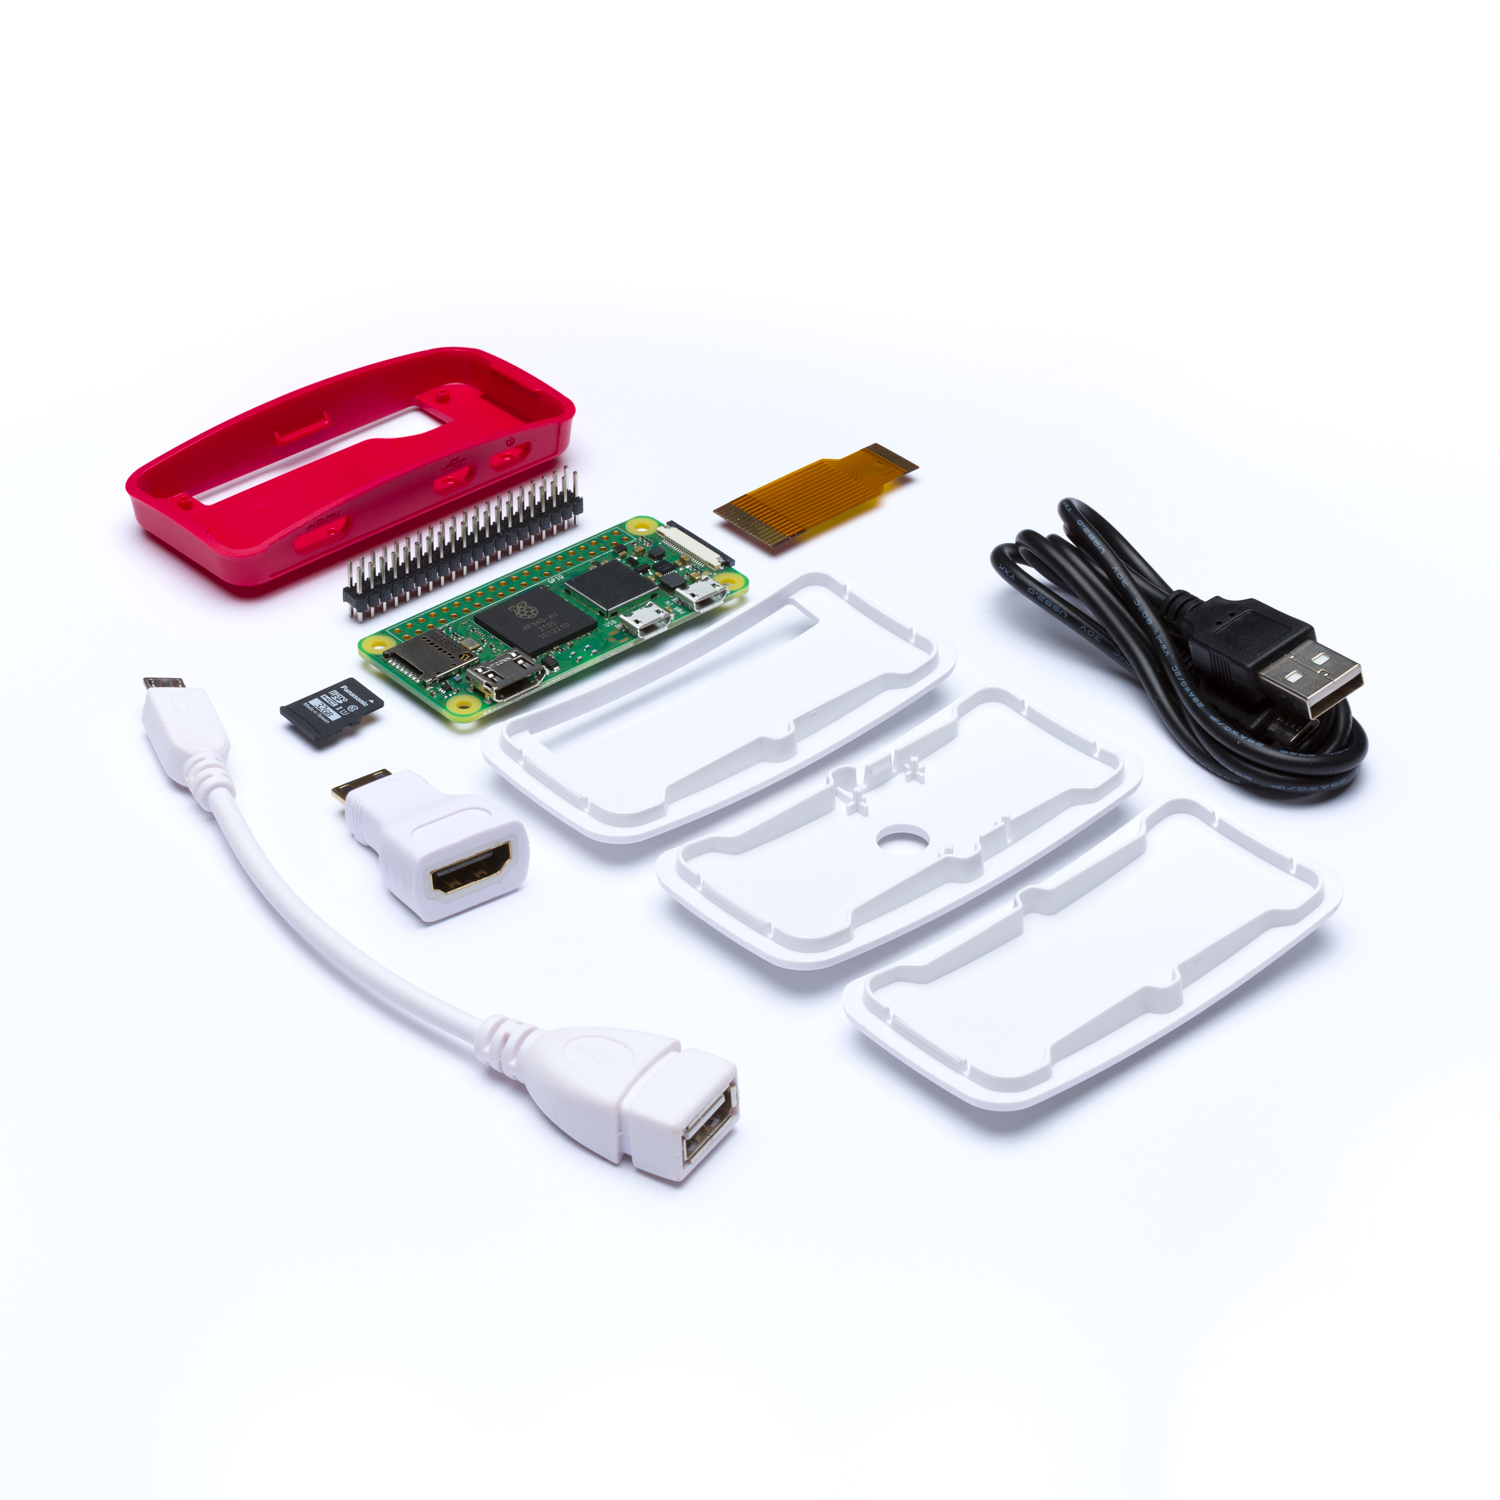
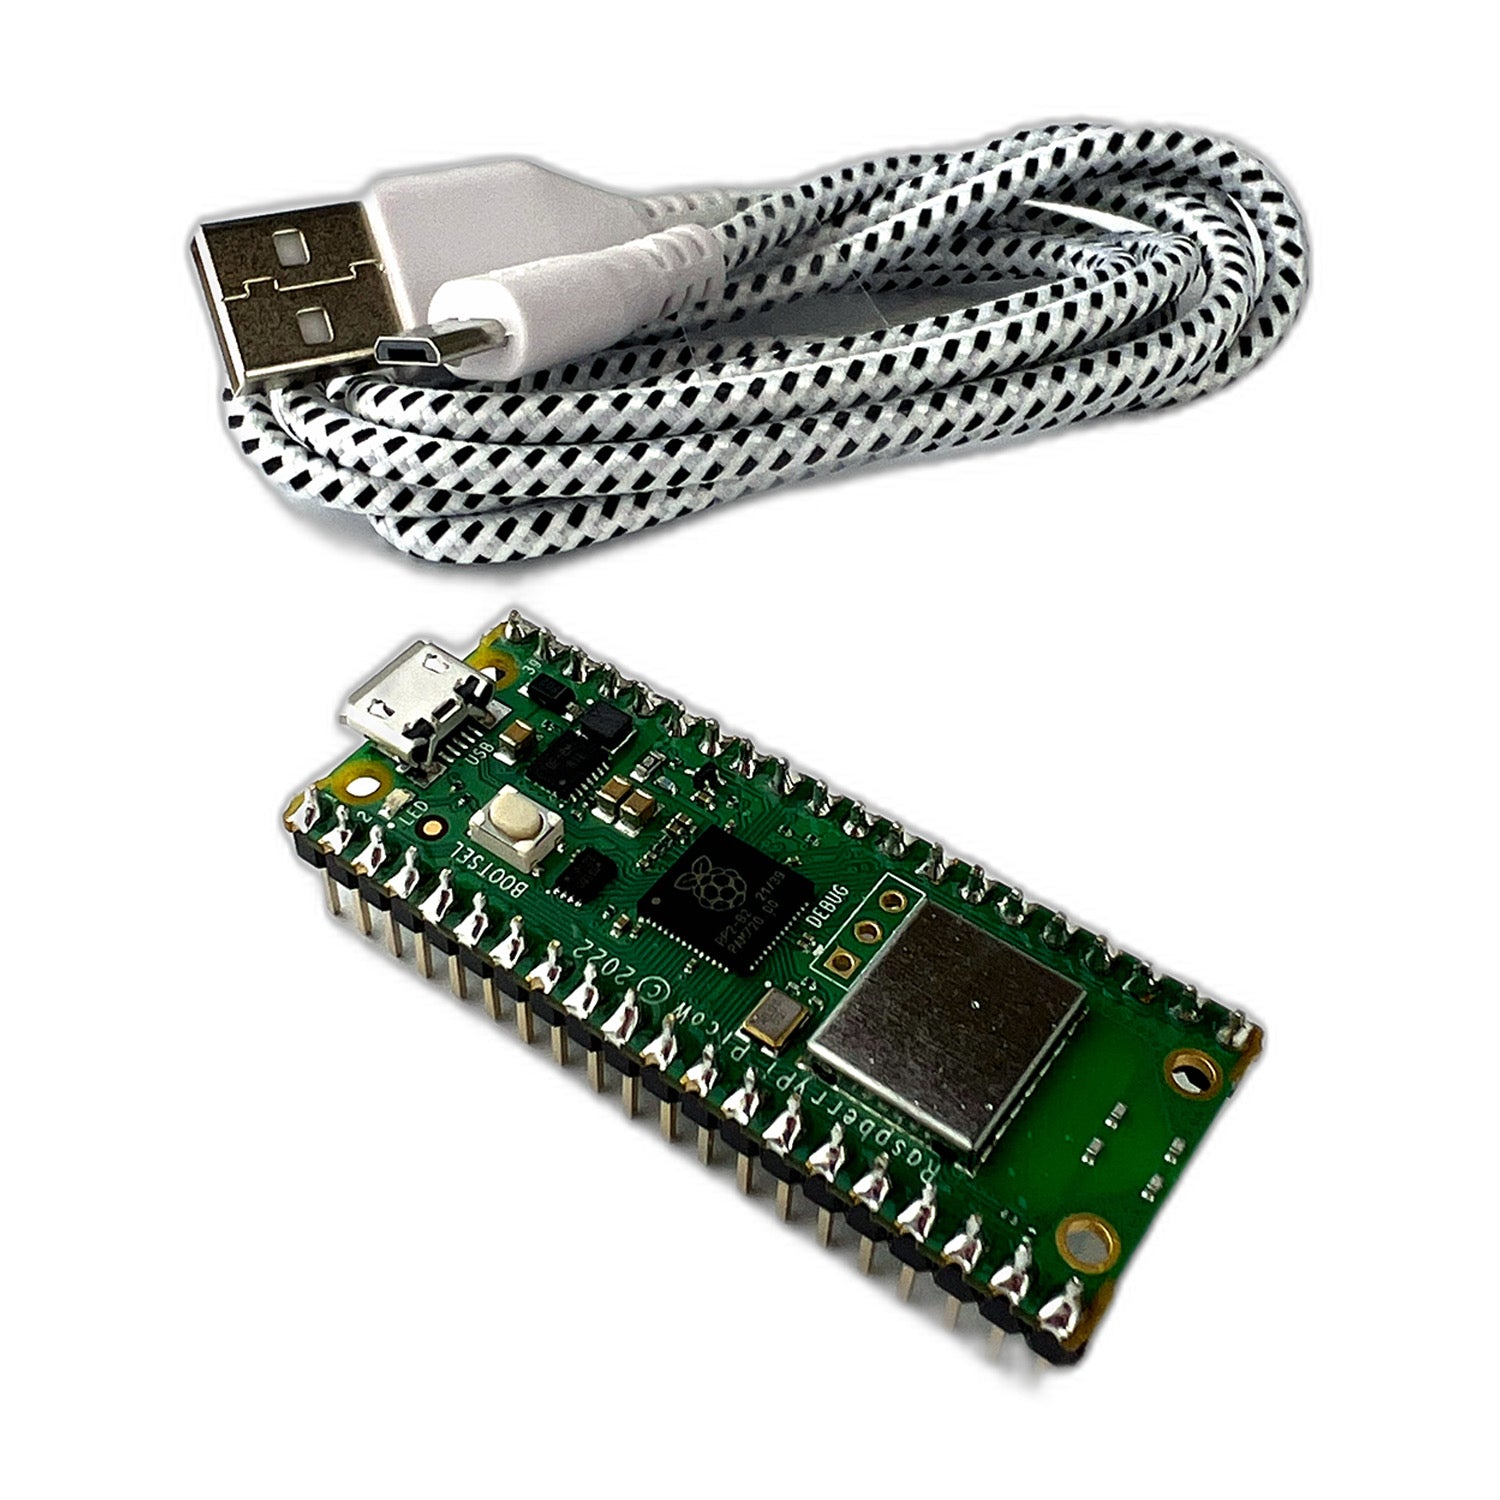
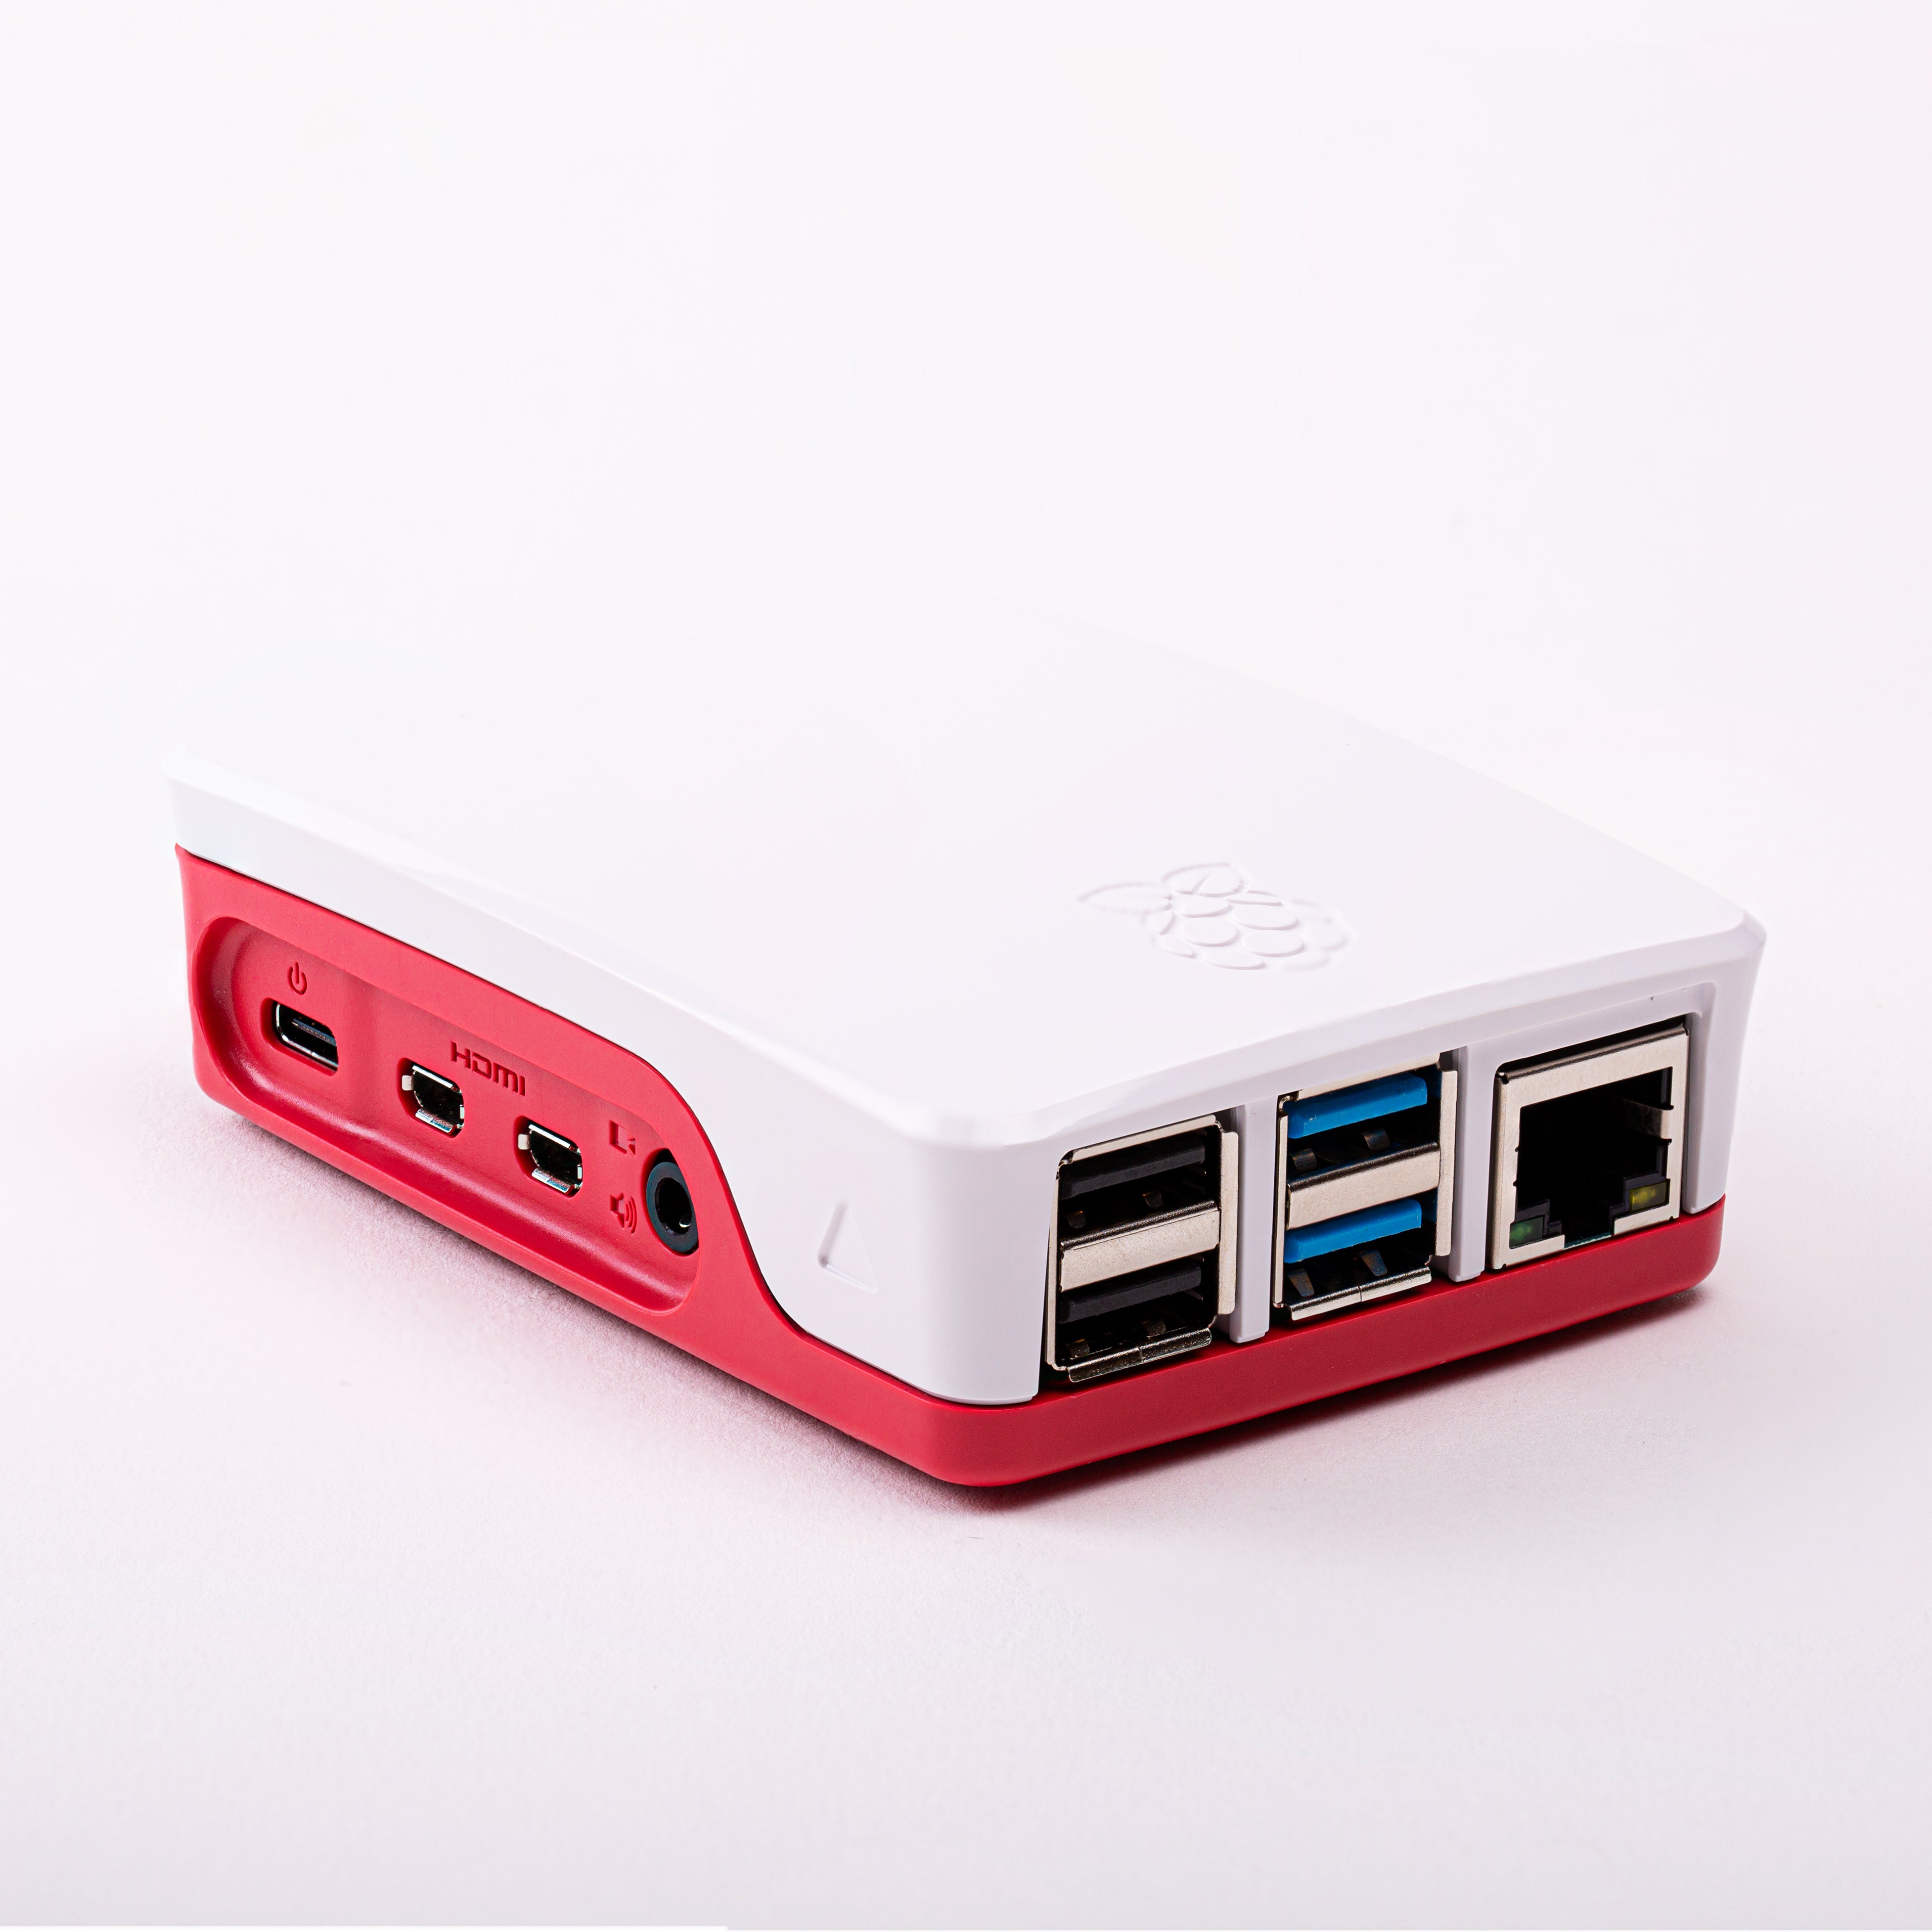
To set up Pihole on a Raspberry Pi, you will need to have a Raspberry Pi, an SD card, and a way to connect it to your network. You will also need to have some basic knowledge of the command line and Linux commands.
The first step is to download the Raspberry Pi operating system (OS) onto the SD card. You can download the OS from the Raspberry Pi website. Next, insert the SD card into the Raspberry Pi and connect it to your network.
Once the Raspberry Pi has booted up, you can use the command line to install Pihole. You can find detailed instructions on how to install Pihole on the Pihole website. The installation process is straightforward and involves downloading the Pihole software and running a series of commands.
After Pihole is installed, you will need to configure it to work with your network. You will need to change the DNS settings on your router to point to the IP address of the Raspberry Pi running Pihole. Once this is done, all devices connected to your network will use Pihole as their DNS server.
Conclusion
In conclusion, Pihole is a powerful tool that can help improve network performance by blocking ads and trackers on your network. By reducing the number of requests made to external servers, Pihole can result in faster web page loading times and improve overall network performance. It is easy to set up on a Raspberry Pi and provides protection for all devices connected to your network. Keep in mind that Pihole is not a magic solution for performance, it is a good
- Choosing a selection results in a full page refresh.