

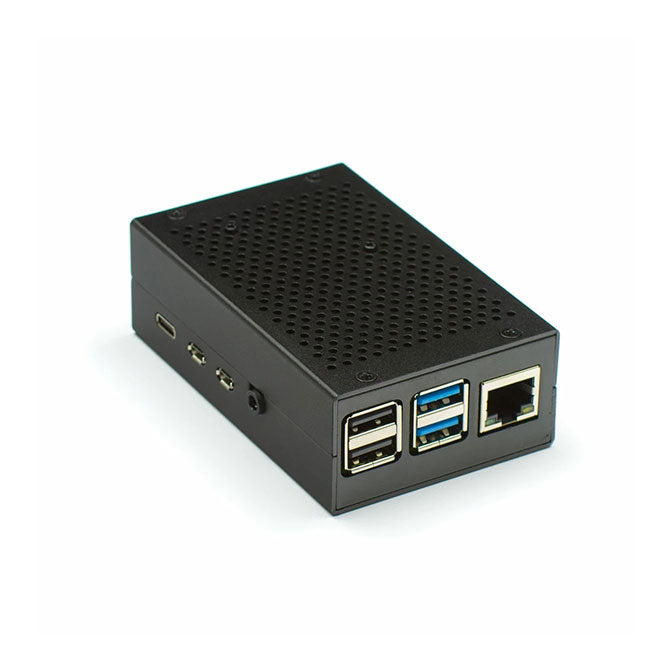


What do you need for a Pi Hole?
Setting up a Pi-hole to create a network-wide ad blocker is an excellent way to improve your online experience and protect your privacy. In this extended guide, we'll dive deeper into each component and the steps involved in setting up and configuring Pi-hole.
Key Components for Your Pi-hole Setup:
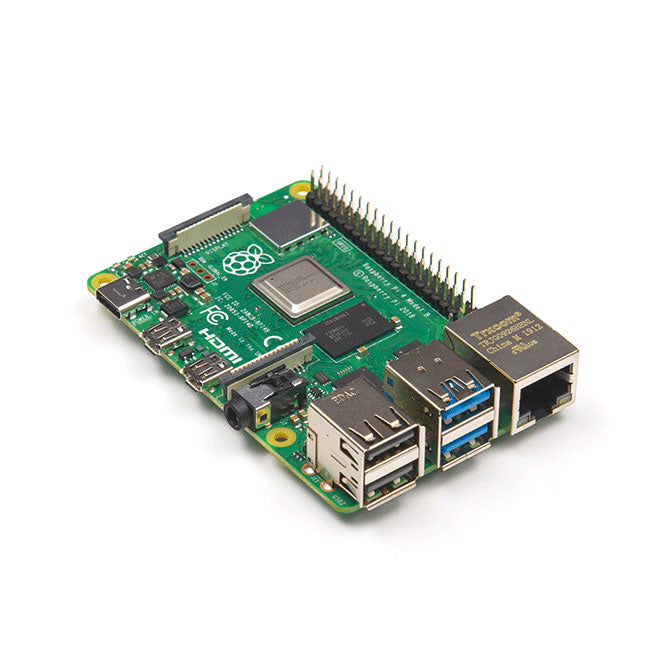
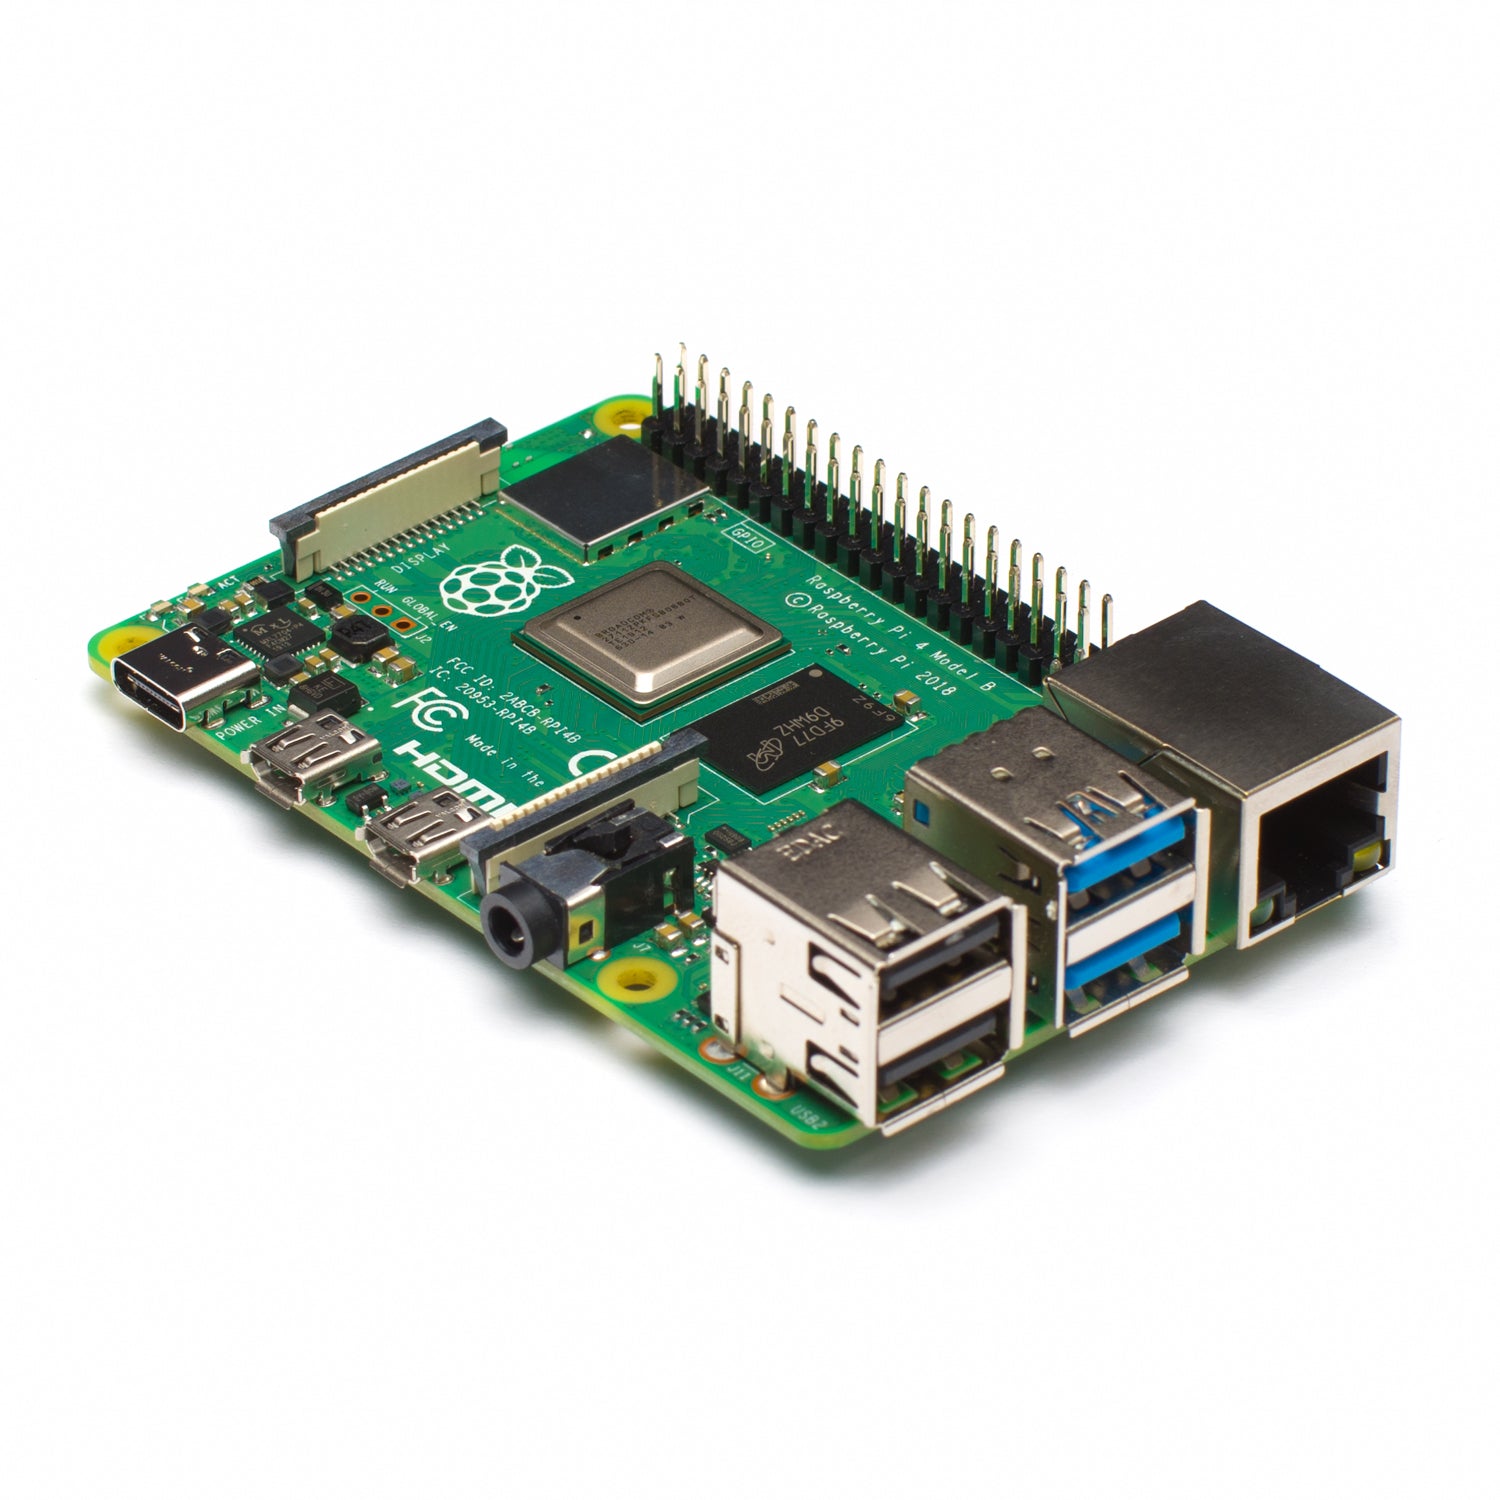
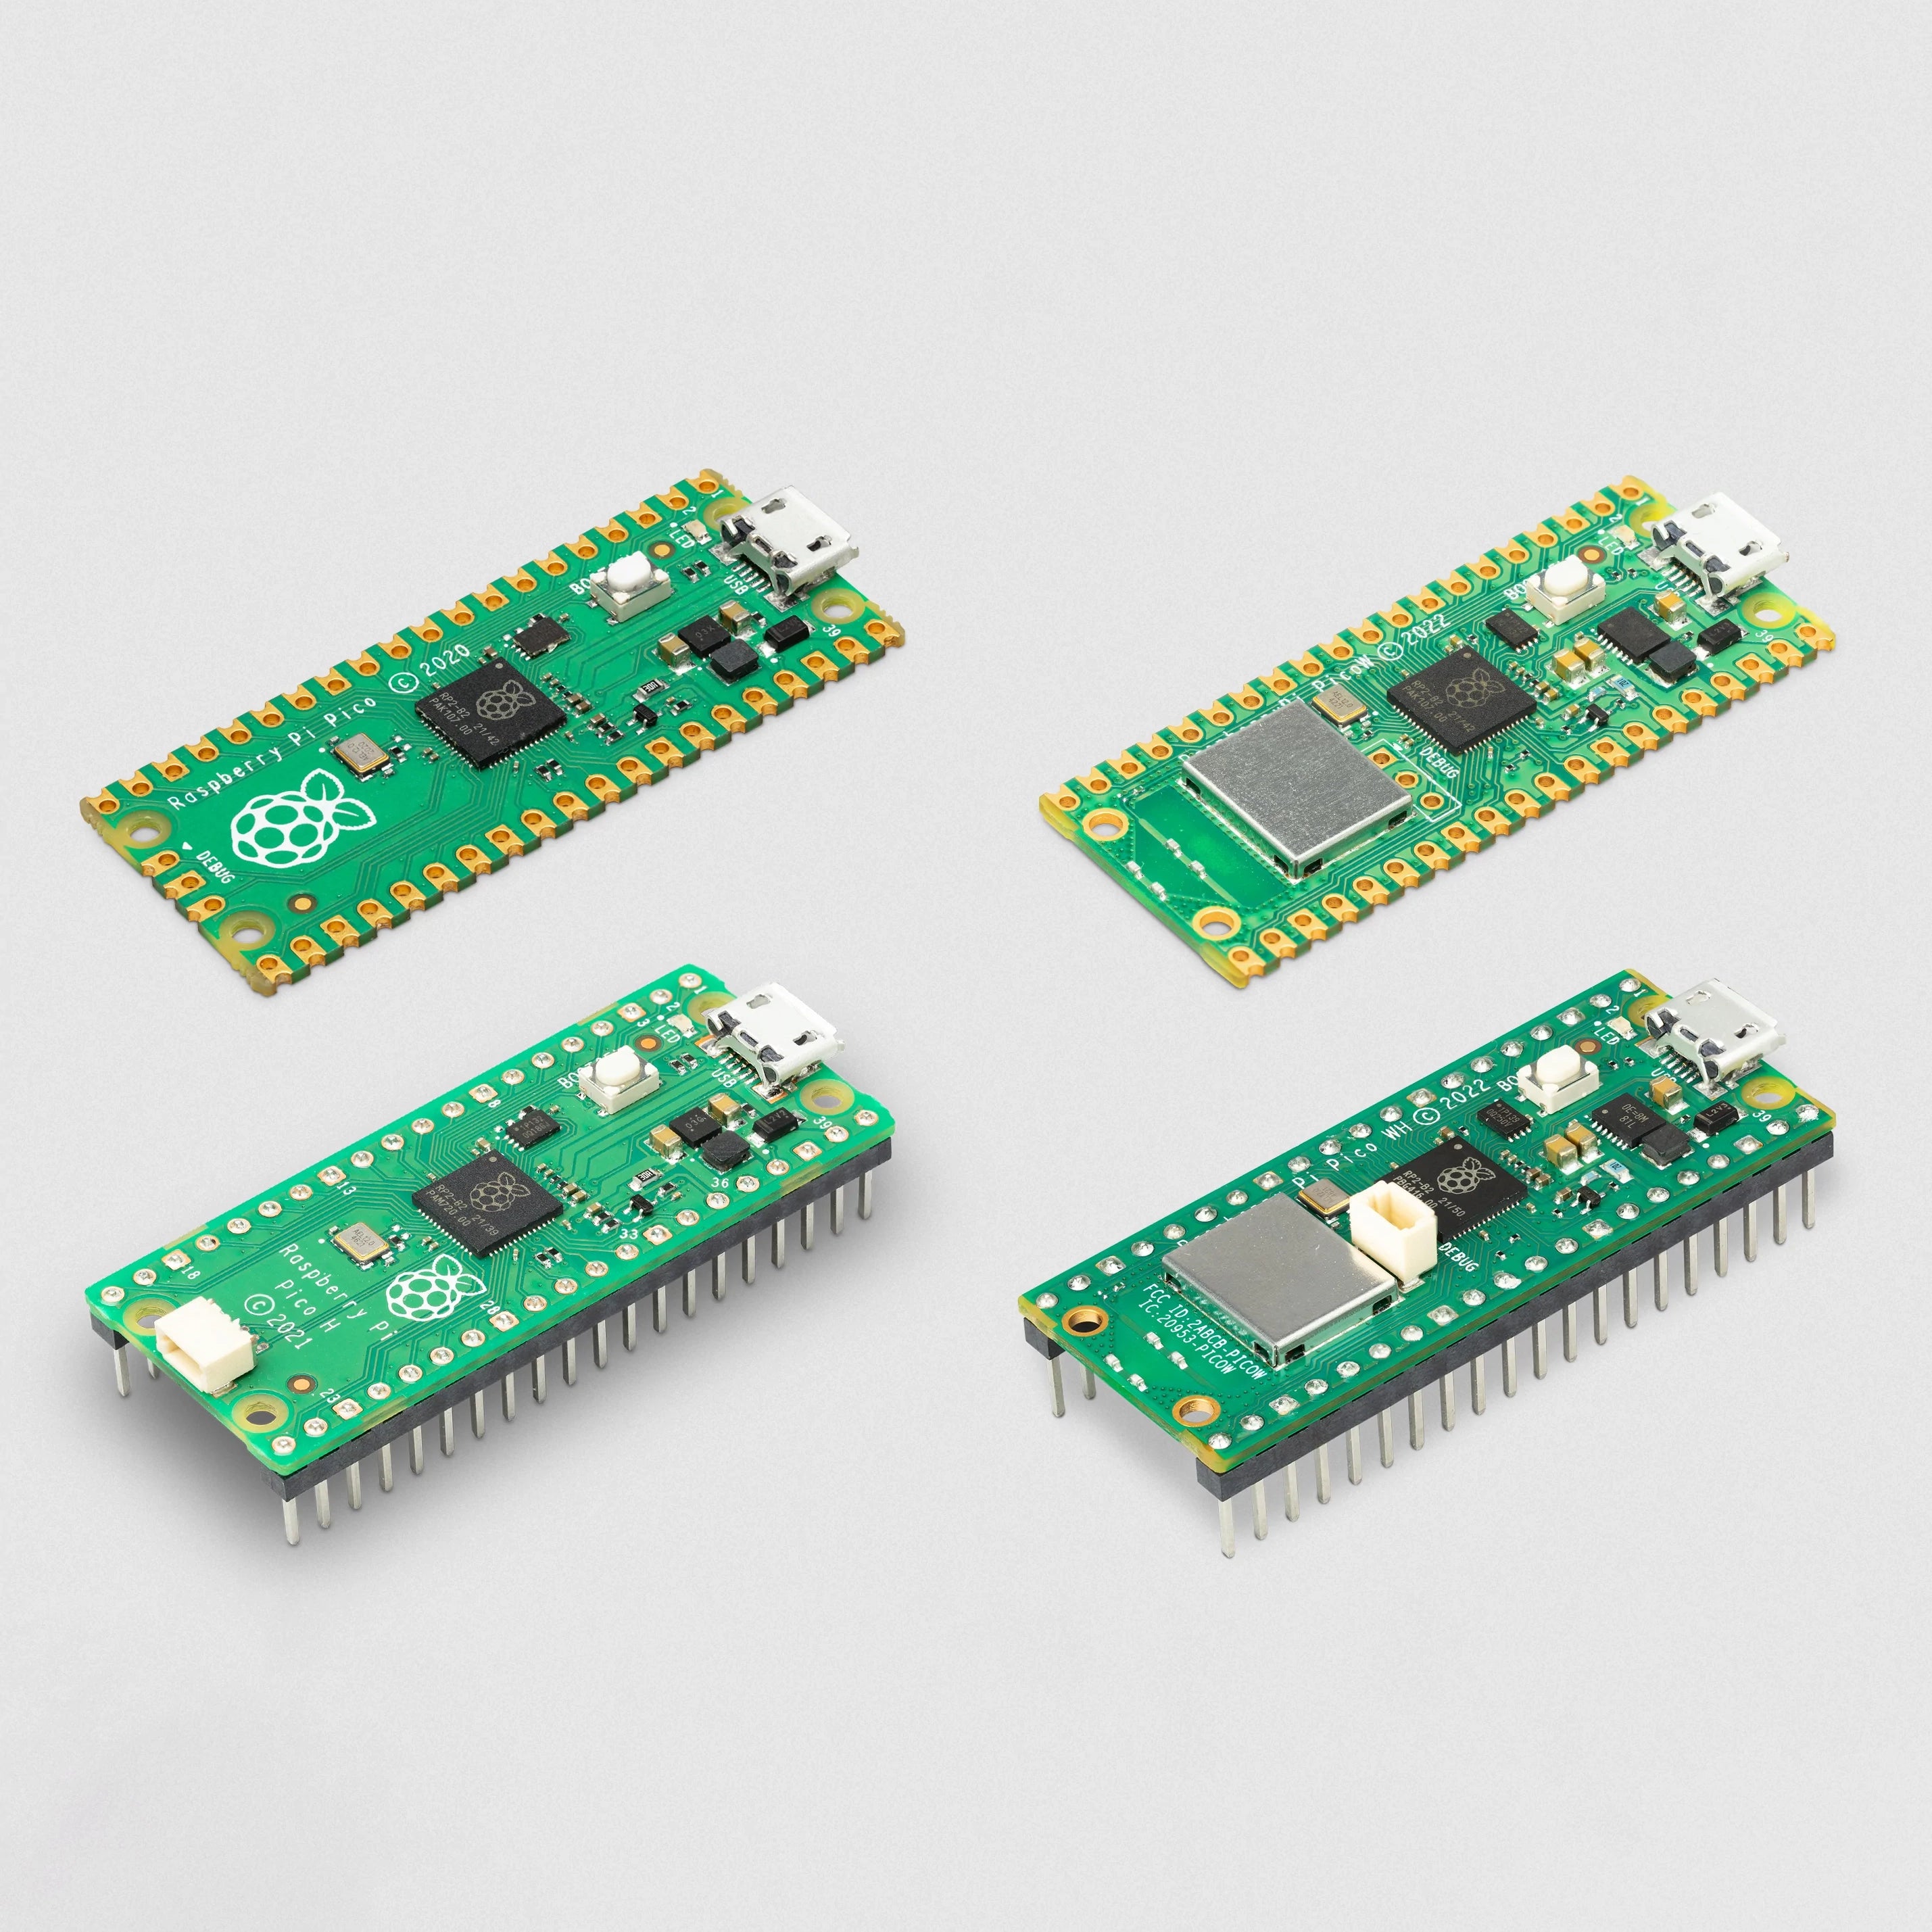
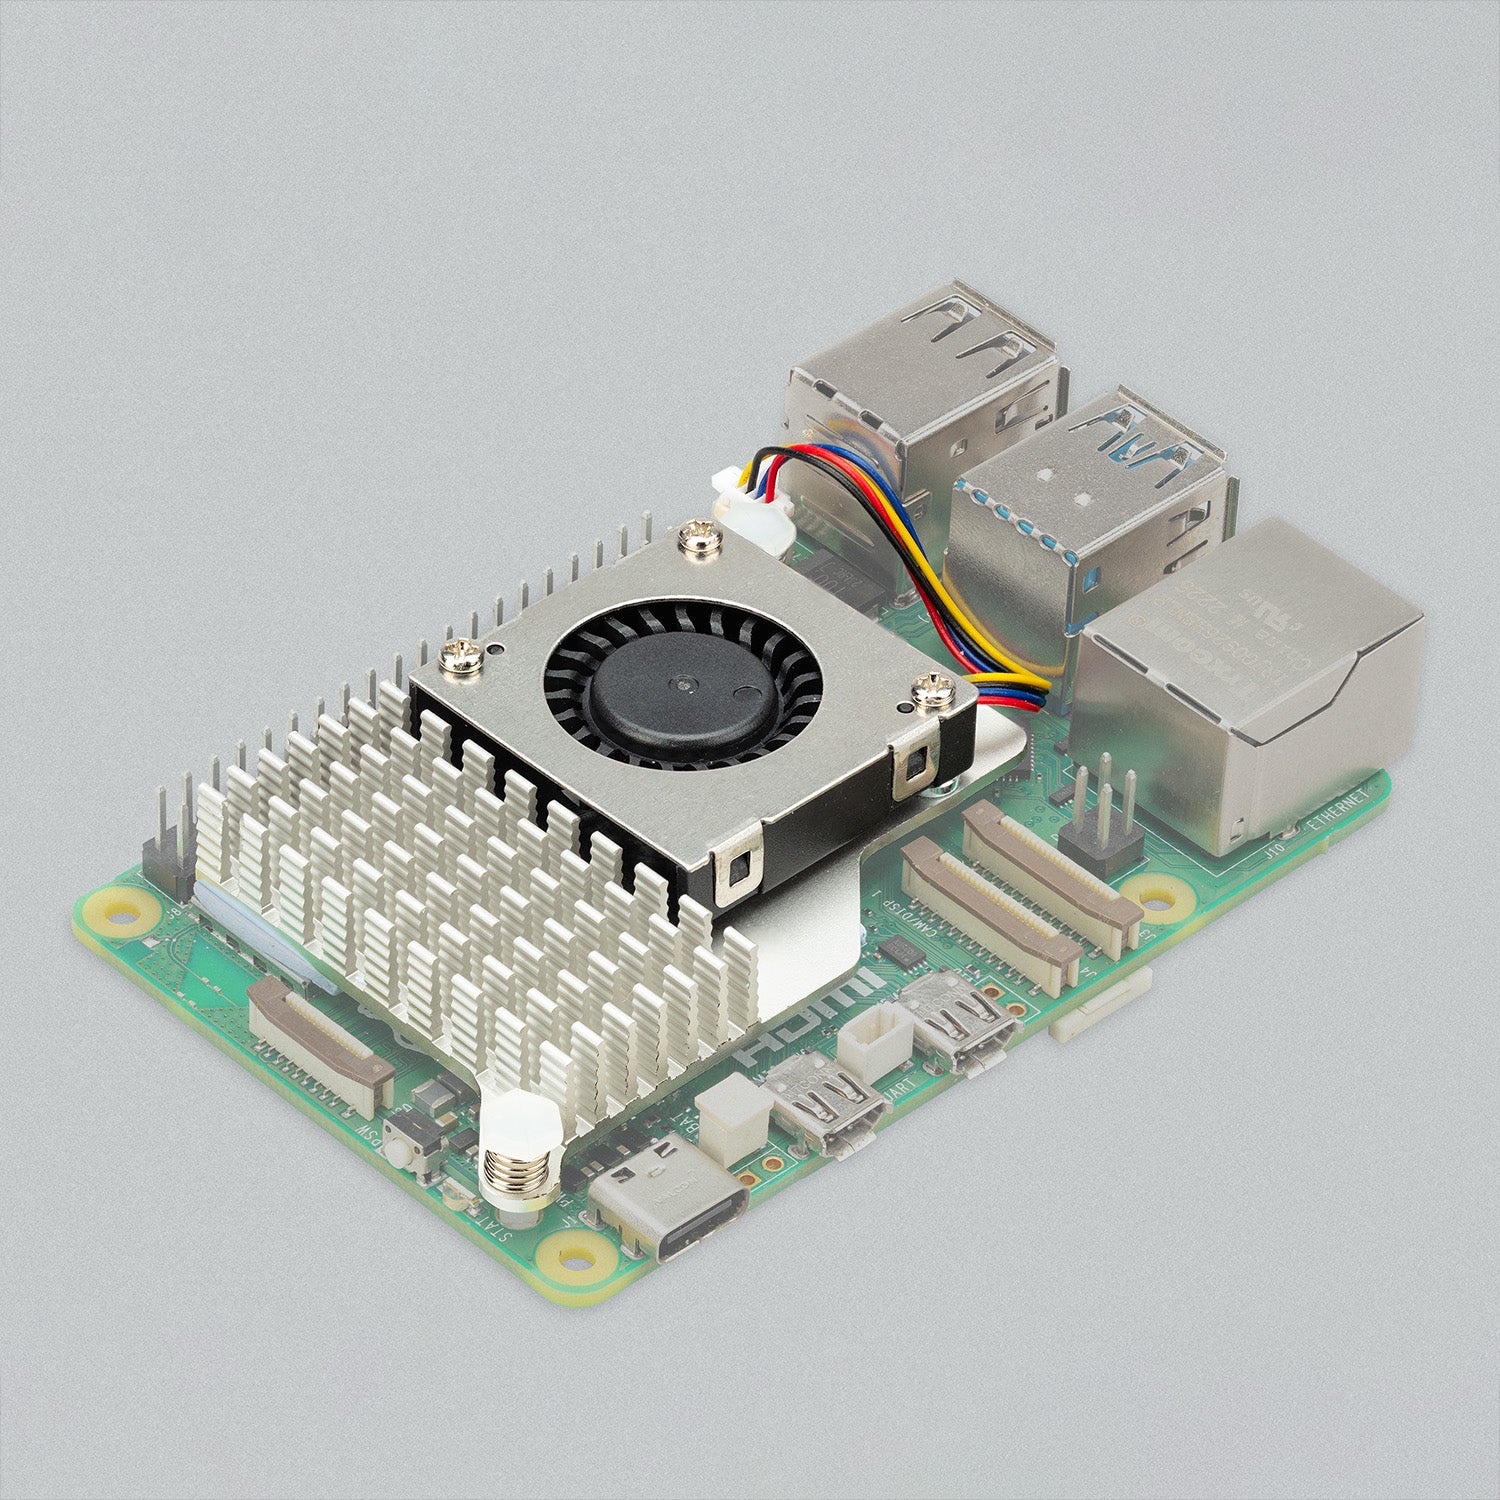
1. Raspberry Pi Model Selection:
Choosing the right Raspberry Pi model is crucial for the optimal performance of your Pi-hole. While you can use various models, we recommend using a Raspberry Pi 3, Raspberry Pi 4 or later model. The increased processing power and memory in these models ensure smooth operation, even when handling a large number of DNS requests.
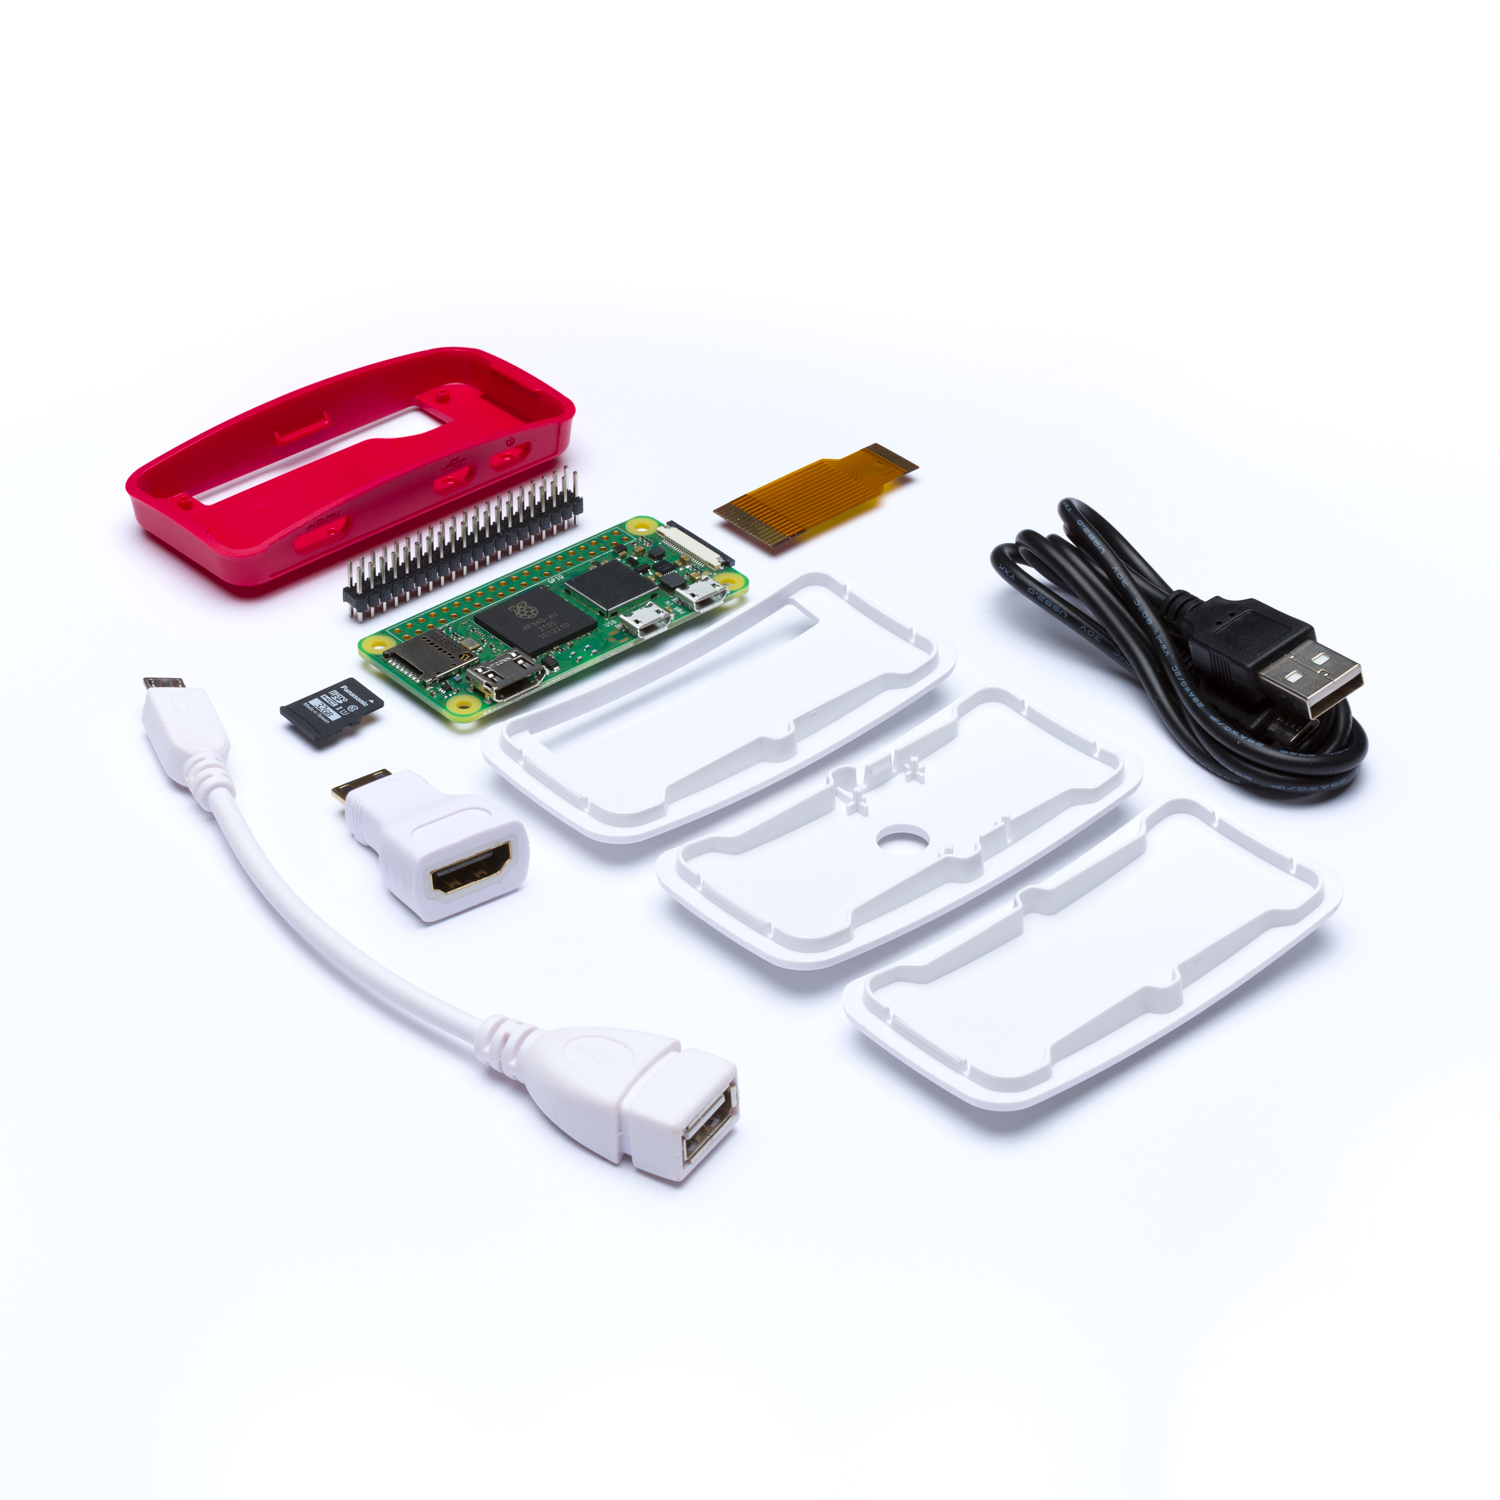
2. Selecting a Suitable MicroSD Card:
The microSD card acts as the storage medium for your Raspberry Pi's operating system and Pi-hole software. It's essential to choose an 8GB or larger card that is compatible with your chosen Raspberry Pi model. Opt for high-quality, high-speed cards to ensure reliable performance.
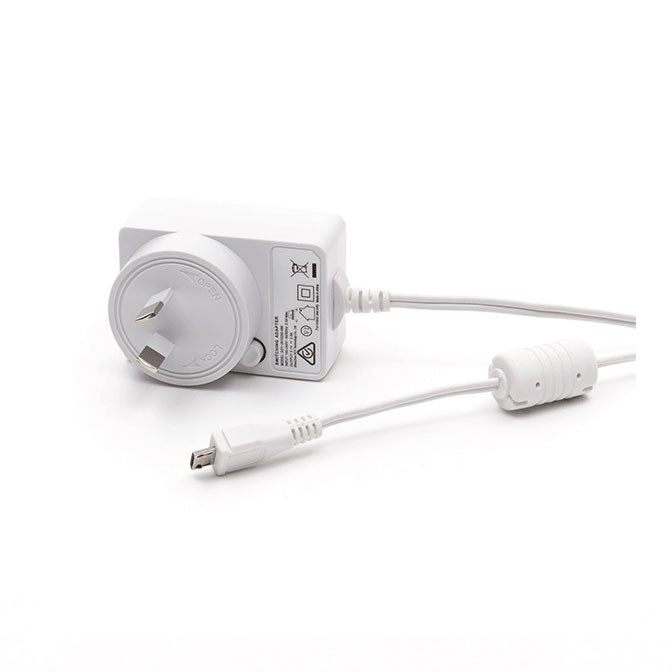
3. Reliable Power Supply:
A stable power supply with a micro-USB connector is essential for your Raspberry Pi. Inadequate power can lead to system instability and data corruption. Ensure that your power supply can deliver the recommended voltage and current for your specific Raspberry Pi model.
4. Network Connection with Ethernet Cable:
For a stable and reliable connection, it's highly recommended to use an Ethernet cable to connect your Raspberry Pi to your home router. While Wi-Fi can be used, a wired connection is preferred, especially if you intend to run Pi-hole continuously.
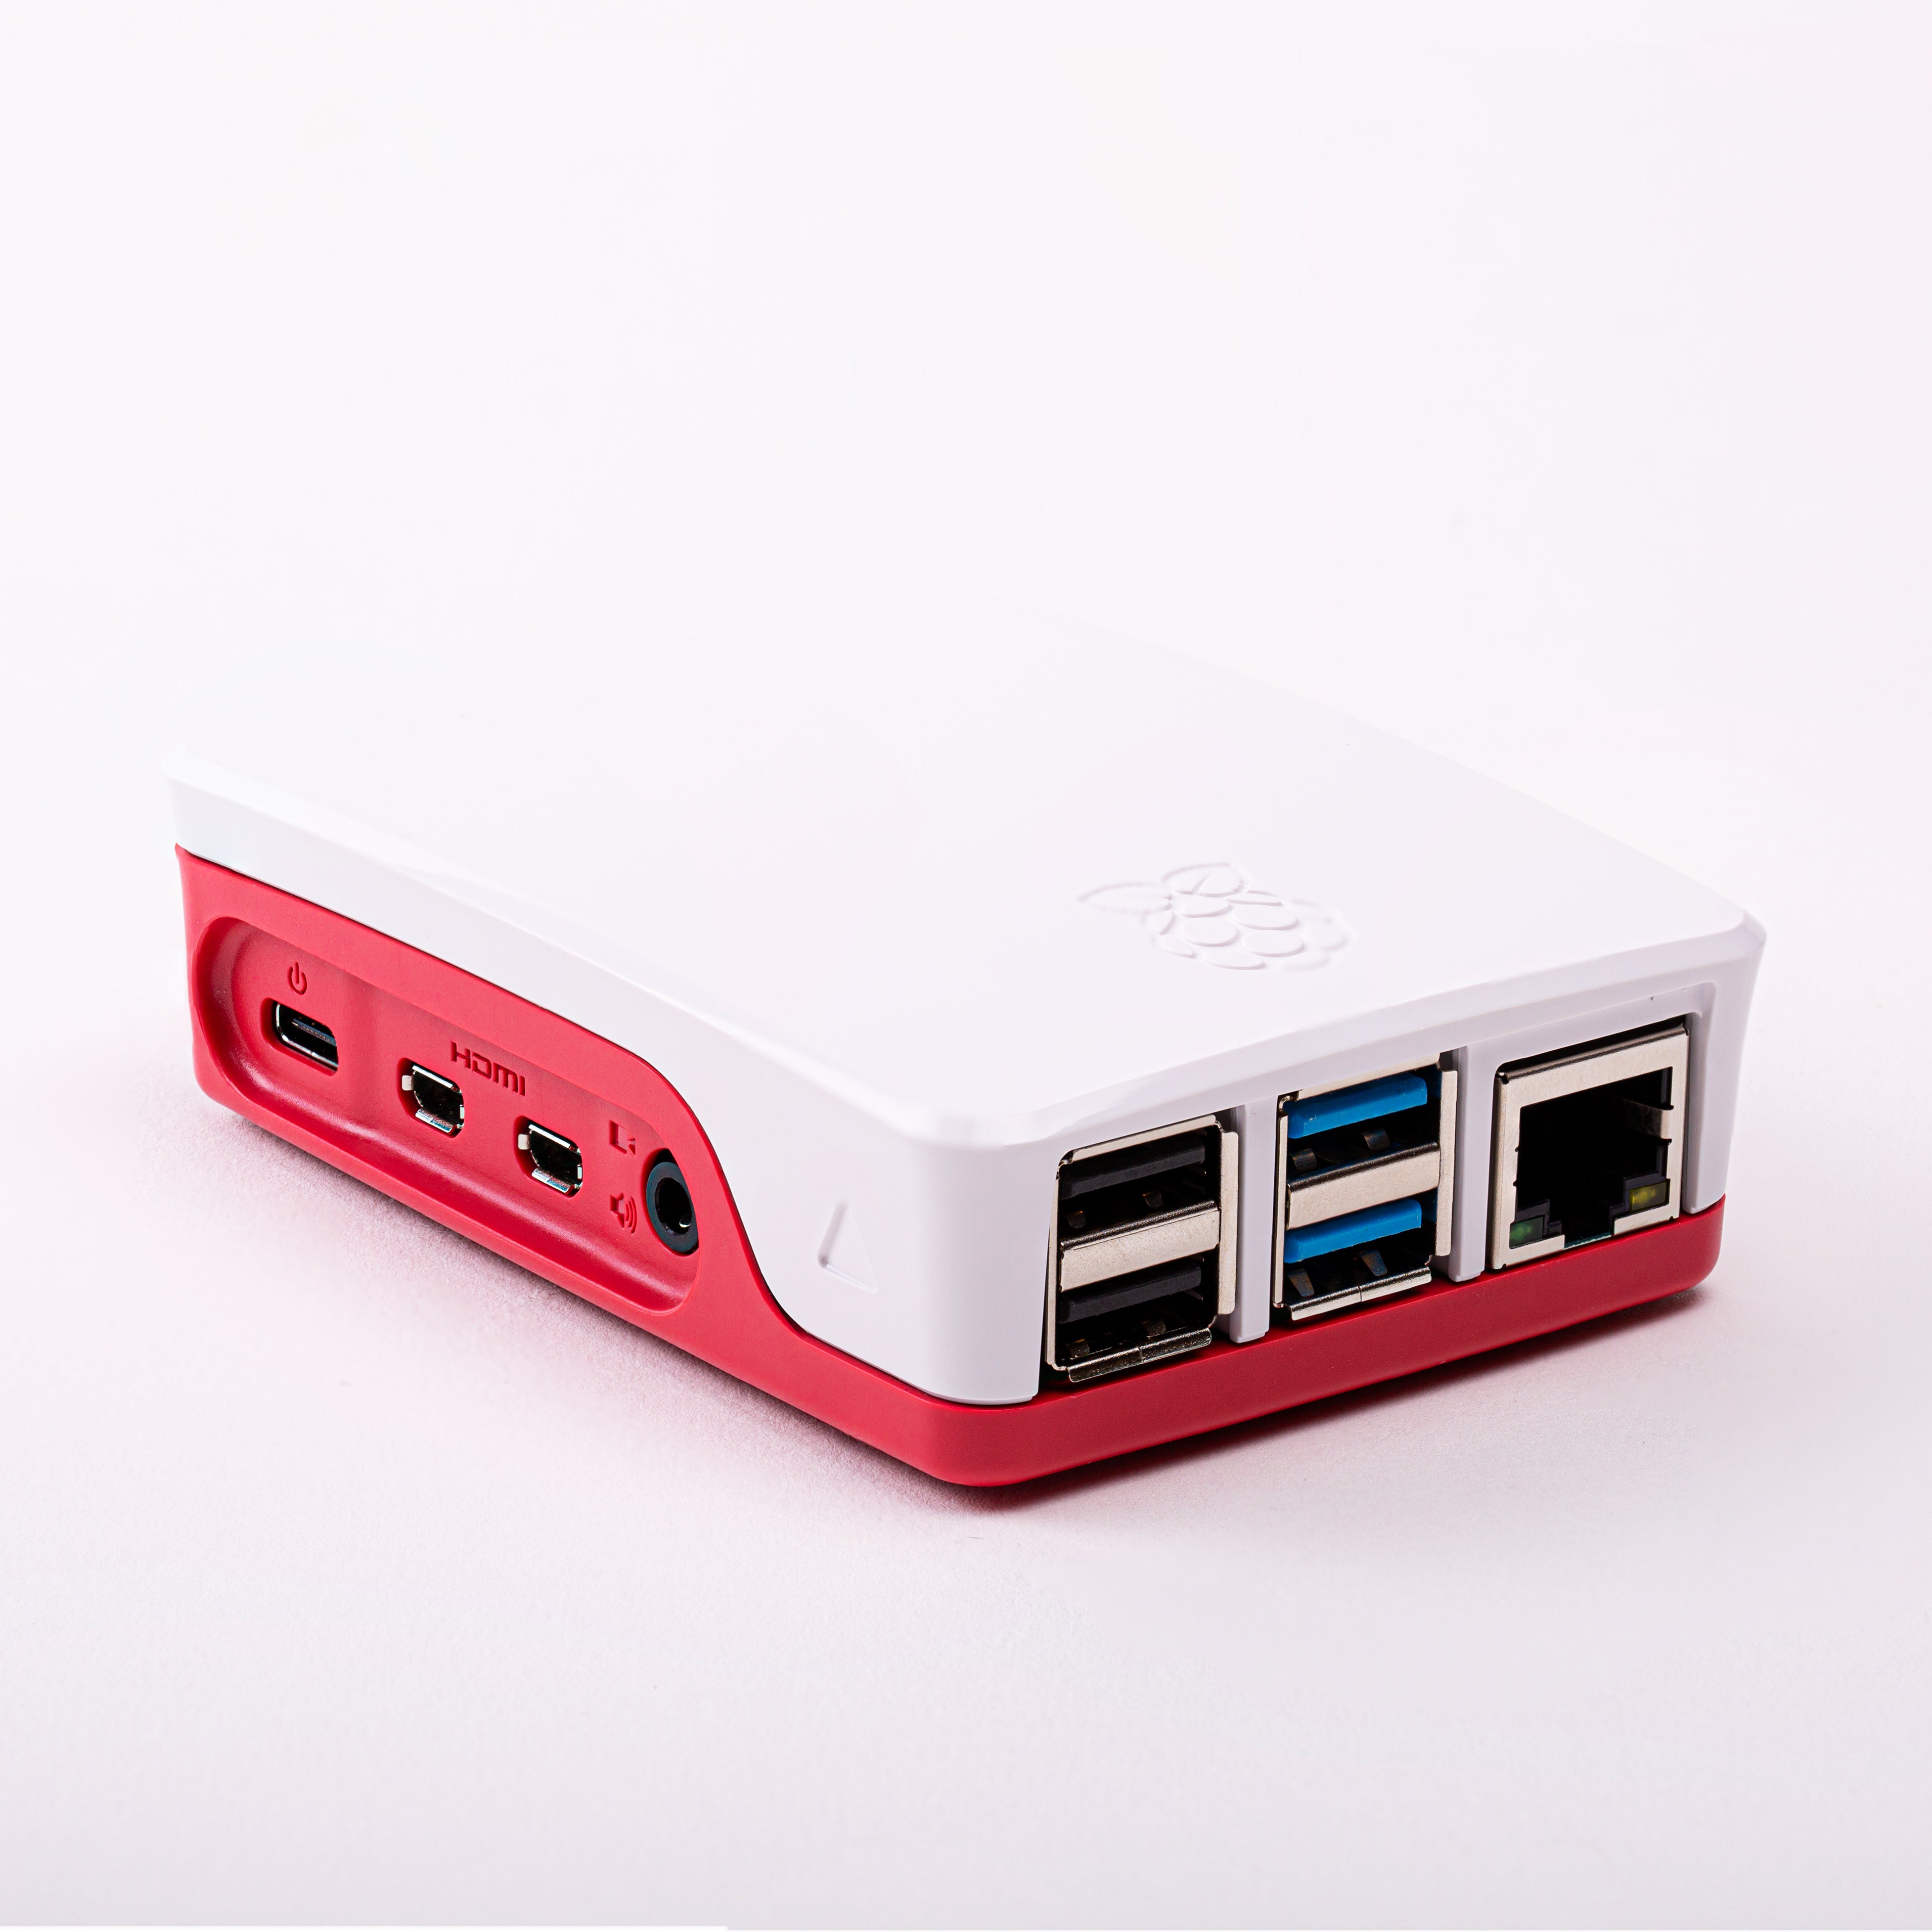
5. Optional Case and Cooling:
Although not mandatory, investing in a protective case for your Raspberry Pi and a small heatsink or fan can help maintain a consistent operating temperature. This is particularly useful if you plan to run your Pi-hole 24/7, as it prevents overheating and prolongs the lifespan of your Raspberry Pi.
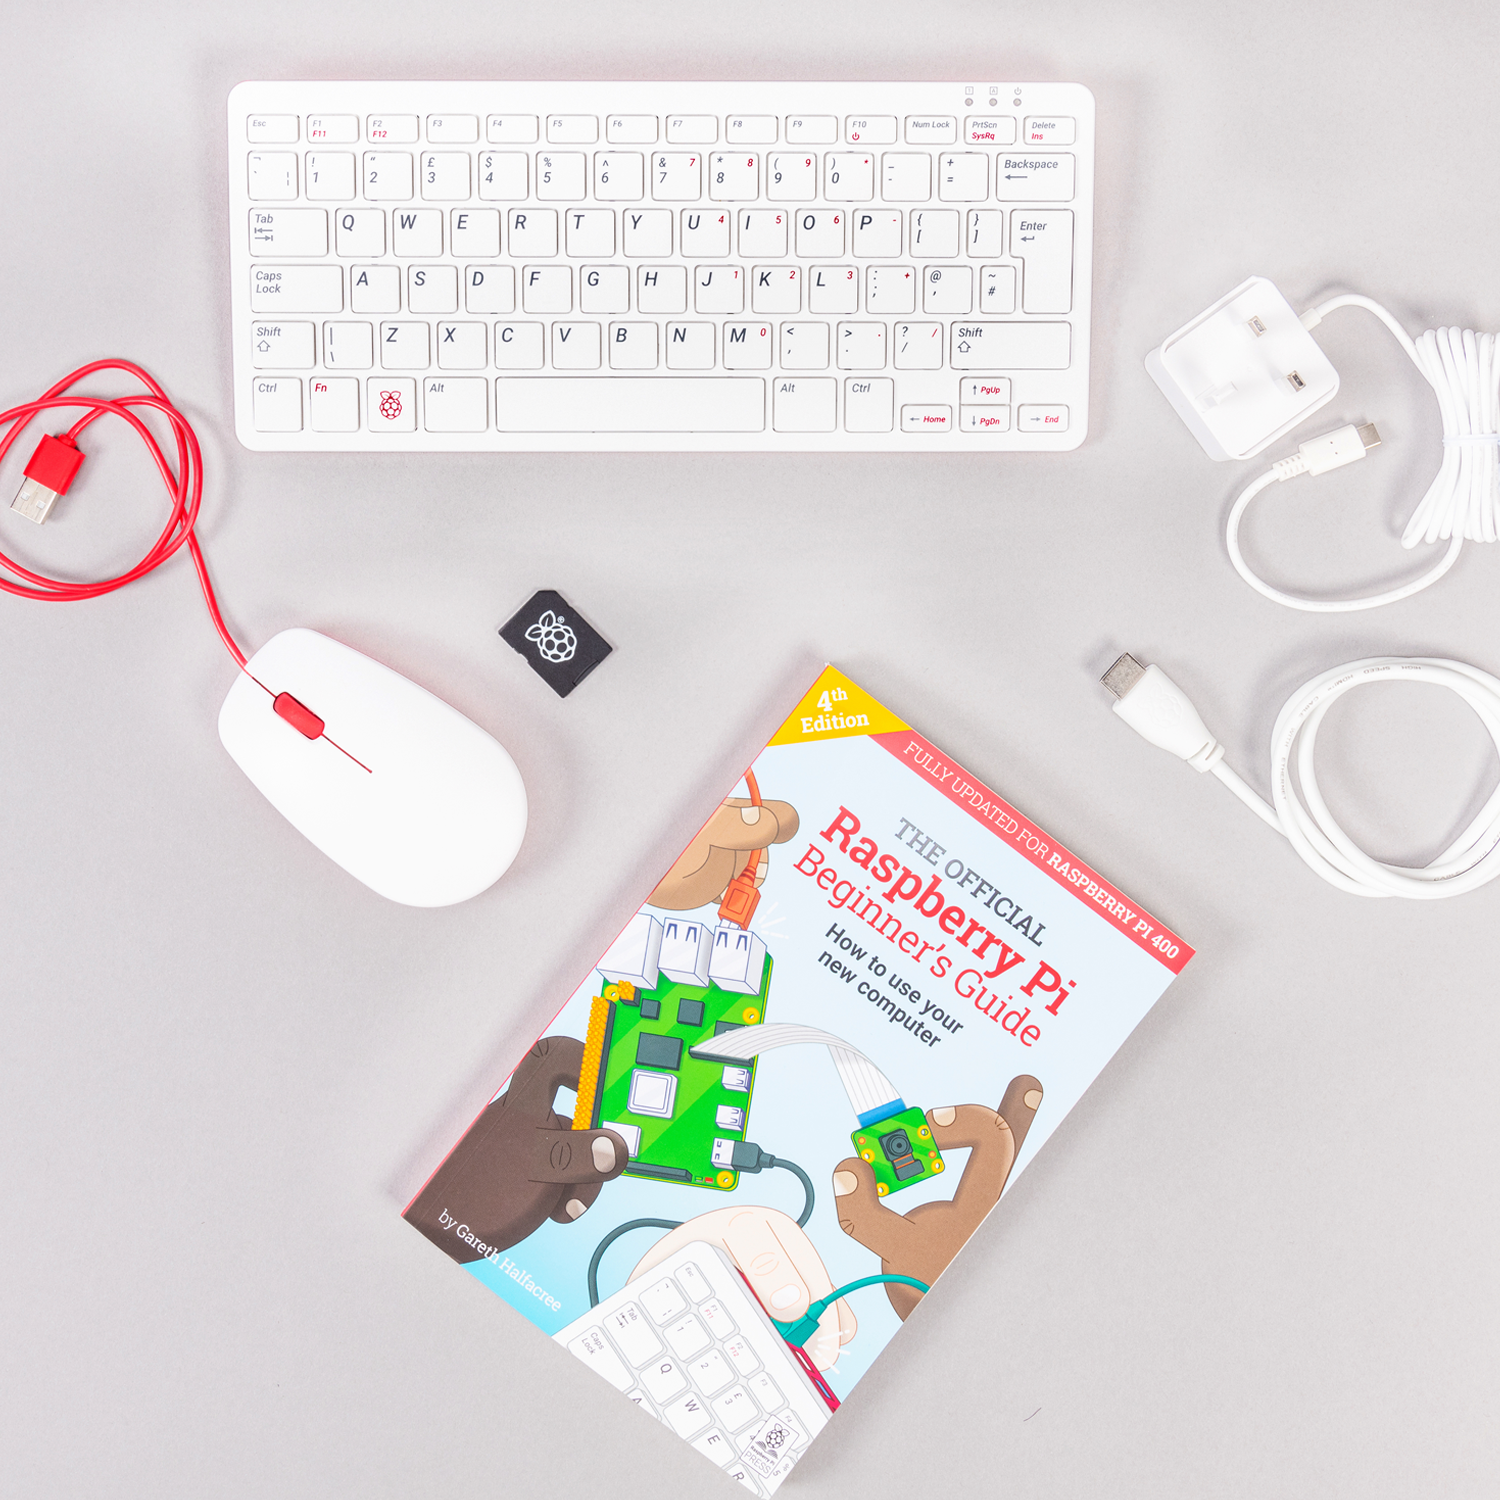
6. Monitor, Keyboard, and Mouse (Optional):
Initially, you may need these peripherals to set up your Raspberry Pi and configure Pi-hole. However, once the initial setup is complete, you can manage your Pi-hole remotely via a web interface, eliminating the need for these additional components.
7. Internet Connection:
A stable and functioning internet connection is, of course, a prerequisite for downloading software updates and enabling Pi-hole to function as a DNS filter. Make sure your internet connection is robust and reliable to support your ad-blocking efforts effectively.
Setting Up Pi-hole:
Now, let's explore the step-by-step process to set up your Pi-hole and turn it into a network-wide ad blocker:
1. Installing Raspberry Pi OS:
Begin by installing the Raspberry Pi OS (formerly known as Raspbian) onto the microSD card. You can use the official Raspberry Pi Imager tool to do this. Make sure to select the appropriate OS version and follow the installation instructions for your specific Raspberry Pi model.
2. Network and Power Connection:
With the OS installed on the microSD card, connect your Raspberry Pi to your home network using an Ethernet cable. Also, ensure it's powered up using a reliable power supply. The Raspberry Pi should boot up and obtain an IP address from your router.
3. Initial Configuration:
At this stage, you can either access your Raspberry Pi through Secure Shell (SSH) if you are comfortable with command-line interfaces, or you can connect a monitor, keyboard, and mouse directly to your Raspberry Pi. SSH provides a convenient way to configure your Pi-hole remotely, but a direct connection is useful for troubleshooting if needed.
4. Installing Pi-hole Software:
Once you have access to your Raspberry Pi, it's time to install the Pi-hole software. Use the following commands to download and install Pi-hole:
curl -sSL https://install.pi-hole.net | sudo bash

Follow the on-screen instructions to complete the installation.
5. Router DNS Configuration:
To enable Pi-hole to filter DNS requests for all devices on your network, you need to configure your router to use Pi-hole as the default DNS server. Access your router's settings, usually via a web interface, and look for the DNS settings. Set the primary DNS server to the IP address of your Raspberry Pi running Pi-hole. This step ensures all devices on your network will use Pi-hole to filter DNS requests.
6. Customizing Pi-hole Settings:
Once Pi-hole is installed and configured, you can access its web interface by opening a web browser and entering your Raspberry Pi's IP address. From there, you can customize Pi-hole's settings, including enabling or disabling specific blocklists, configuring whitelists for websites you want to allow ads on, and reviewing statistics on blocked content. The web interface makes it easy to fine-tune Pi-hole to suit your preferences. Customizations include selecting an upstream DNS provider, choosing a block list, protocol, installing a web admin interface, selecting the privacy mode, and more.
For more step-by-step information on customizations, please see our guide on Pi-hole for Raspberry Pi.
7. Enjoying a Better Browsing Experience:
With Pi-hole set up, it acts as a powerful network-wide ad blocker. It works by filtering DNS requests and blocking ads and trackers at the DNS level, enhancing your online privacy and speeding up web page loading times. As a result, you'll experience fewer distractions and a safer, more efficient internet browsing experience.
Maintaining Pi-hole:
After your Pi-hole is up and running, it's important to periodically update the software to ensure it remains effective in blocking ads and protecting your network. Additionally, you can explore the wealth of community-created blocklists and custom configurations to further enhance Pi-hole's capabilities.
To update Pi-hole and its blocklists, use the following commands:
pihole -up
pihole -g
In conclusion, setting up a Pi-hole on a Raspberry Pi is a valuable project that can greatly improve your online experience by blocking unwanted content and enhancing your privacy. By following these steps and keeping your Pi-hole up to date, you can enjoy a more ad-free and efficient internet experience on all of your devices.
- Choosing a selection results in a full page refresh.